

Hi Everyone,
Recently I took an old powerful desktop and leveraged Proxmox in order to turn it into a cheap and non intrusive (furniture wise) virtual lab. My previous lab was an old but pretty powerful IBM Thinkpad. I was not using virtualisation just various flavours of Kubernetes on an Ubuntu 20.04 server OS.

I had done quite a bit of work on my old lab despite its humble characteristics and I was also thinking about re-inventing this laptop with some mini Linux distribution or even FreeBSD.
I had already setup a VBR server in my Proxmox setup with a Linux repository so I added my Thinkpad to a protection group, installed the agent and ran a full backup. This was easy enough and I believe has been covered here many times so I will jump to the BMR restore.
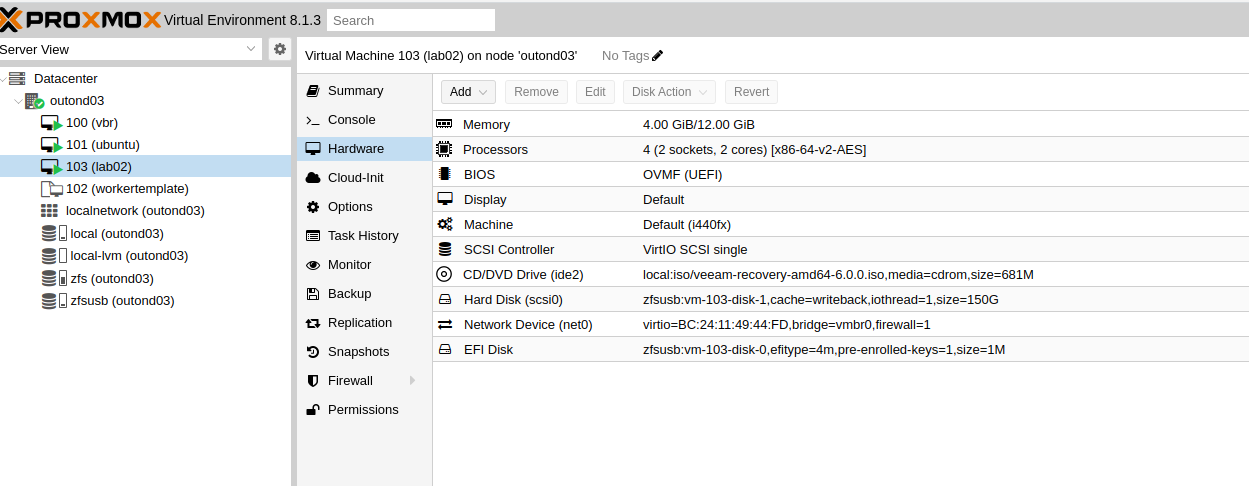
I downloaded the Linux recovery media from Veeam and created a new empty VM in Proxmox and set it to boot from the ISO
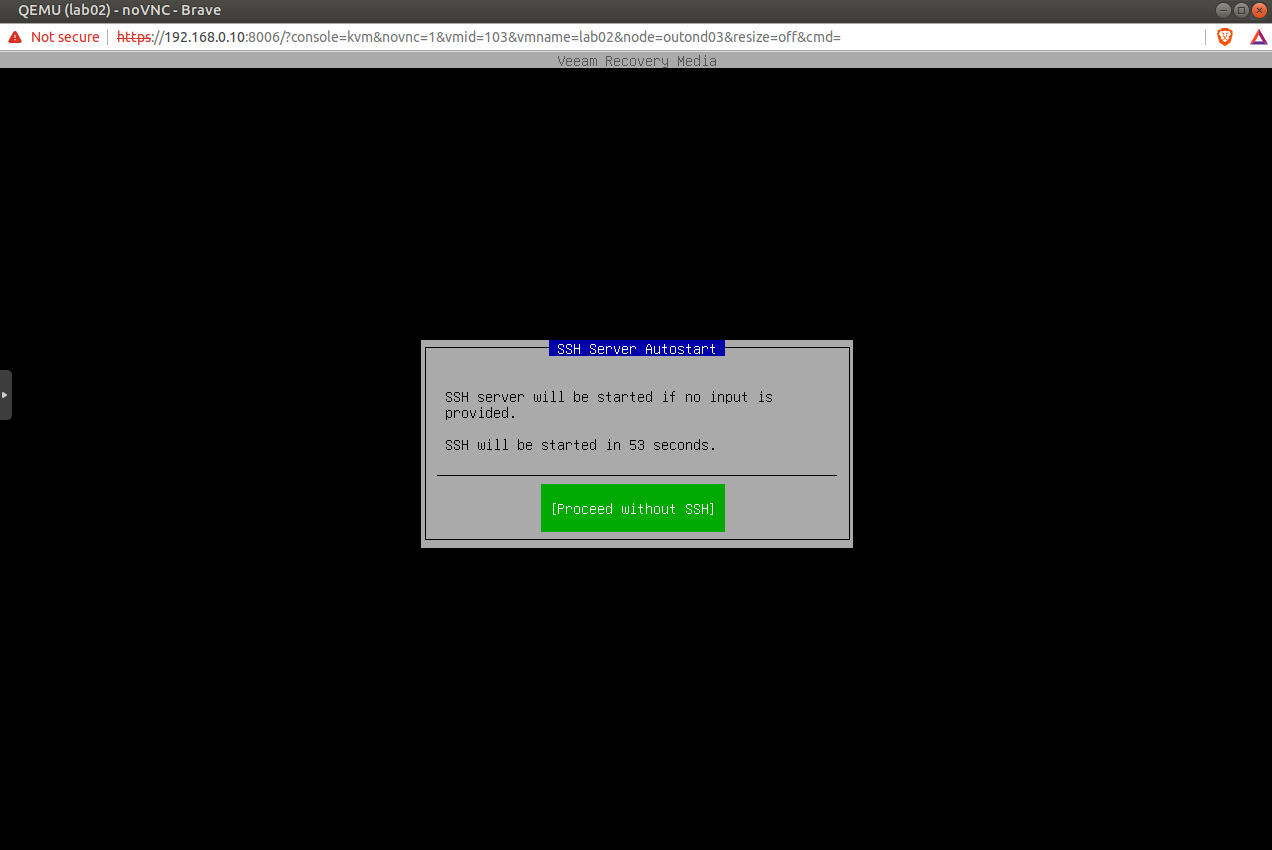
After booting the VM I connected the console where I saw a message stating that if I was patient a ssh server would be started so that I would be able to use a terminal on my laptop.
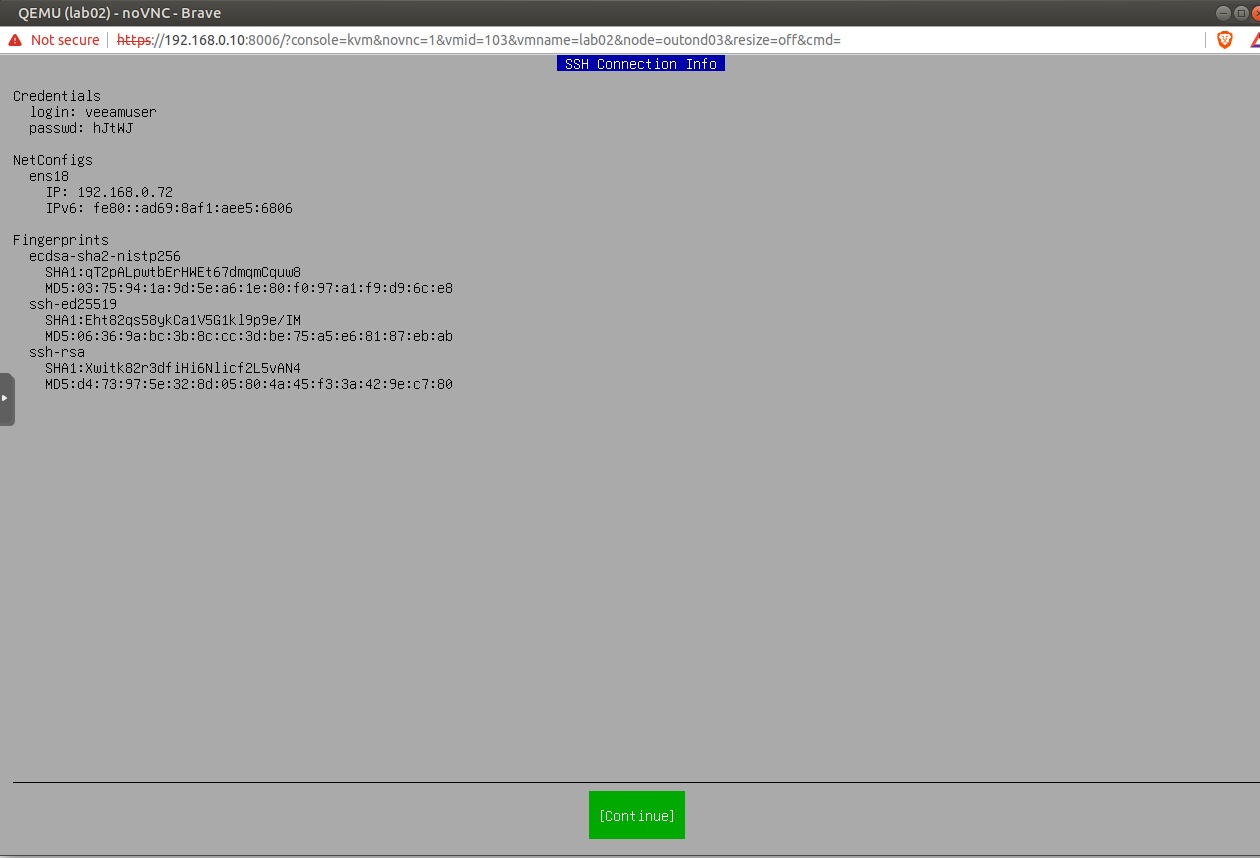
I was soon rewarded with a new screen giving me all the information that I need to connect from my terminal.

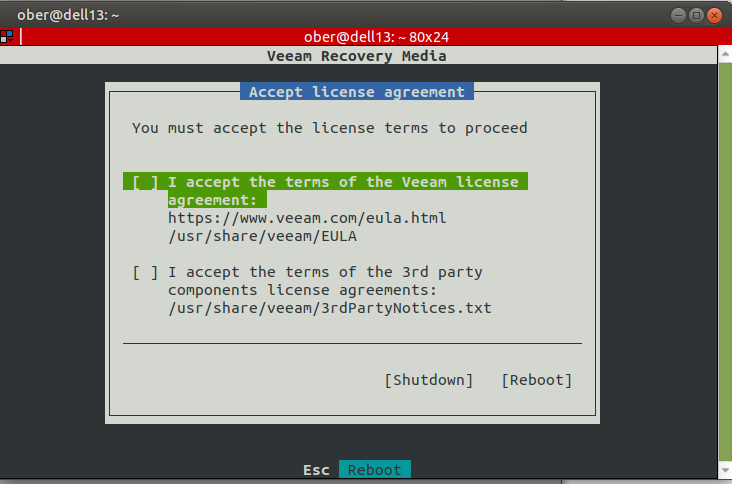
The first screen was license stuff so I ticked both boxes.
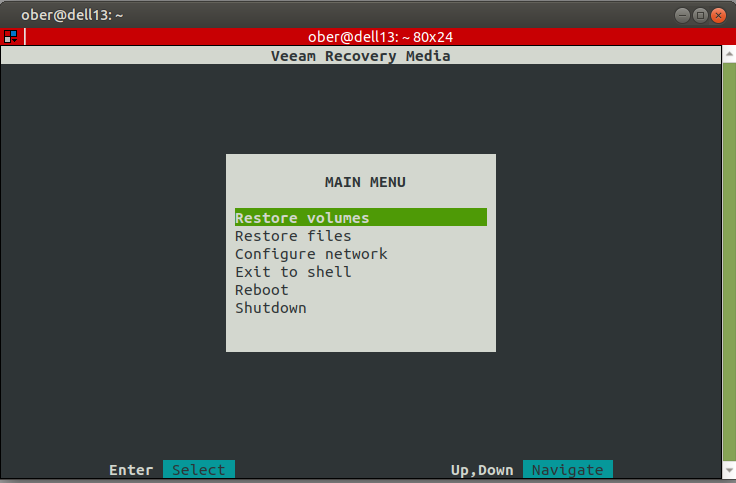
The main menu was simple enough and I new what I needed to do “restore volumes”.
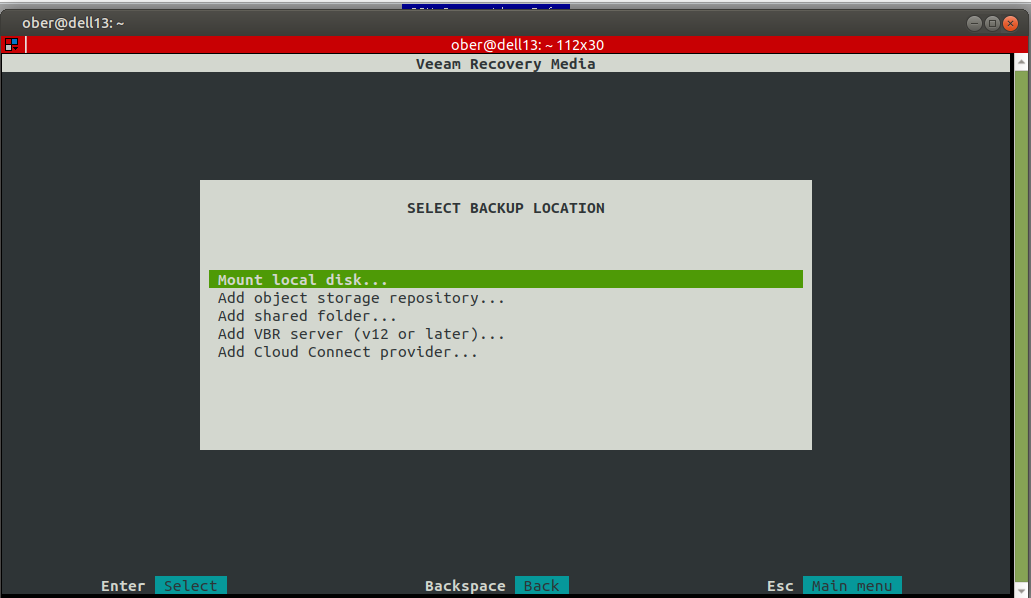
This brought up a new bunch of choices that were again very straight forward.
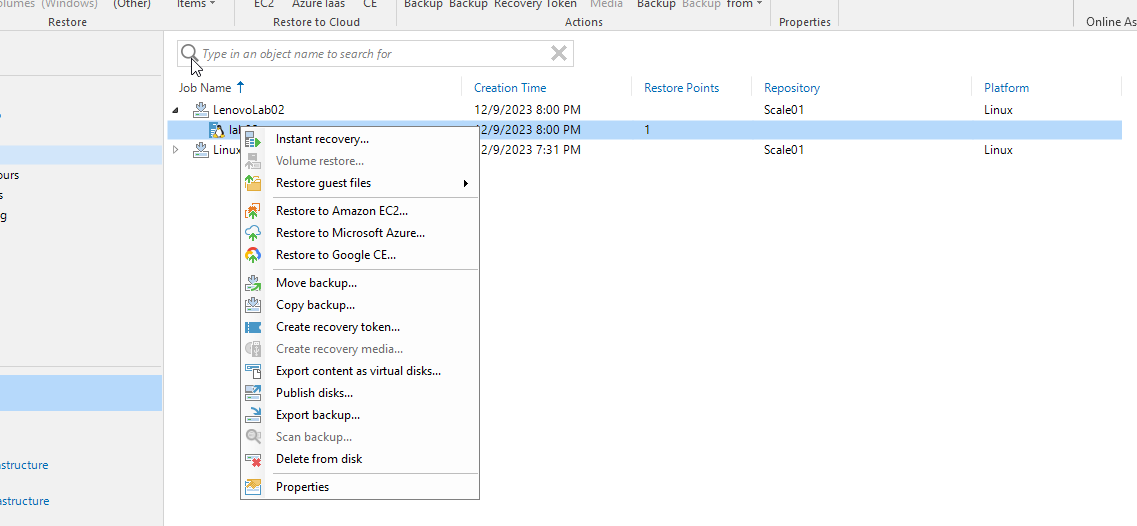
I decided to create a recovery token for simplicity sake so I went back to my VBR server and took the necessary steps to get this done.
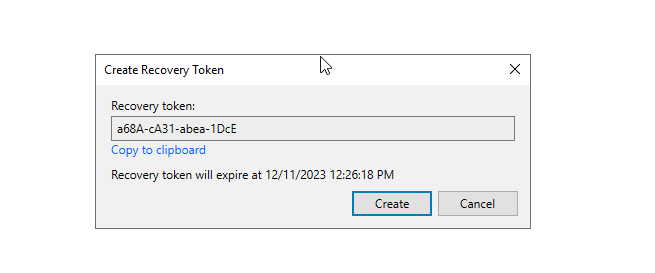
The next screen was again very intuitive, just copy the token.
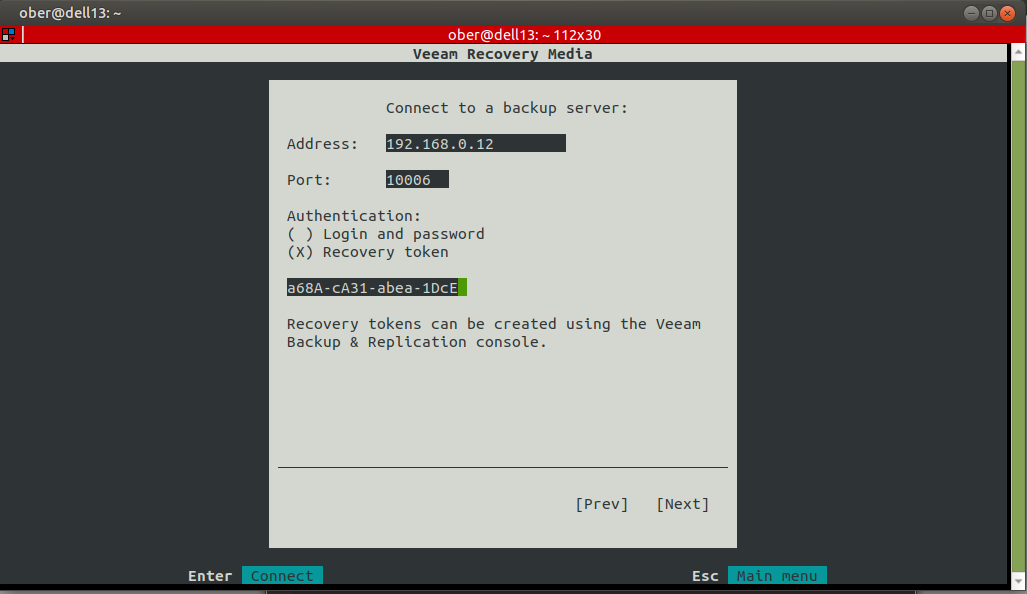
After selecting connect I had to wait a bit but then was greeted with the exact page that I wanted to see.

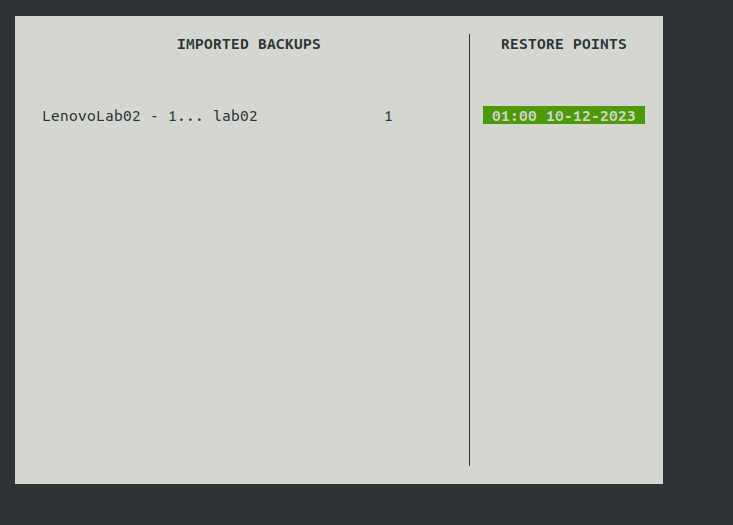
After selecting my only restore point the system displayed to me the source and target.

I followed with the Restore From option.

One more confirmation.
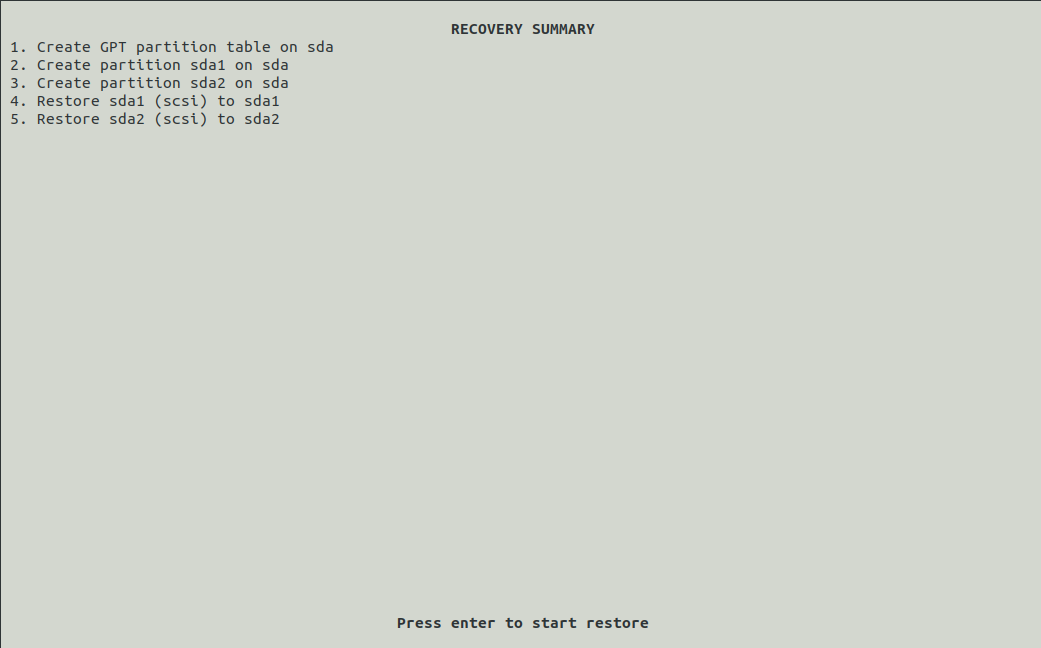
We are off to the races.

Done! Succes!
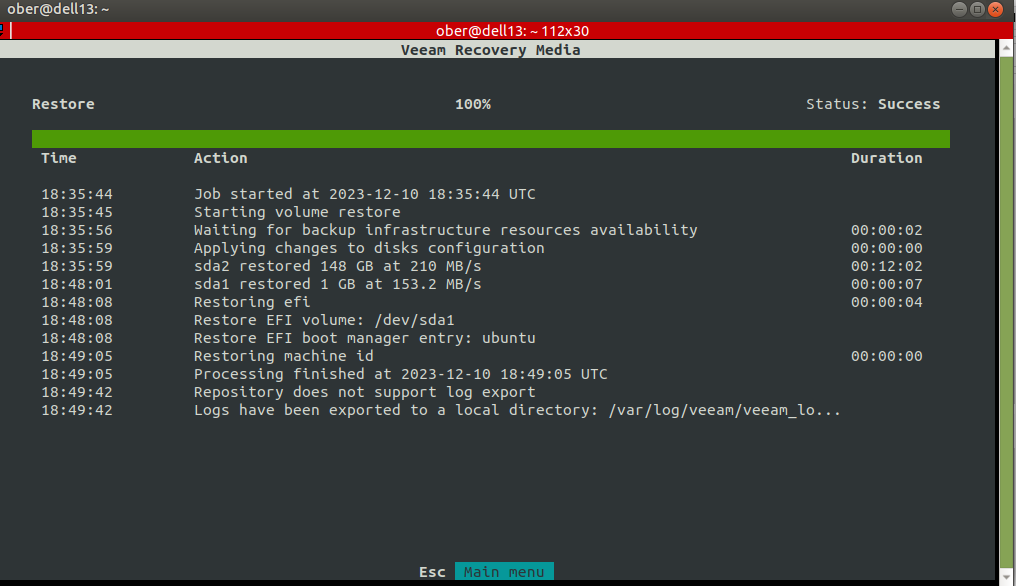
However, the proof is in the pudding, and only a successful boot will can confirm that all is good.

The system booted but I saw that the K3S service was not happy.
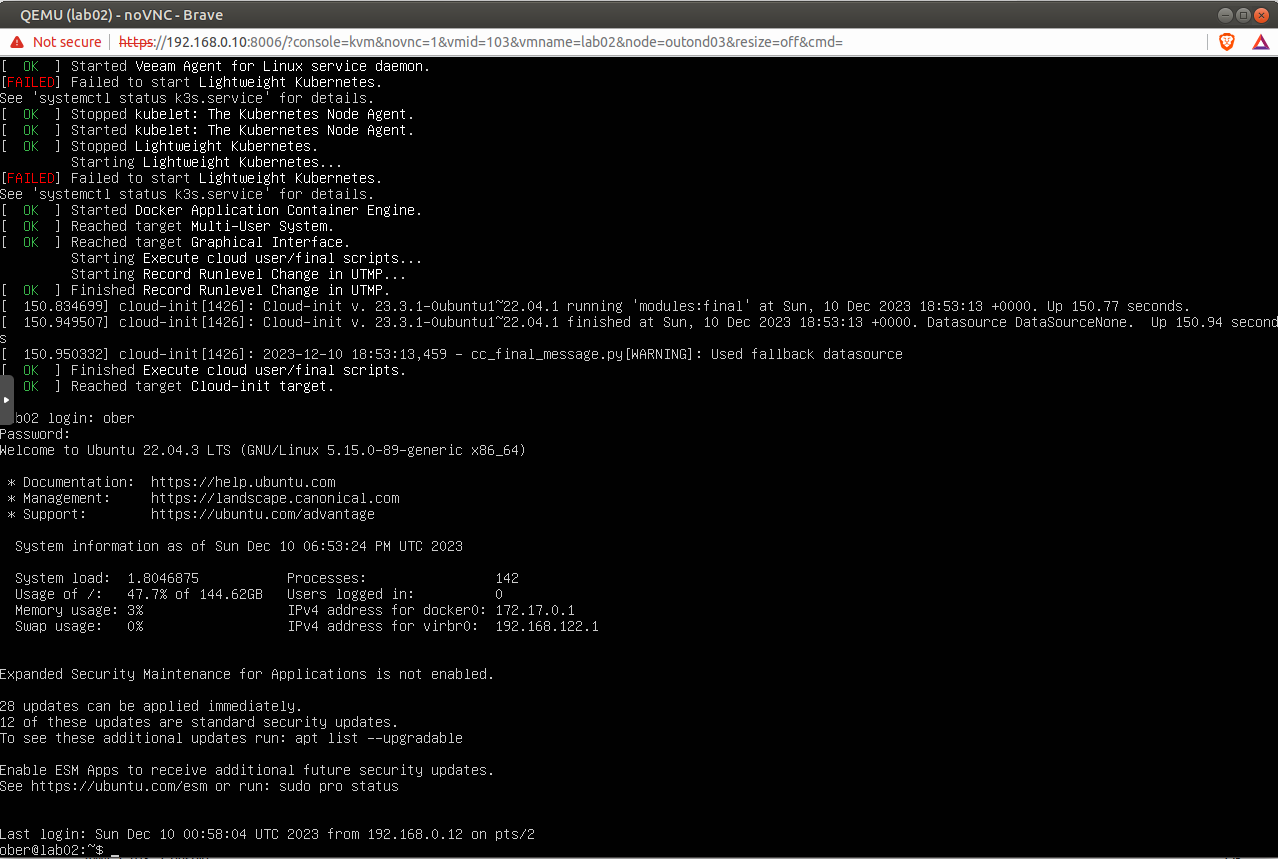
This is where having Hypervisor experience really helps. What changes when you do a p2v conversion, yes network cards!
Sure enough in this system the card is ens18.
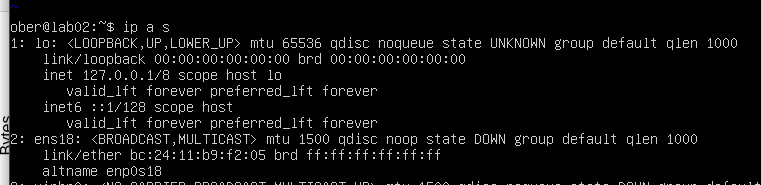
I edited my netplan config yaml and change the network device name.
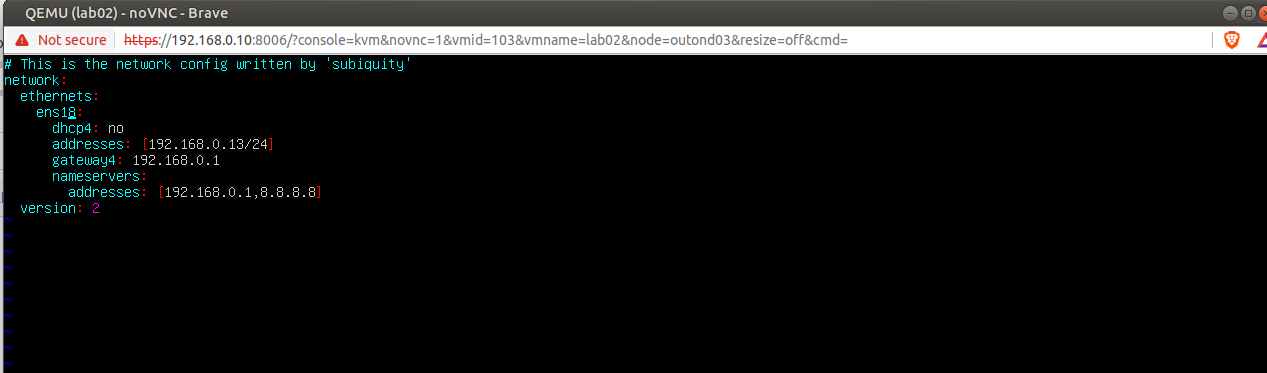
I rebooted this new VM, logged in and tried a kubectl command. Boom! all good.

Now I can use the laptop for something else. Thanks Veeam!
