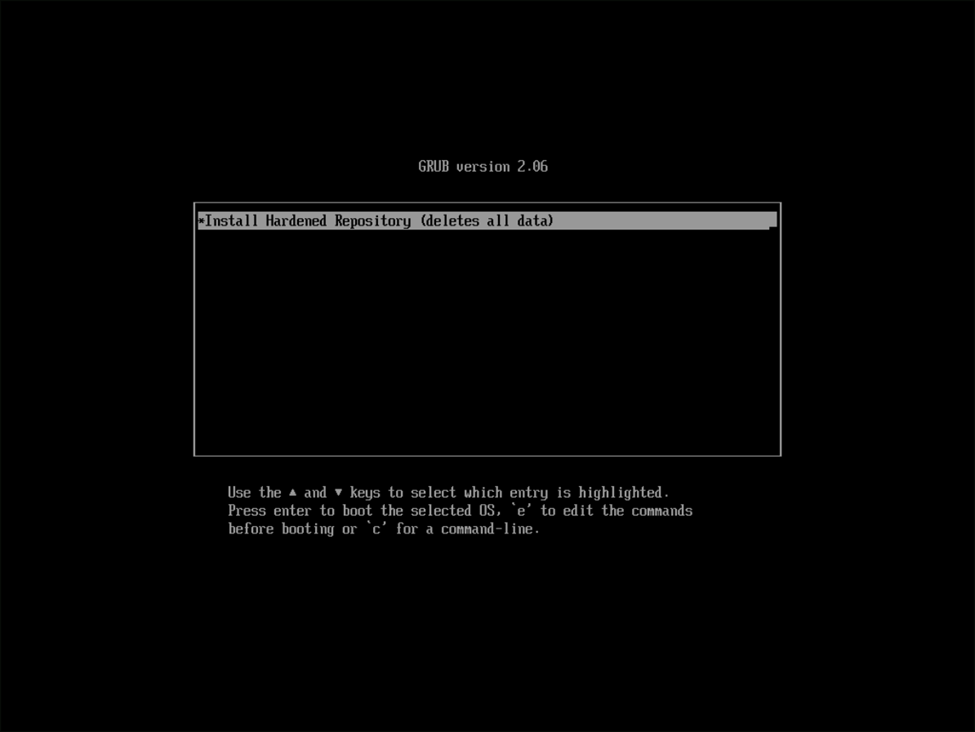
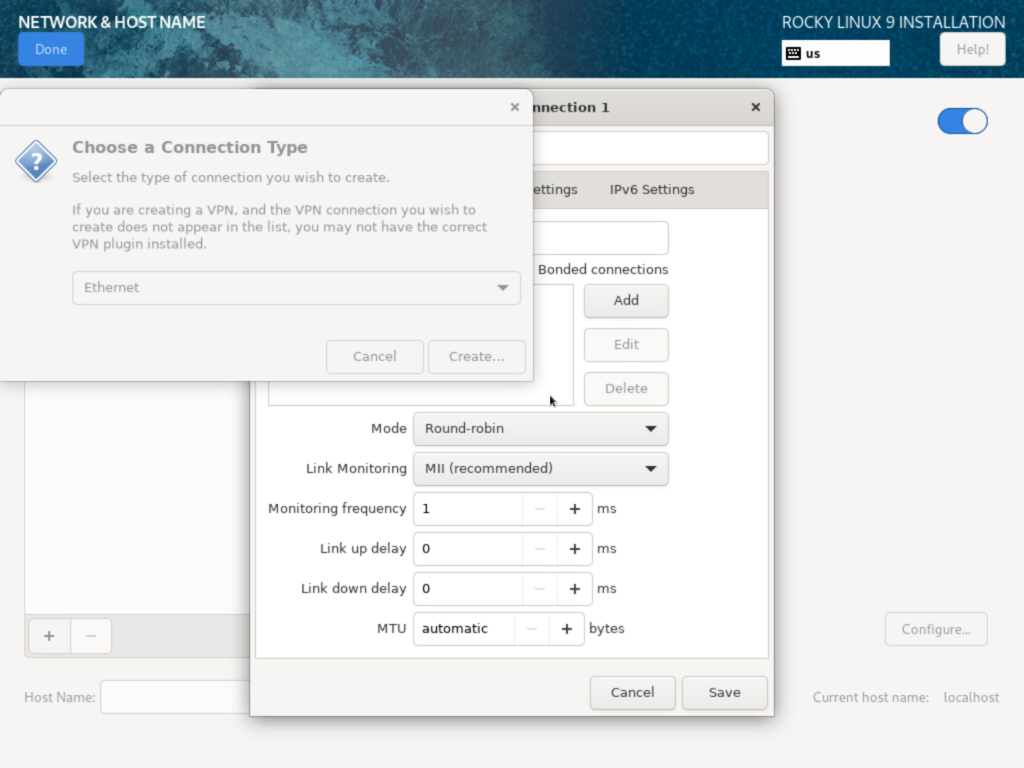
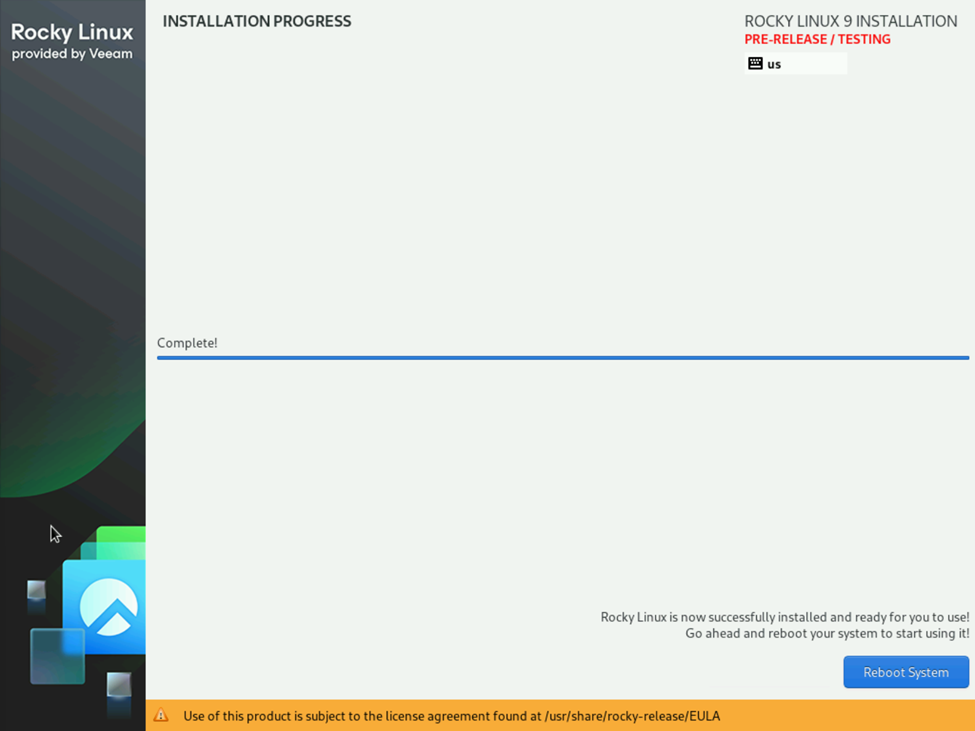
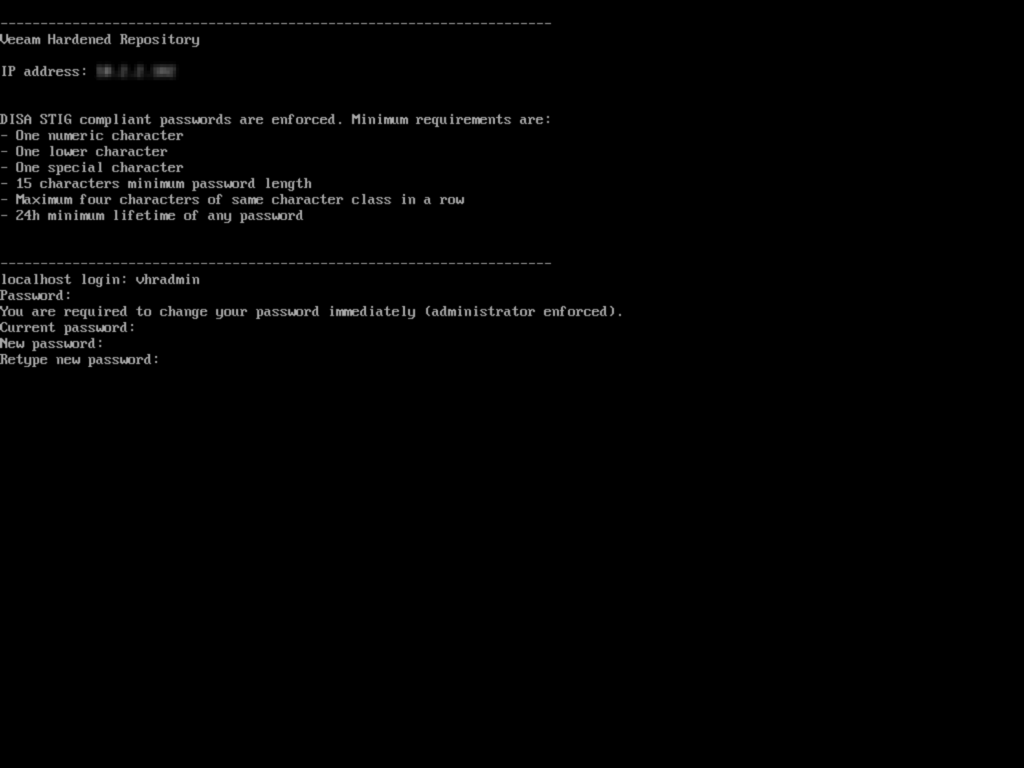
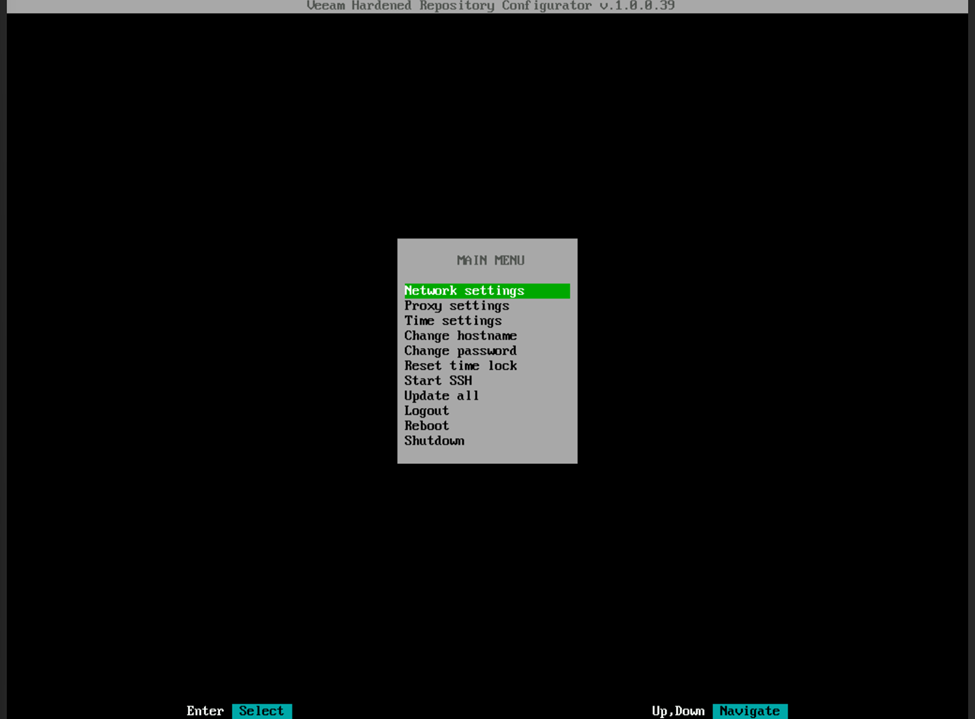
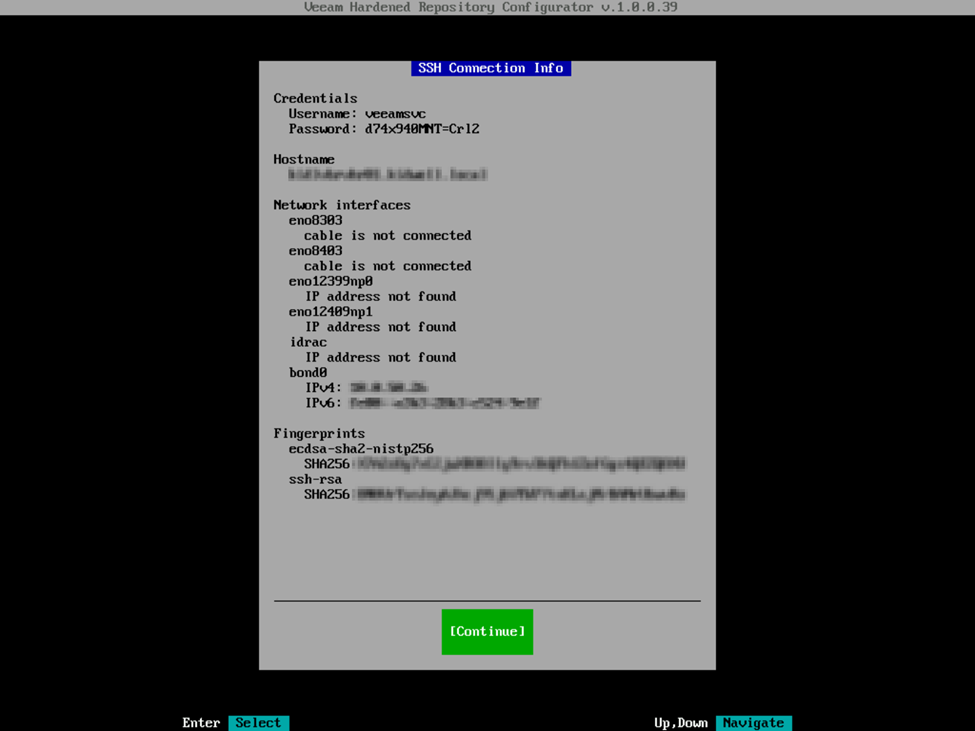
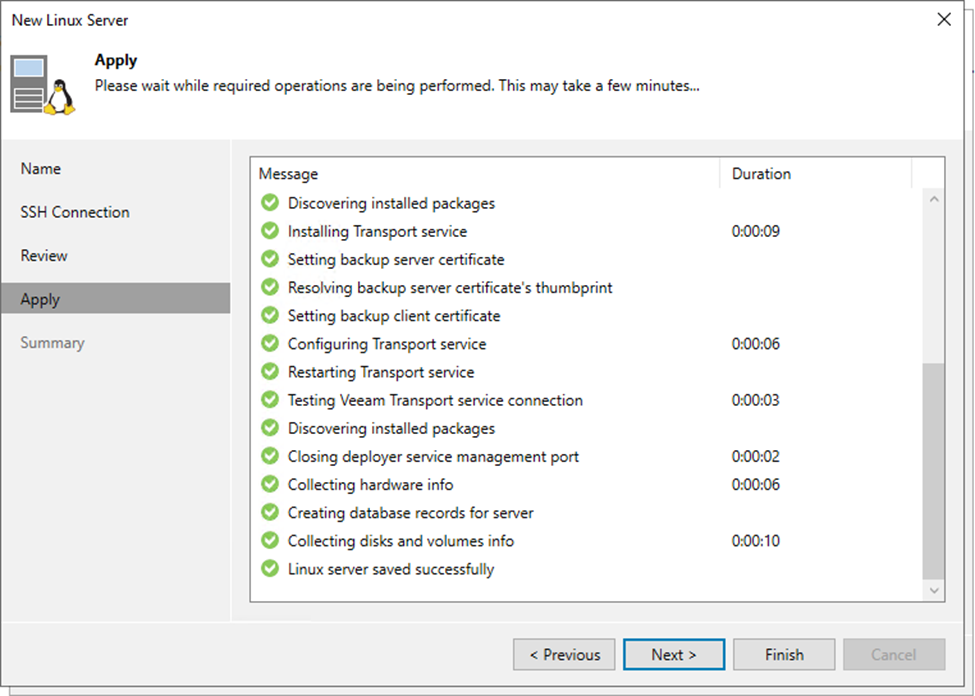
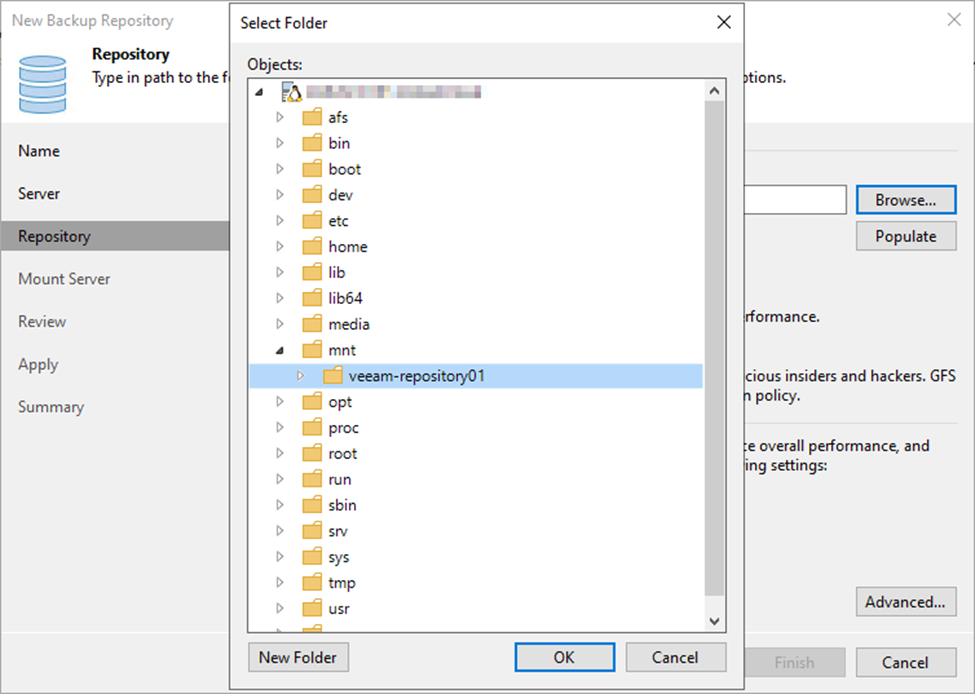
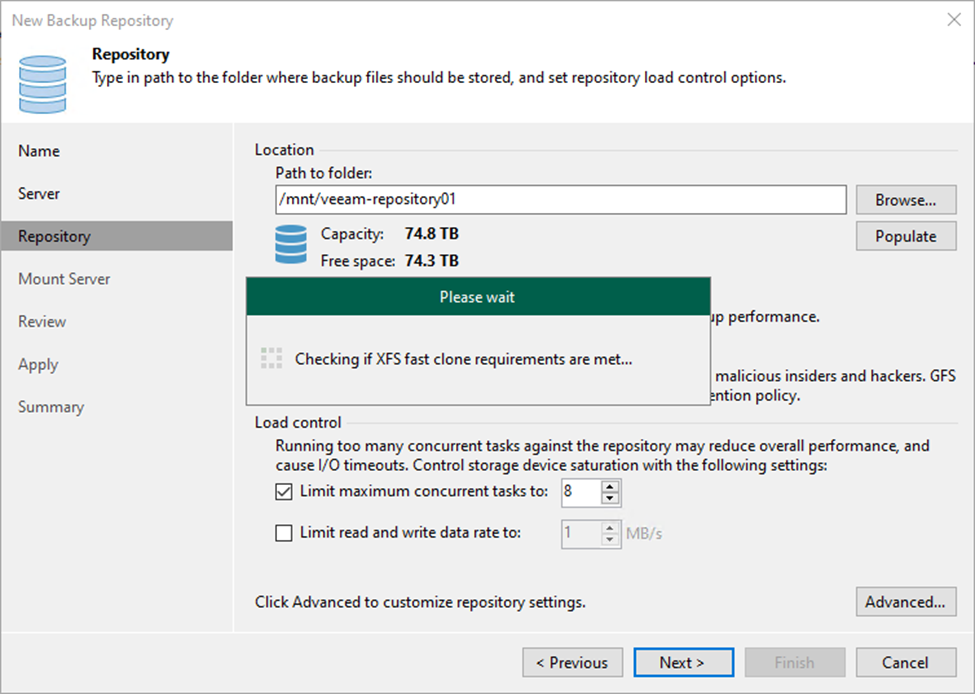
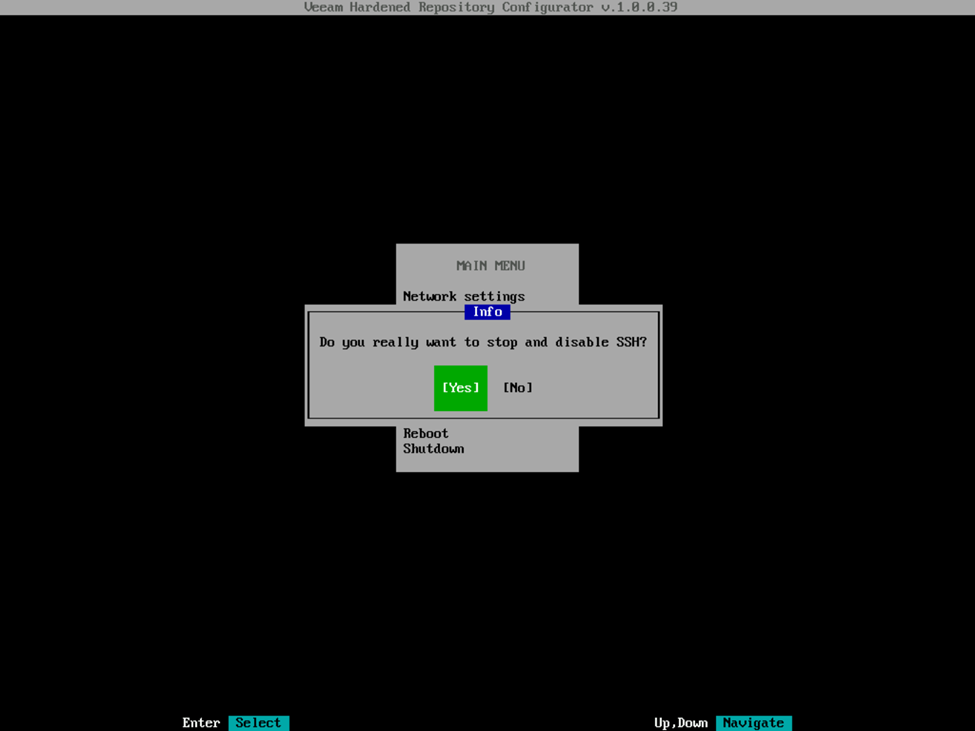
Hey all, I just finished posting the third of a three-part series on deploying the Veeam Hardened Repository ISO. I’ve been waiting a long time for the ISO to be released and have been occasionally bugged Rick about it, but this thing has been solid for me for over a week. I’ve had a server waiting for it for over a year and it was worth the wait as it was super easy to deploy aside from working around the slightly buggy GUI for Rocky Linux. I will note that Hannes specified 64GB of RAM for the VHR ISO, but my PowerEdge R550 that we ordered for the task previously has 32GB and seems to be keeping up just fine, though time will tell. Since it’s broken up into multiple parts, I’ll just share links to my blog rather than copying it into this post, though I will share a few screenshots as a teaser.
Also thank you to everyone that had previously posted or had input on network bonding in Linux. It was helpful as I setup my first 802.3ad bond on a server. Let me know your thoughts and if you find it helpful! Also, special thanks to Hannes, Rick, and anyone else on the team that contributed to releasing the ISO…..well done all!
