

Recently as blogged already, I got a DS923+ Nas and here is one of the guides agreed upon. This short article will discuss how to set up iSCSI Target and Storage LUN on Synology DS923+ for VBR.
ISCSI stands for Internet Small Computer System Interface. It revolutionizes storage accessibility by seamlessly transporting SCSI commands over TCP/IP networks, granting unparalleled block-level access to storage devices. This innovative technology bridges the gap between traditional storage systems and modern networking infrastructures, empowering businesses with efficient, scalable, and flexible storage solutions.
iSCSI allows you to use a Windows repository with ReFS which leverages FastClone. Do you wish to learn more about why the Storage LUN Better is better than a Mapped Network Drive etc.
Create iSCSI Targets/LUN
You can create an ISCSI target or LUn on a Synology DS923+. Since this is a pretty new device, we will create both on the fly.
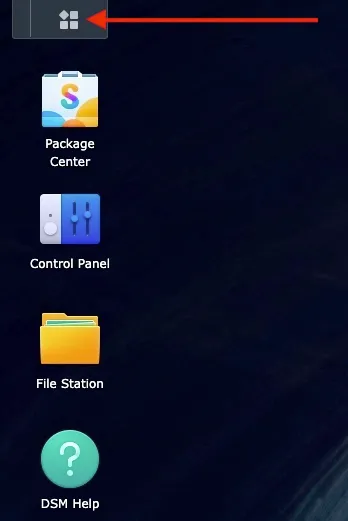
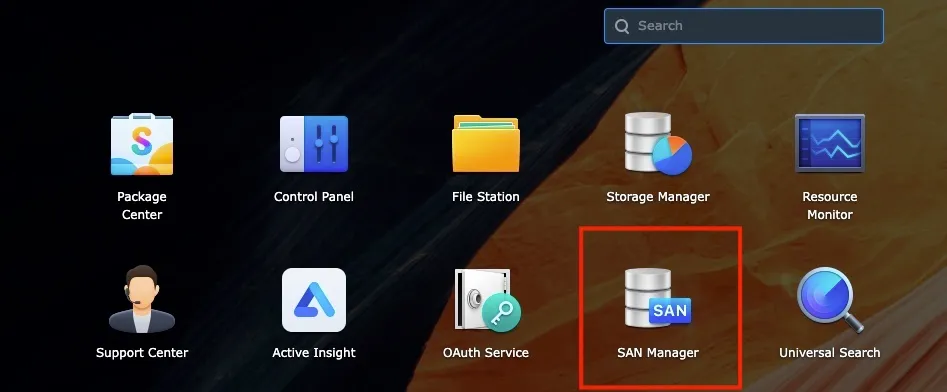
For simplicity, I will create a single LUN and present it to my HyperV host. To create a LUN, access your Synology NAS. Select the main menu as shown below.
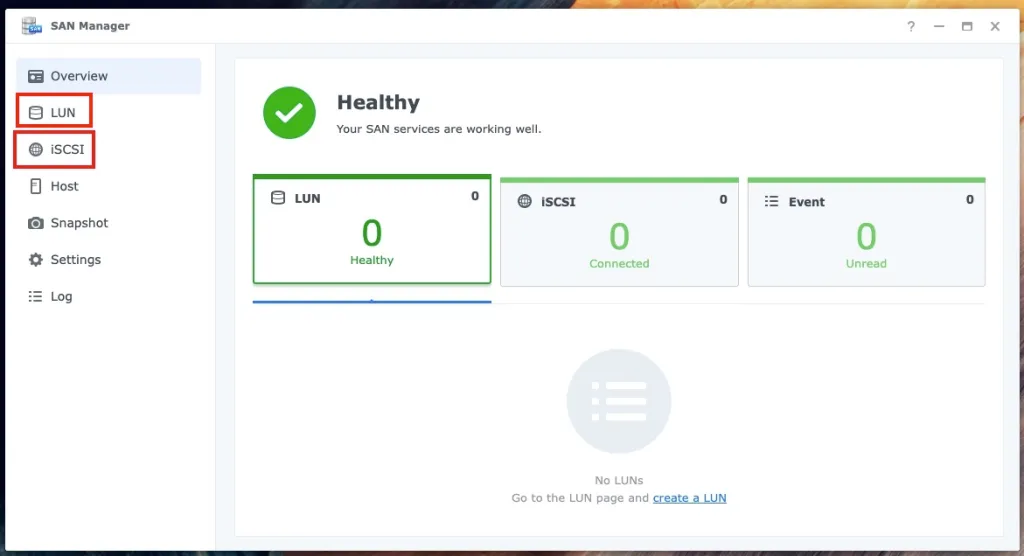
Launch the SAN Manager
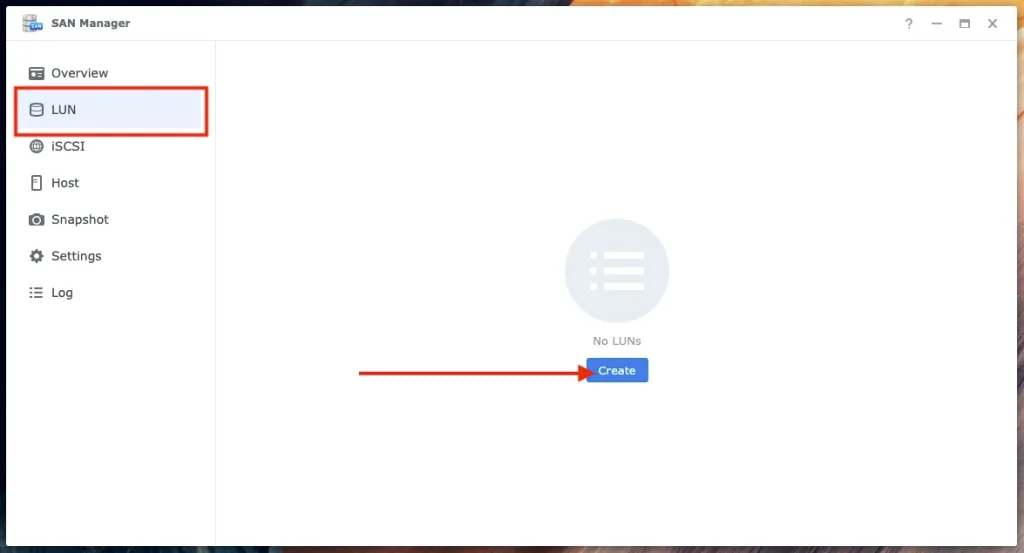
Click on the Create button
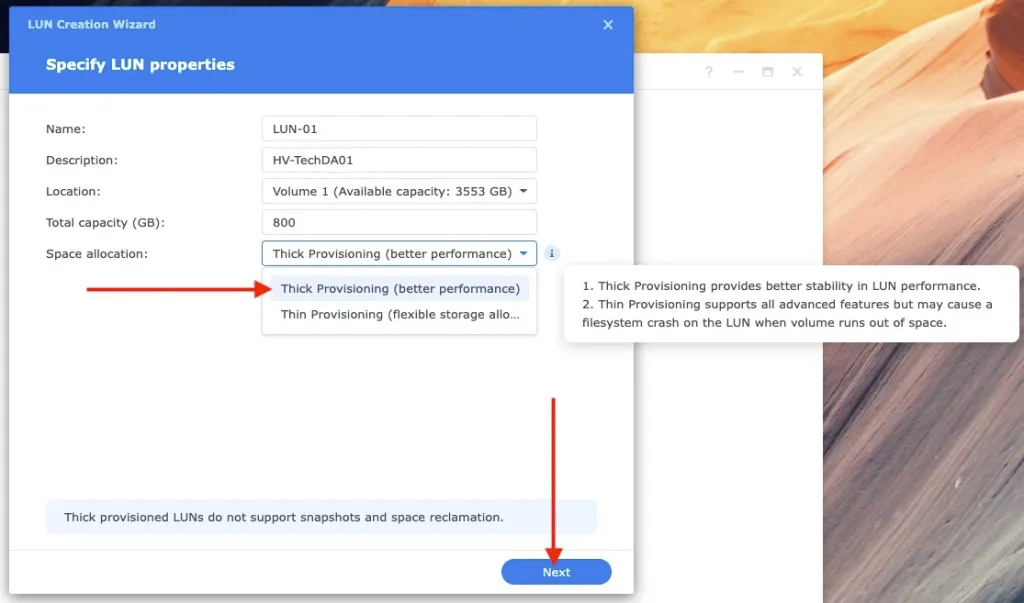
Enter a name for the LUN, description, and capacity and click Next. Here, “Thick Provisioning” provides better stability in LUN performance while “Thin Provisioning” provides on-demand-allocation ability.
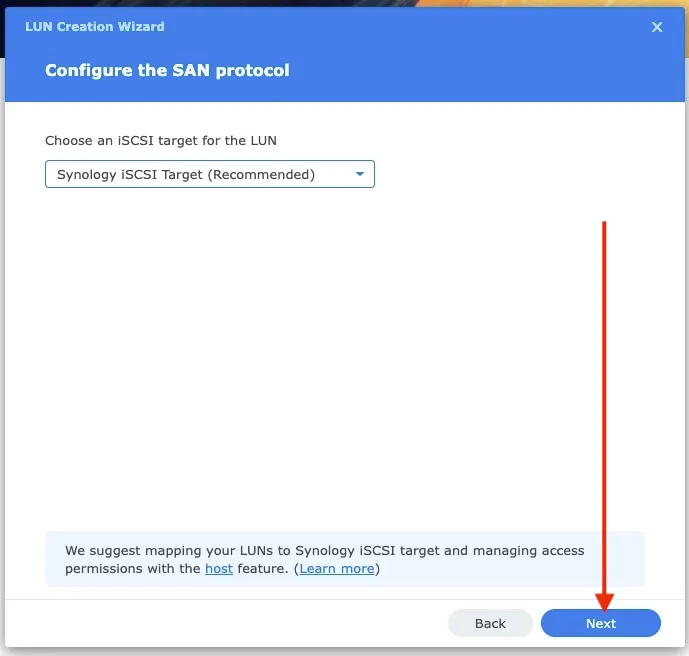
create a new iSCSI target on the fly. Click Next to proceed.
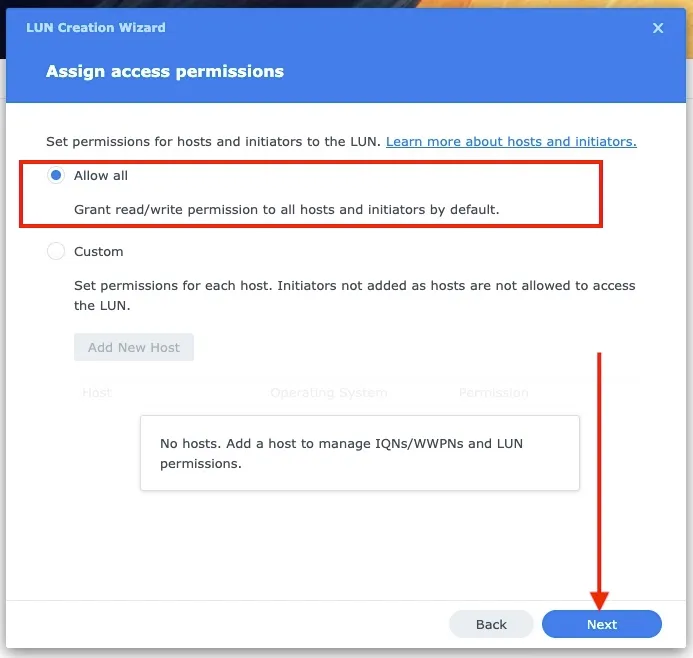
Assign access permissions as you wish. For me, I am fine with the first option below “allow all”.
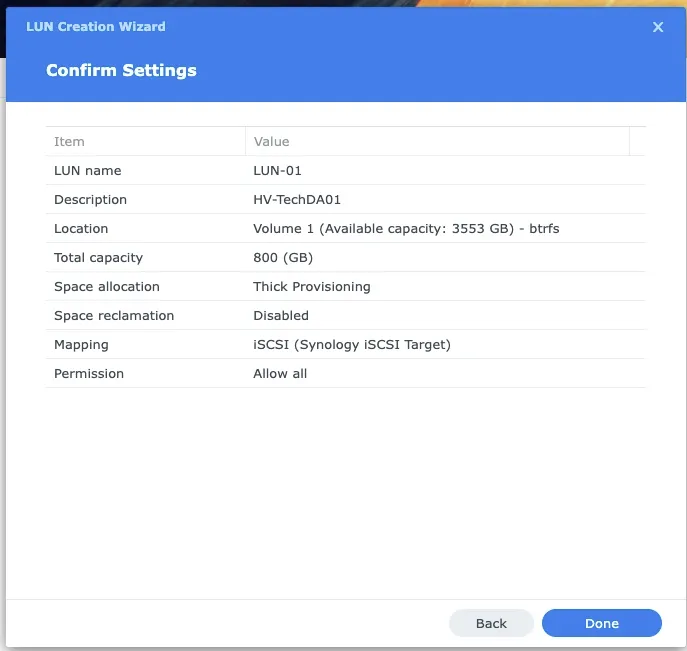
Confirm the settings and click Done to finish the wizard.
Enable iSCSI Initiator
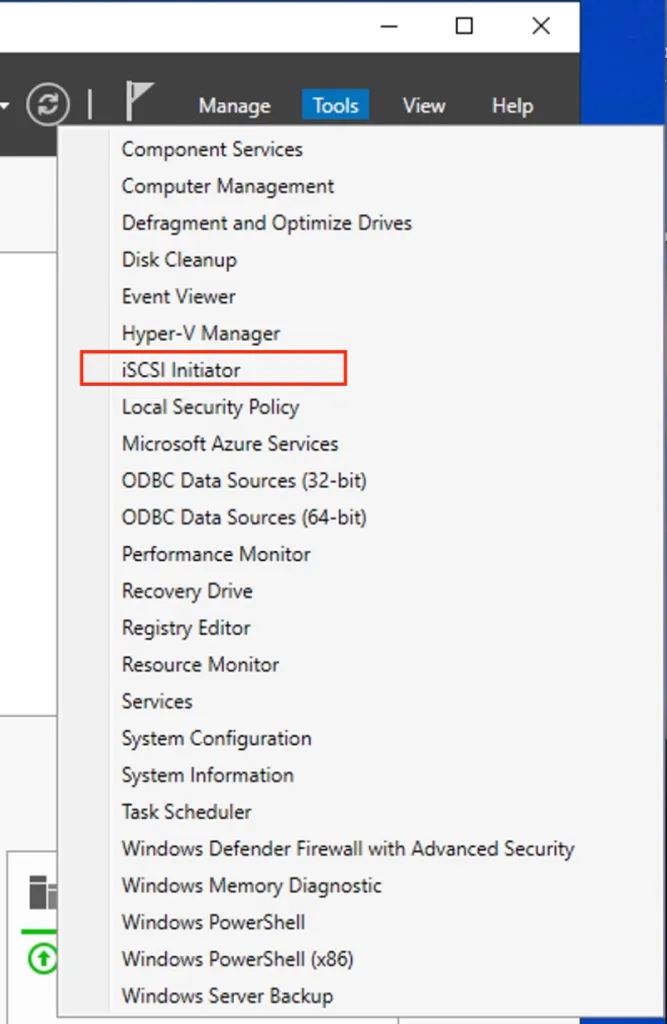
By default, the iSCSI service is stopped. To utilize it, you need to start the service. To start the service, open “Server Manager”, click on “Tools” and select “iSCSI initiator”. You can also use the services manager to do this as you wish.
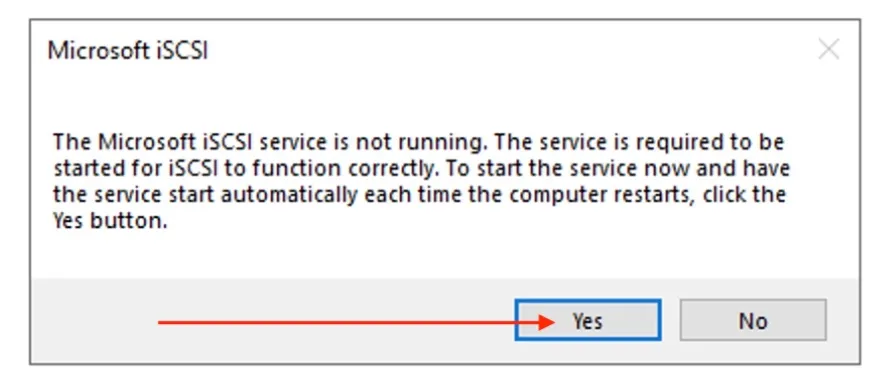
A message box opens that says, The Microsoft iSCSI service is not running. The service is required to be started for iSCSI to function correctly.” Click on Yes.
Configure the iSCSI Initiator
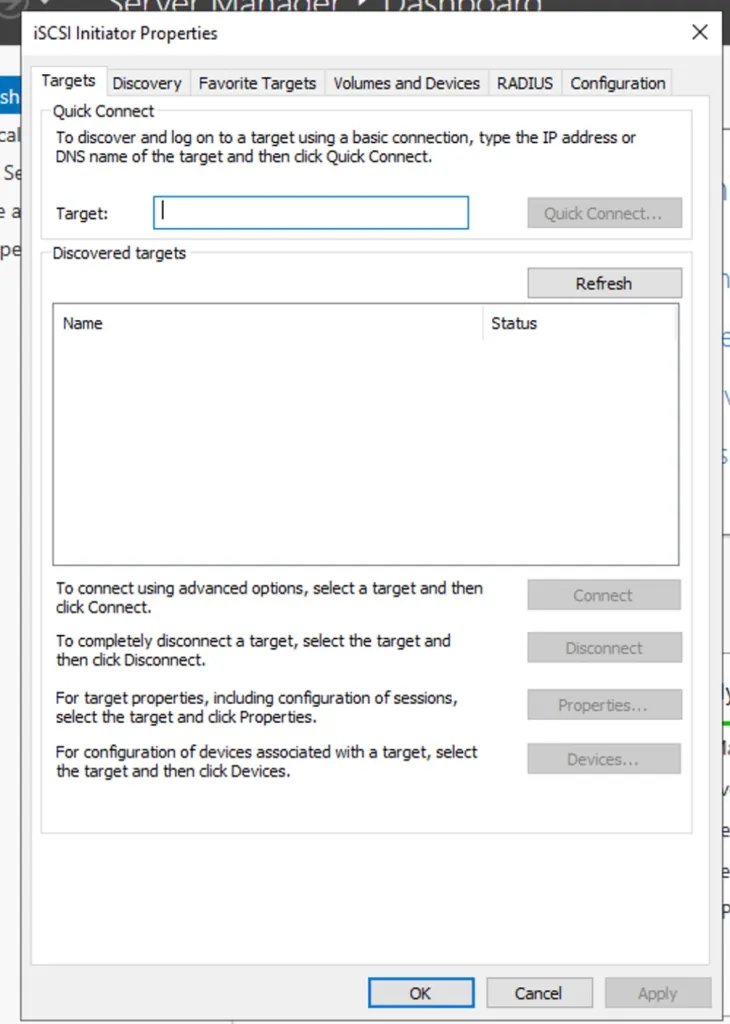
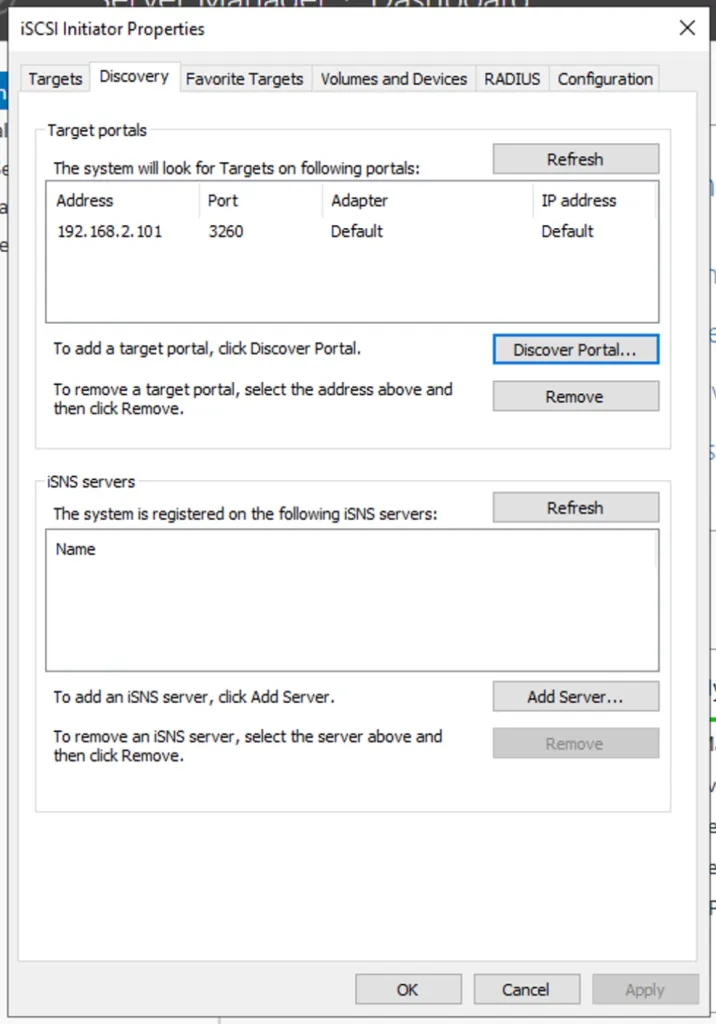
To configure the initiator, open the Server manager. Click on tools and click on “iSCSI initiator”. A dialog box to configure up. Navigate to the Discovery Tab.
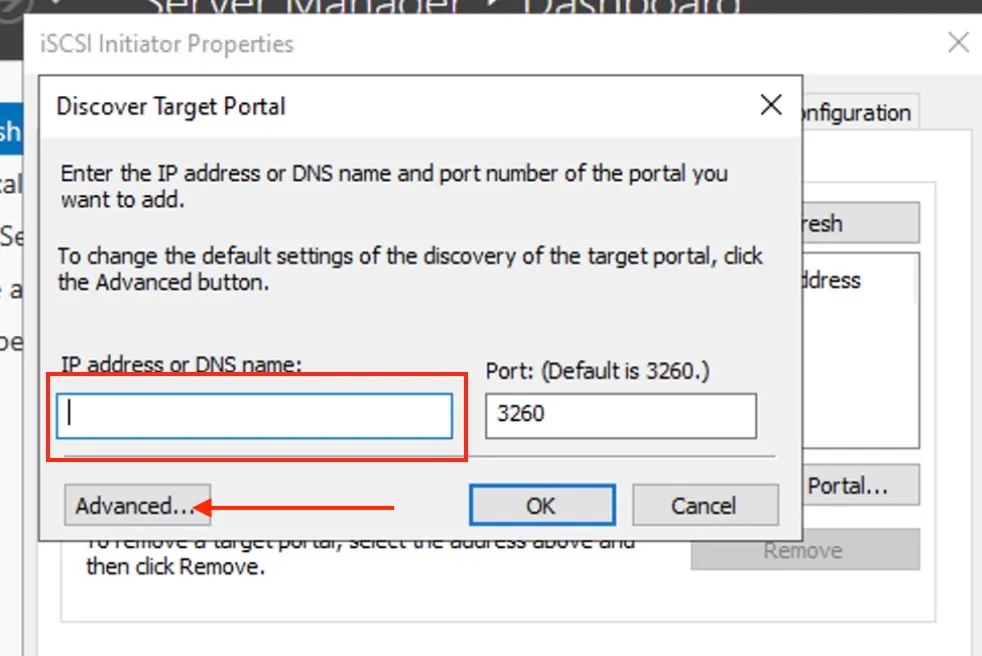
Click on Discover Portal.
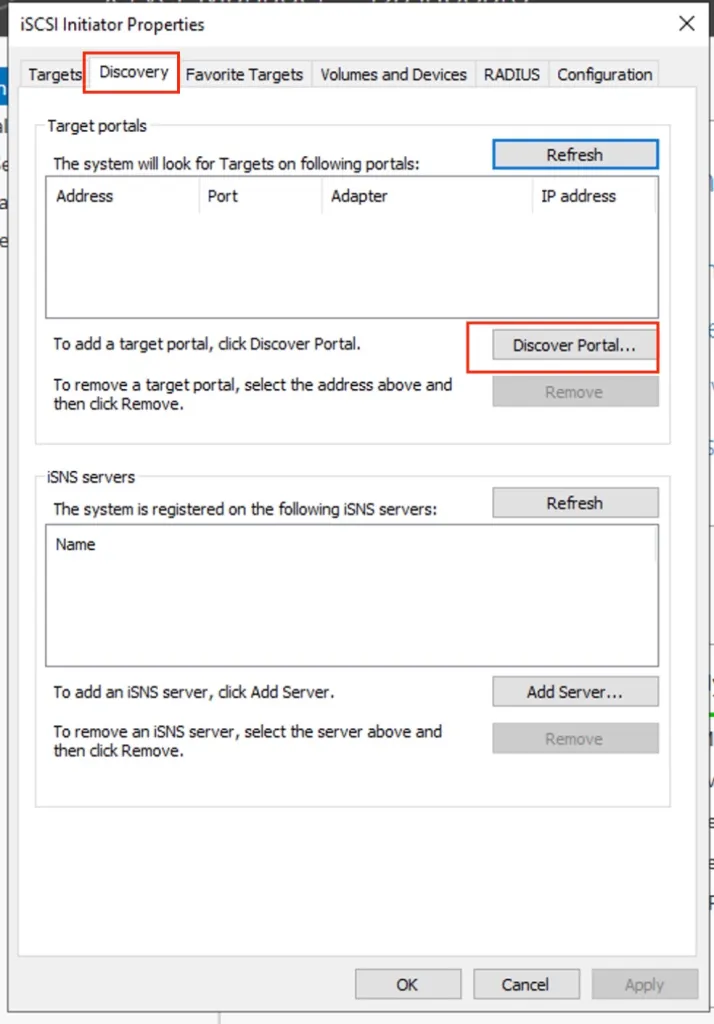
To connect to the iSCSI virtual disk, enter the DNS or IP Address of the iSCSI target server (NAS). Click OK
Navigate the Target Menu
The status is inactive. To make it active, click connect as shown below.

On the Connect to Target, click OK. As you can see in the following image. The initiator has been connected to the iSCSI virtual disk

Disk Initialisation and Volume Creation
To initialize the iSCSI virtual disk, follow these steps: Here are similar articles: How to Increase Disk Size in Hyper-V, how to Add and Format a New Virtual Disk to an EC2 Instance, and How to extend System Drive Partition on Windows.
- Open Control Panel.
- Navigate to Administrator Tools.
- Click on Computer Management.
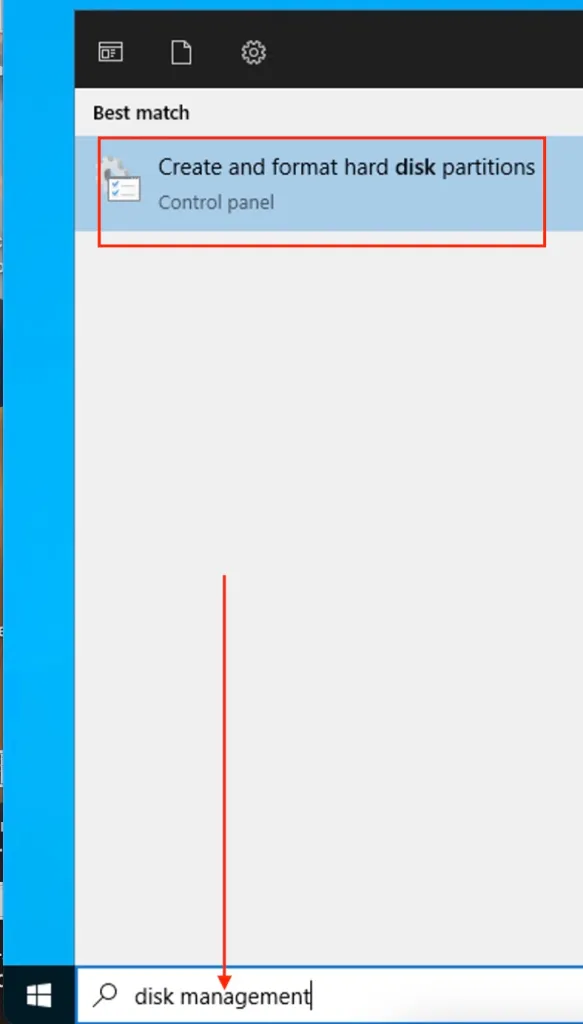
Alternatively, from the search button, search for Disk Management or Computer Management as shown below. Click “Create and Format Disk Partitions”.
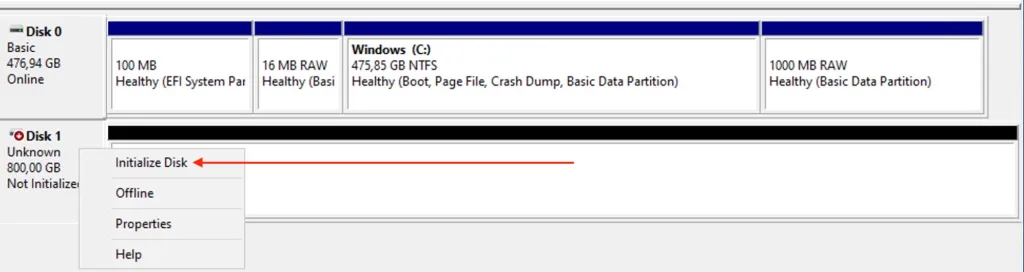
As you can see in the above image, an unallocated partition has been created. To use it first, we must bring it online.
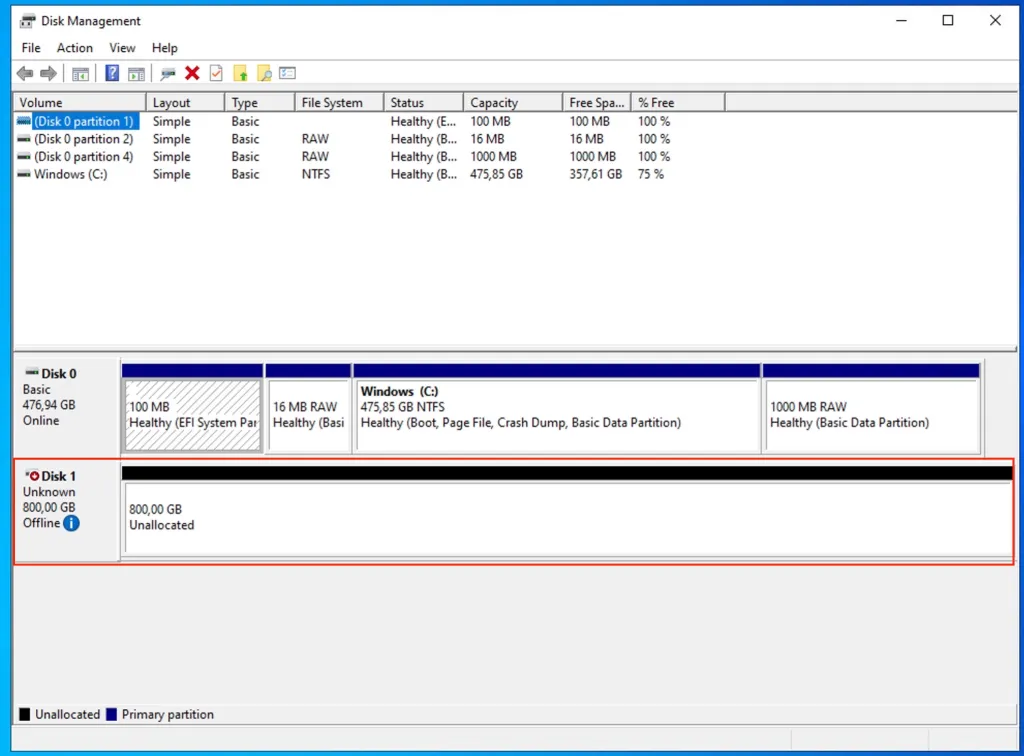
To do that, right-click on “Disk 1” and click on Online

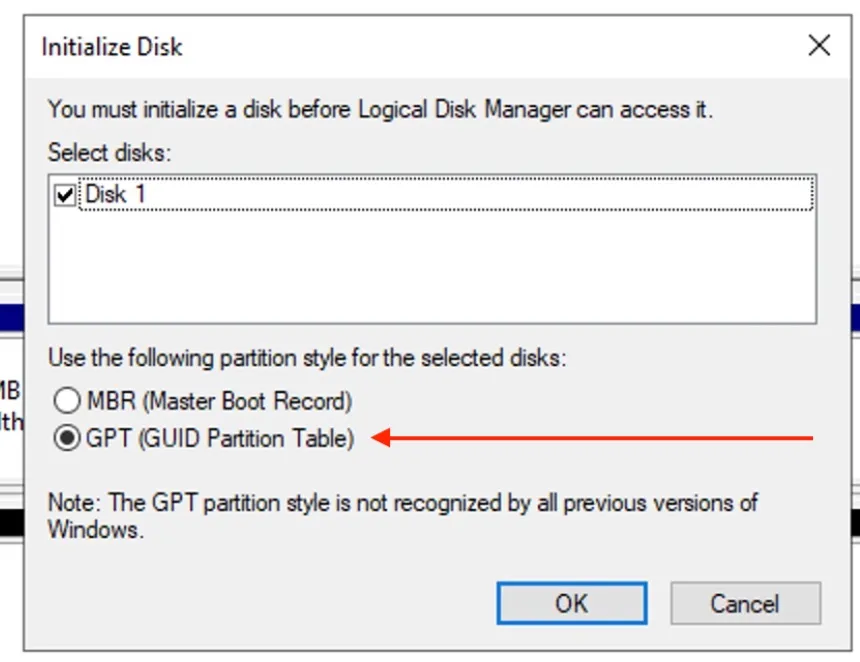
Once the disk is online, we must initialize it so that the logical disk manager can access it. To do that, right-click on “Disk 1” and click on “Initialize disk.
A dialog box “Initialize Disk” opens. Click on OK.
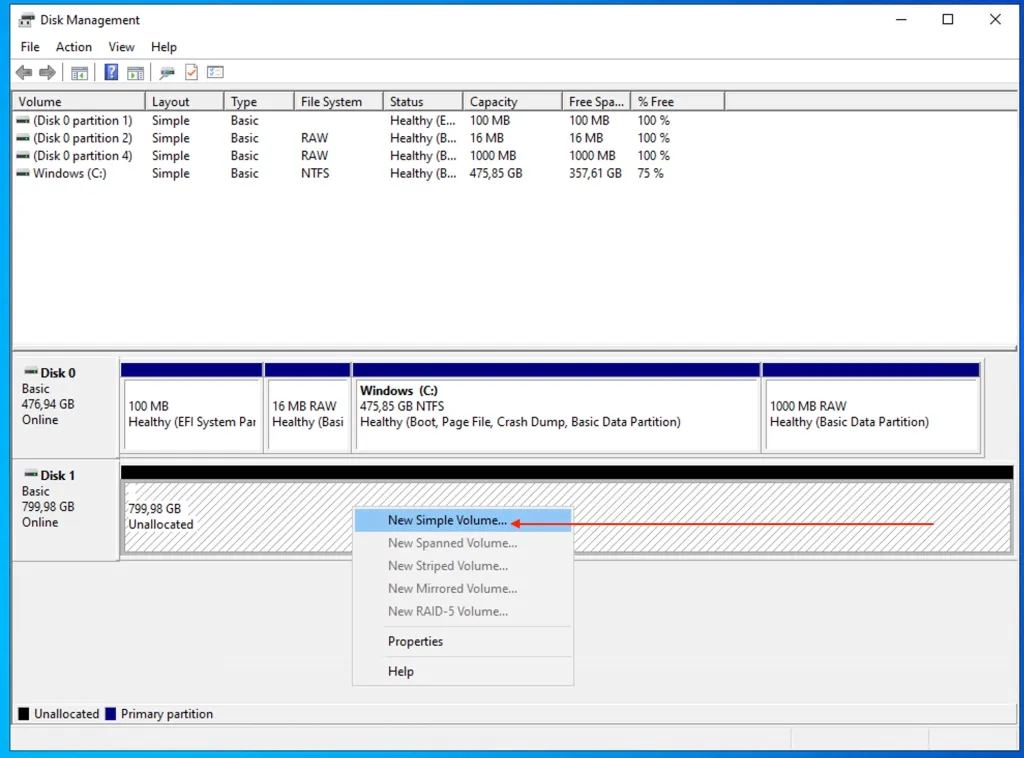
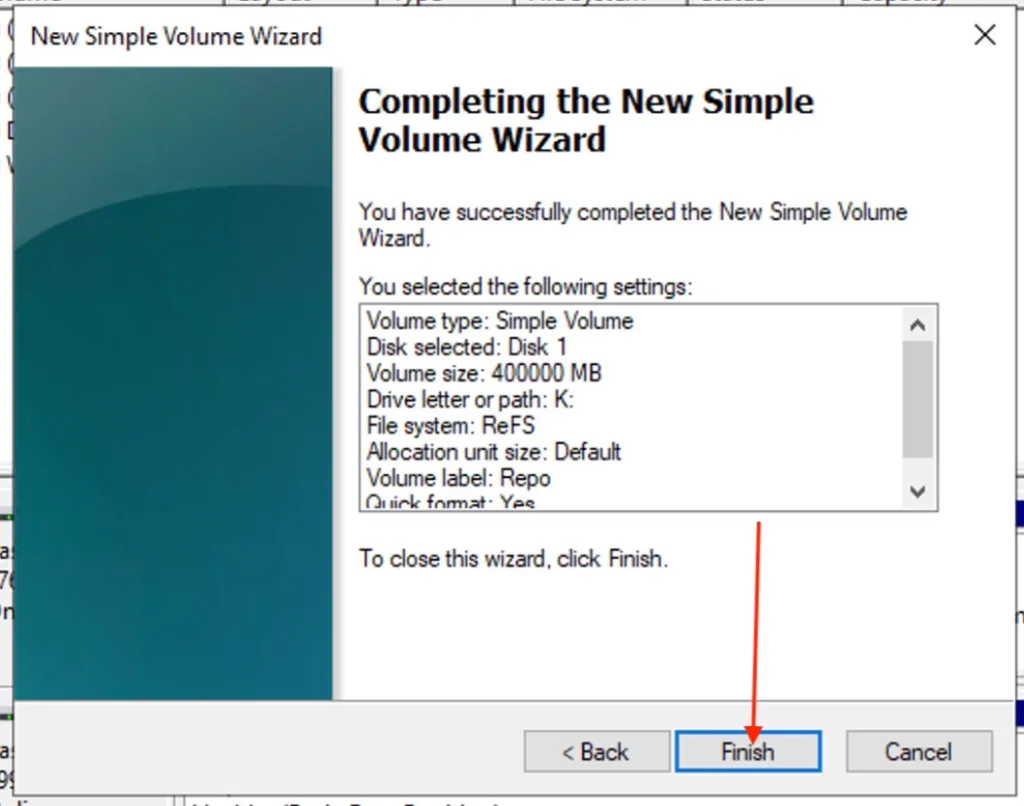
Once the disk is online, we will create a volume. To do that, right-click on “Disk 1” and click on “New Simple Volume.”
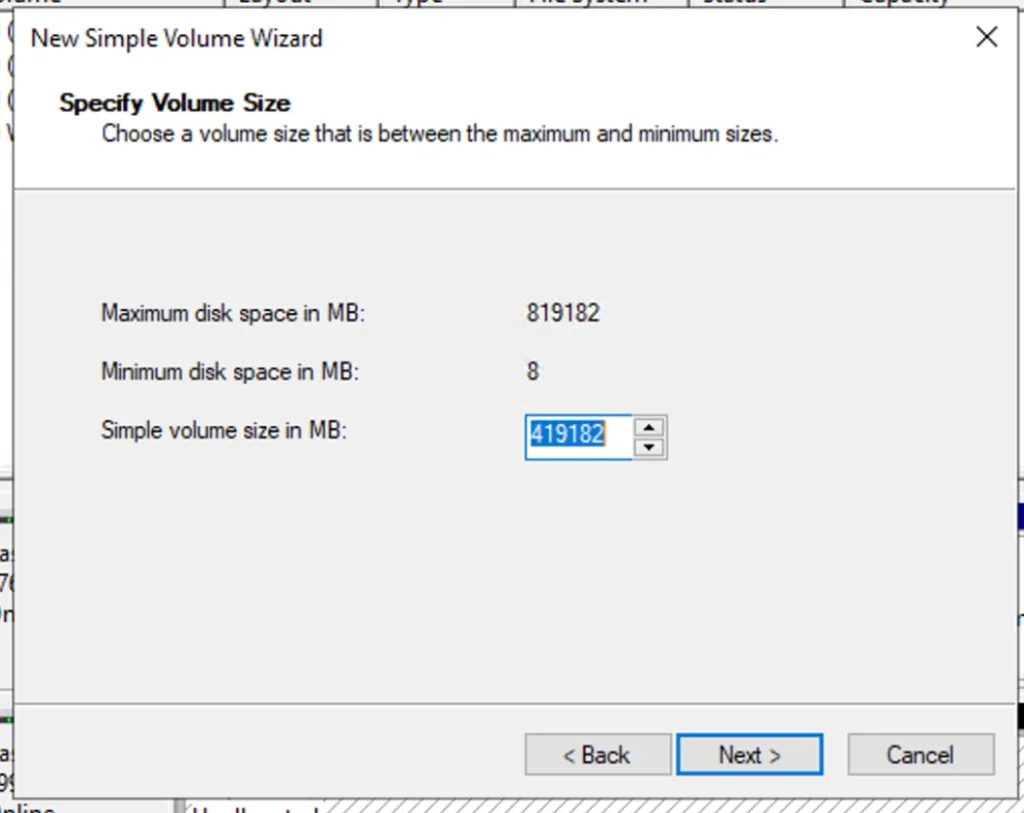
Follow the prompts. On Specify Volume Size screen, enter the desired size of the disk in text-box named, “Simple volume size in MB”. Click on Next
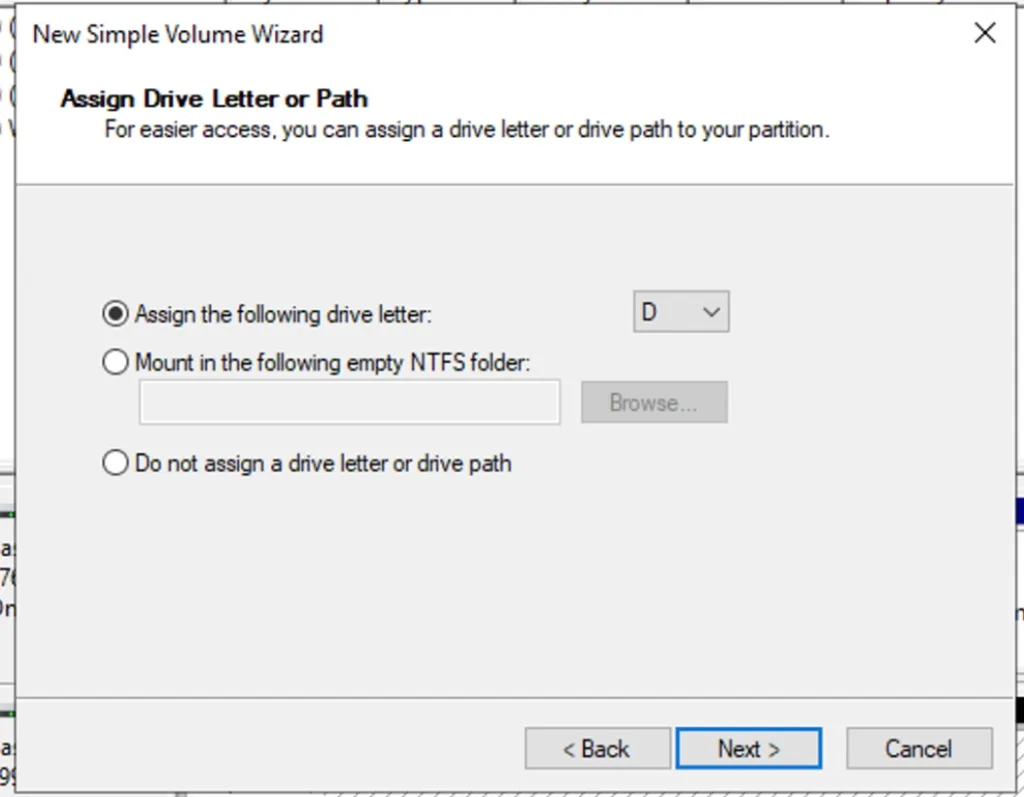
On the Assign Drive Letter or Path screen, you can specify the drive letter. Choose the desired drive letter from “Assign the following drive letter” drop-down box and click on Next
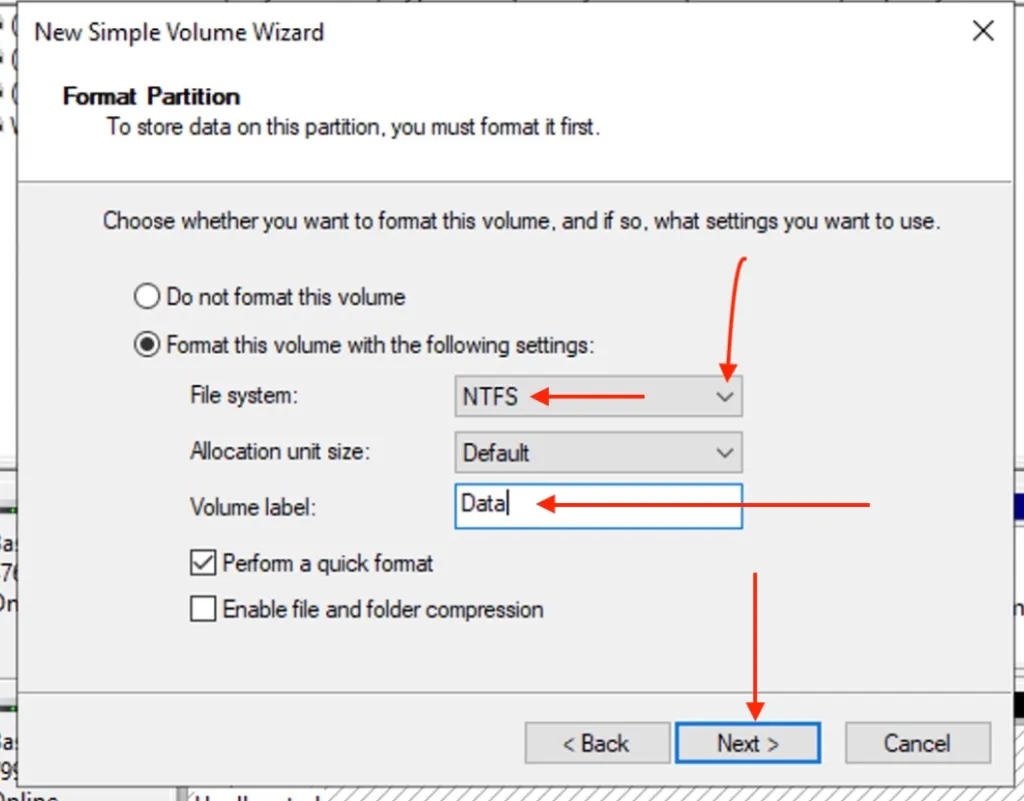
On the Format partition screen, you can specify the File system type, allocation unit size, and volume name. We will choose NTFS file system type from the “File System” drop-down box.
Note: You can choose ReFS at this point. But you will have to format the volume with the right block size of 64k. So I do not care about formatting with ReFS at this point.

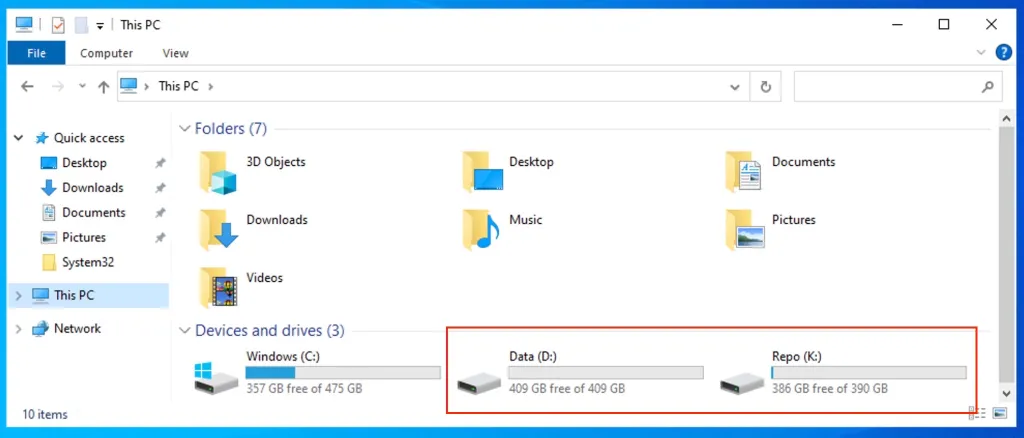
Once the volume has been created. You can access it from Windows Explorer, as you can see in the following image that the drives have been created successfully.
Add a New Repository
A backup repository is a main storage location where Veeam Backup & Replication keeps all versions of backed-up files for the configured period and metadata files. Backups stored in the backup repository can be used to quickly restore the entire file share to the state of a specific restore point.
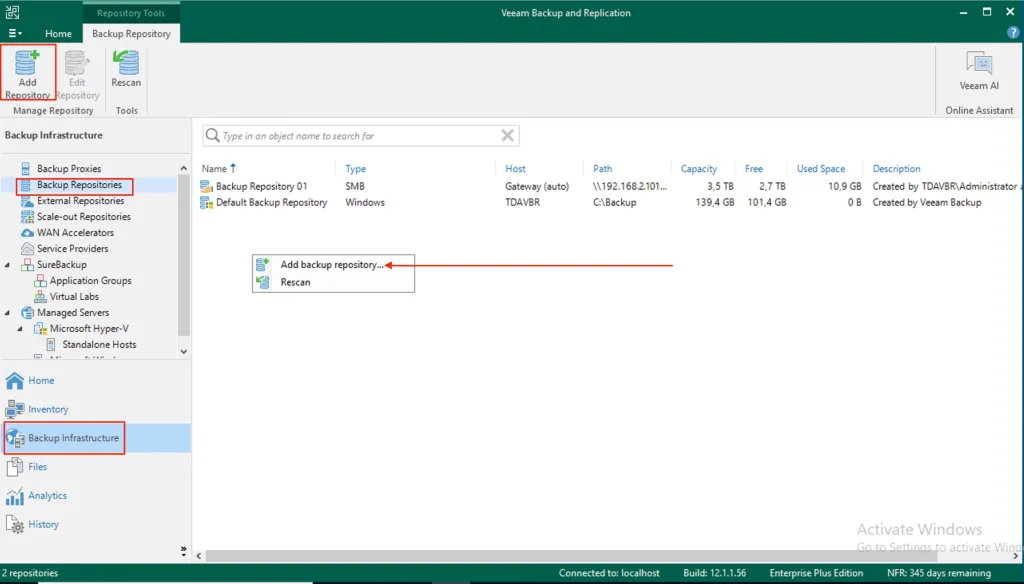
Open the Veeam Backup & Replication console. In the menu on the left-hand side, click on “Backup Infrastructure”. Right-click anywhere in the main working area and select “Add Backup Repository” or from the tabs.
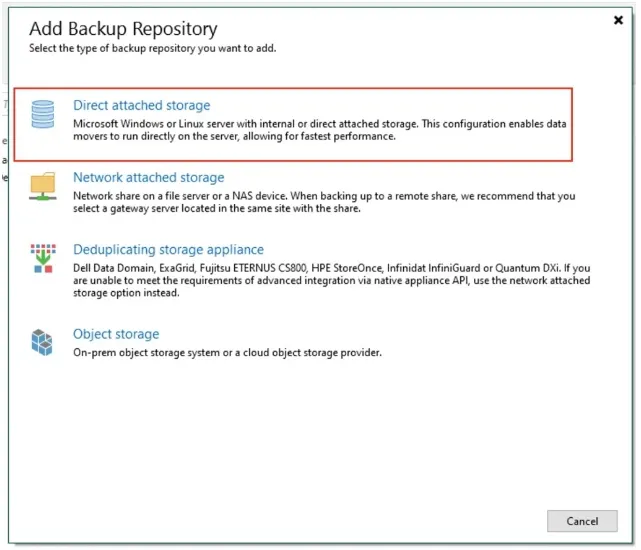
In the “Add Backup Repository” wizard, select “Direct attached storage” as the type of repository.
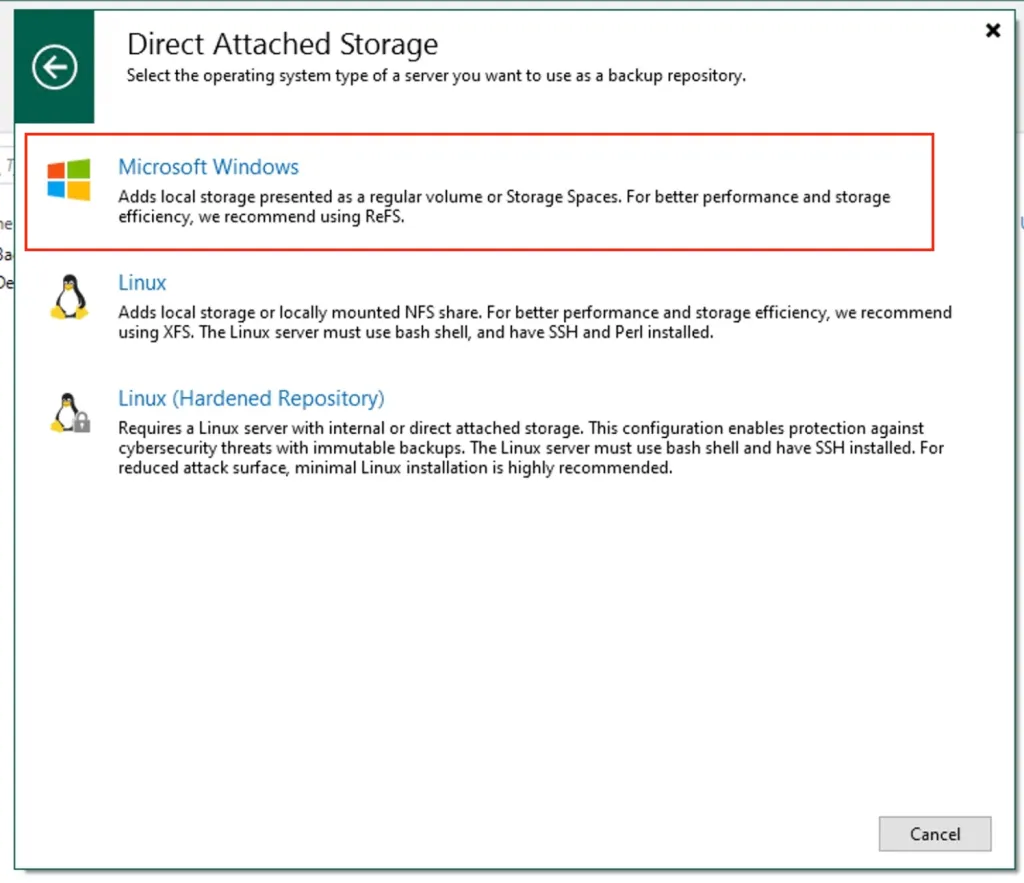
Select Microsoft Windows
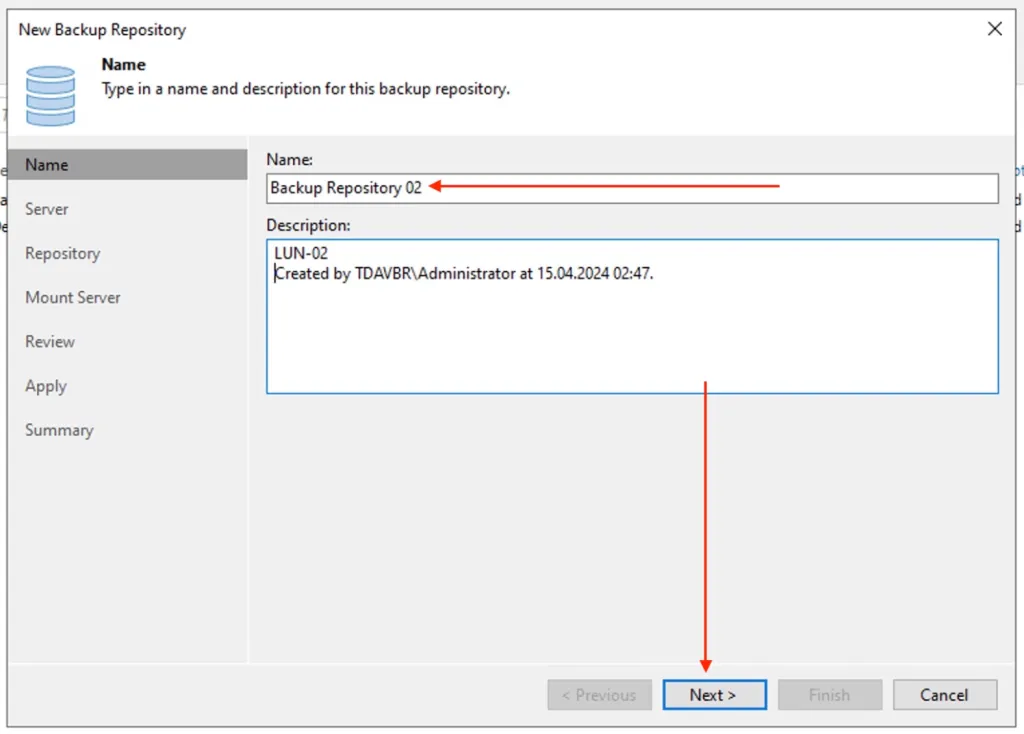
Enter a Repo name and optionally provide a description and click Next.
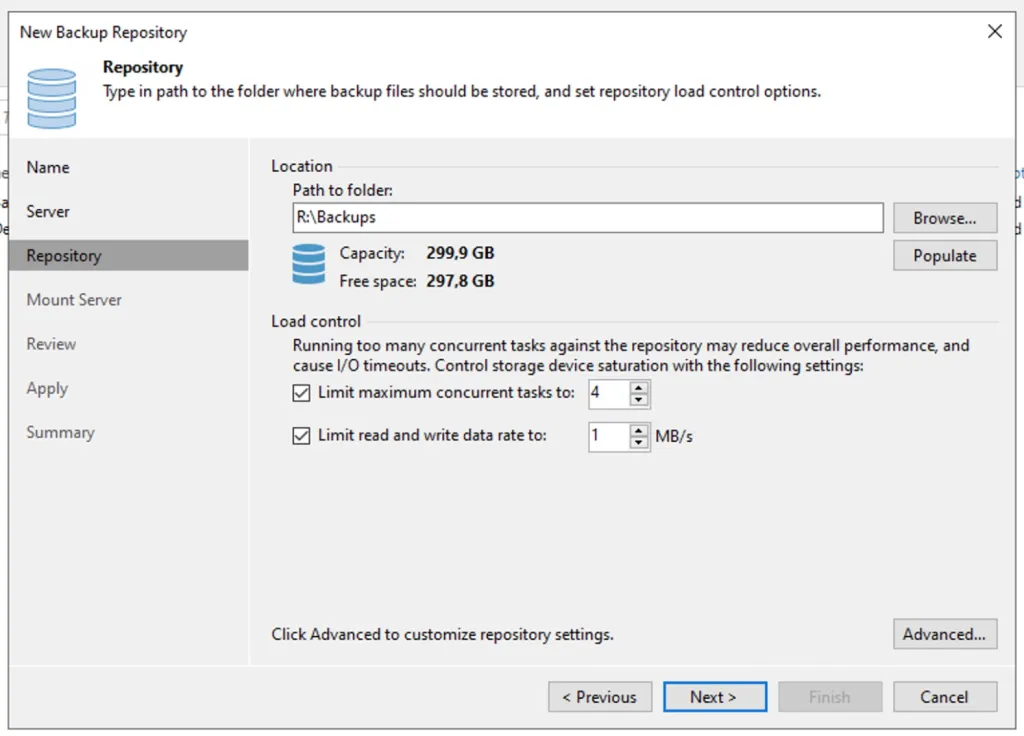
Select the Repository Server from the list. Specify a path to the folder where backup files must be stored. Click Populate to check capacity and available free space in the selected location and click Next.
At the Mount Server step of the wizard, specify settings for the mount server that you plan to use for file-level and application items restore.
Review your settings. As you can see, the below components already exists on the VBR server.
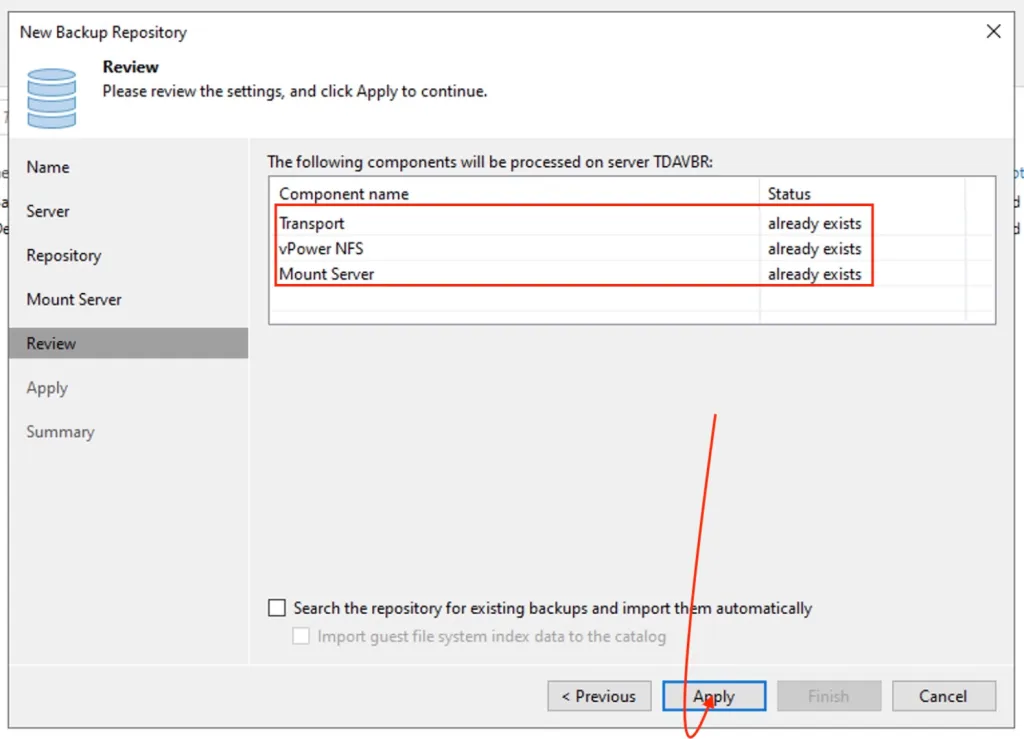
Click Next to continue
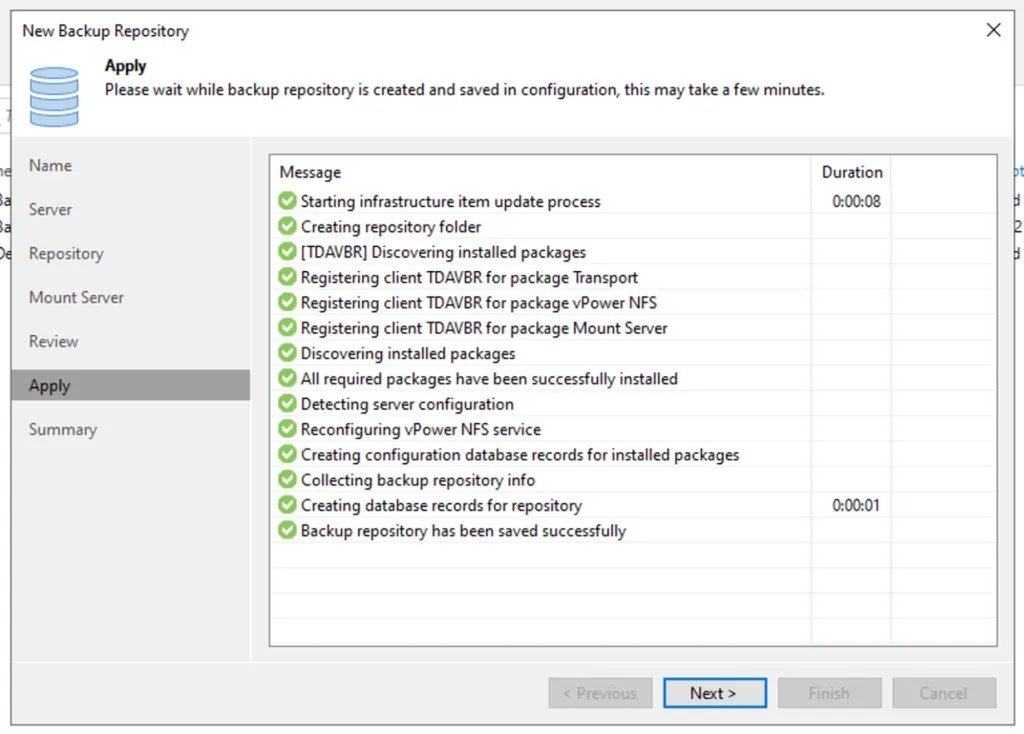
Click “Finish” to complete the wizard as shown below.
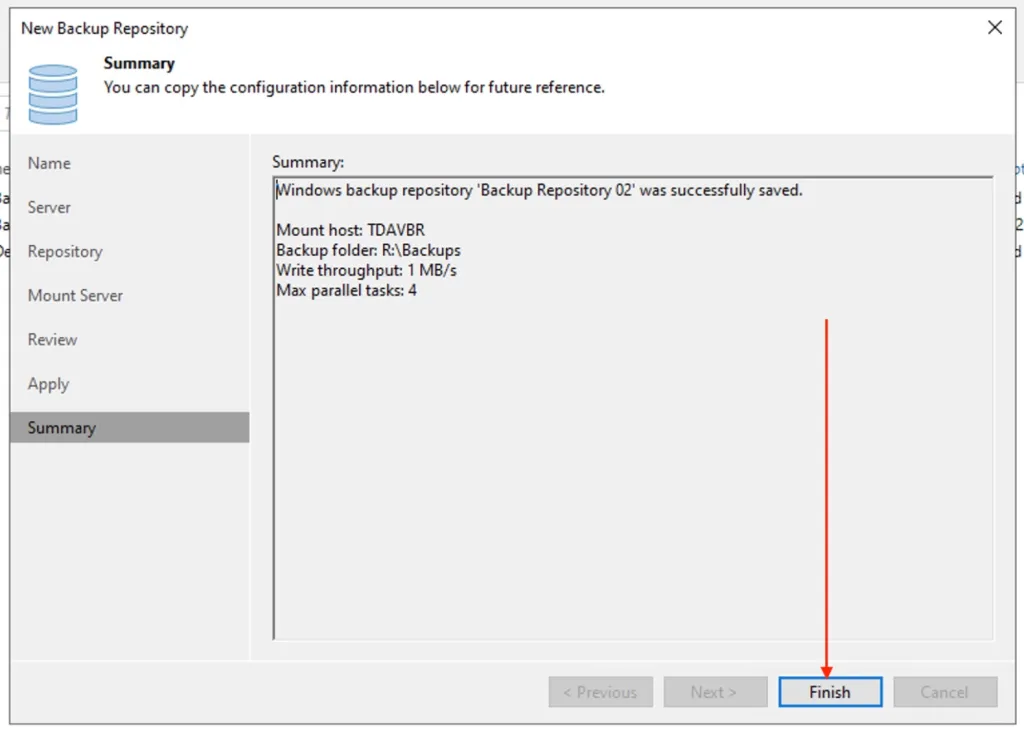
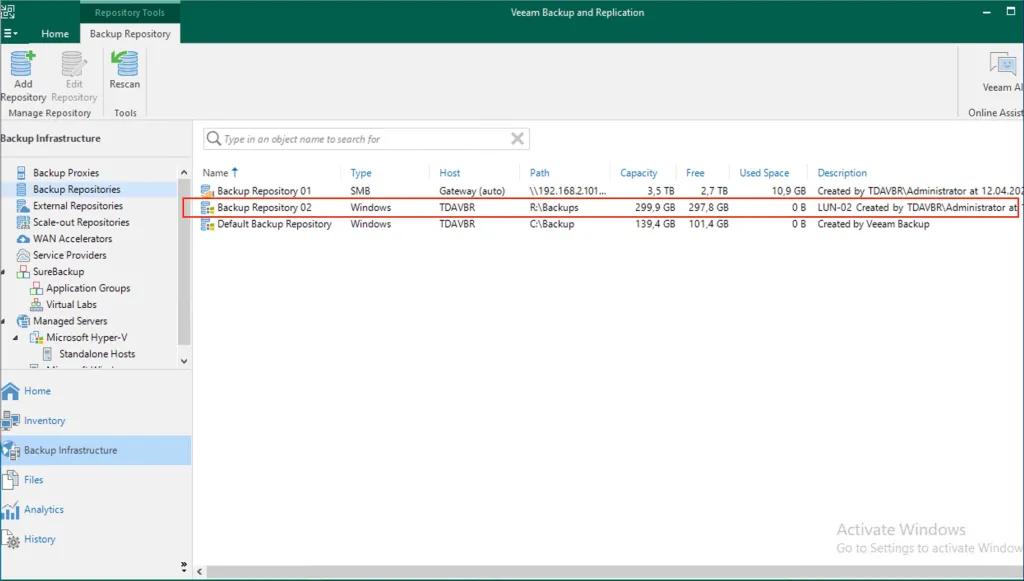
Veeam will now add the iSCSI repository to the list of backup repositories as shown below.
Add and Protect Unstructured Data Sources
With Veeam Backup & Replication you can easily back up and restore unstructured data: content of SMB (CIFS) and NFS file shares, Windows- and Linux-based file servers, NAS filers and object storage systems (S3 and Azure Blob).
You must add a data source(s) of the unstructured data which you plan to protect in the inventory. To protect your unstructured data
In the original guide as linked above, we discussed how to add a Windows server as a source of unstructured data. Since this article is about protecting File shares on a Synology DS923+ NAS device. We will be backing up and restoring an SMB file share. Therefore, this section will discuss the steps to add a file share, create a backup job and perform an entire Fire share restoration.
Add SMB File Shares
A file share is a storage device or data source available to multiple hosts through a computer network. To add (backup) an SMB file share as a source of unstructured data using Veeam Backup & Replication (VBR).
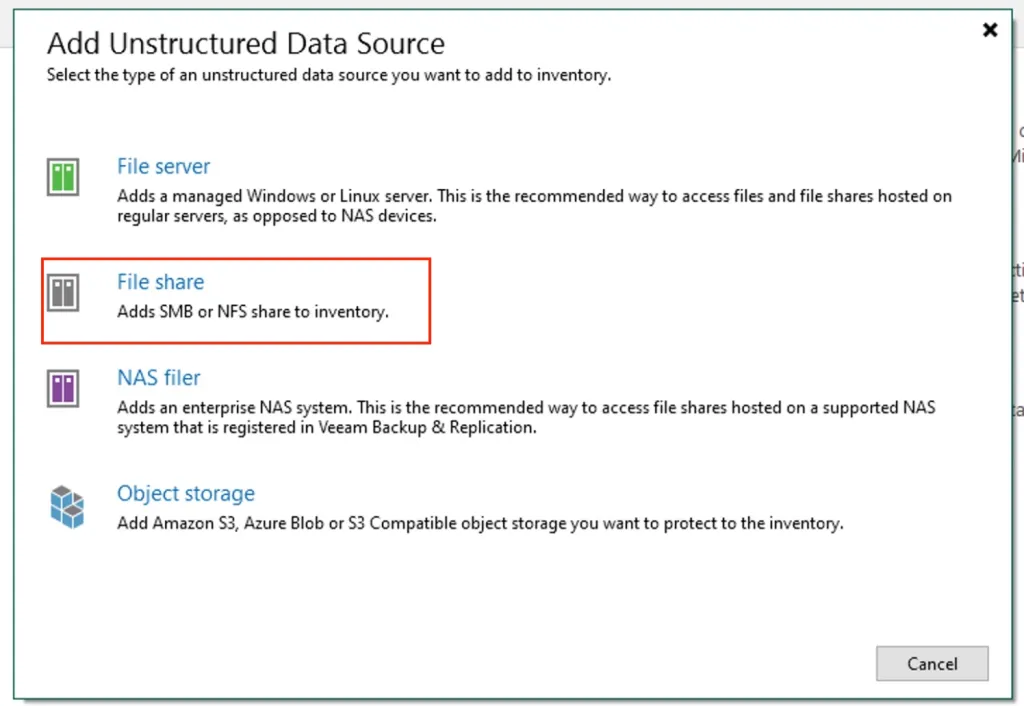
Launch Veeam Backup & Replication Console and navigate to the Inventory view. Click Add data Source as shown below.

Select File Share
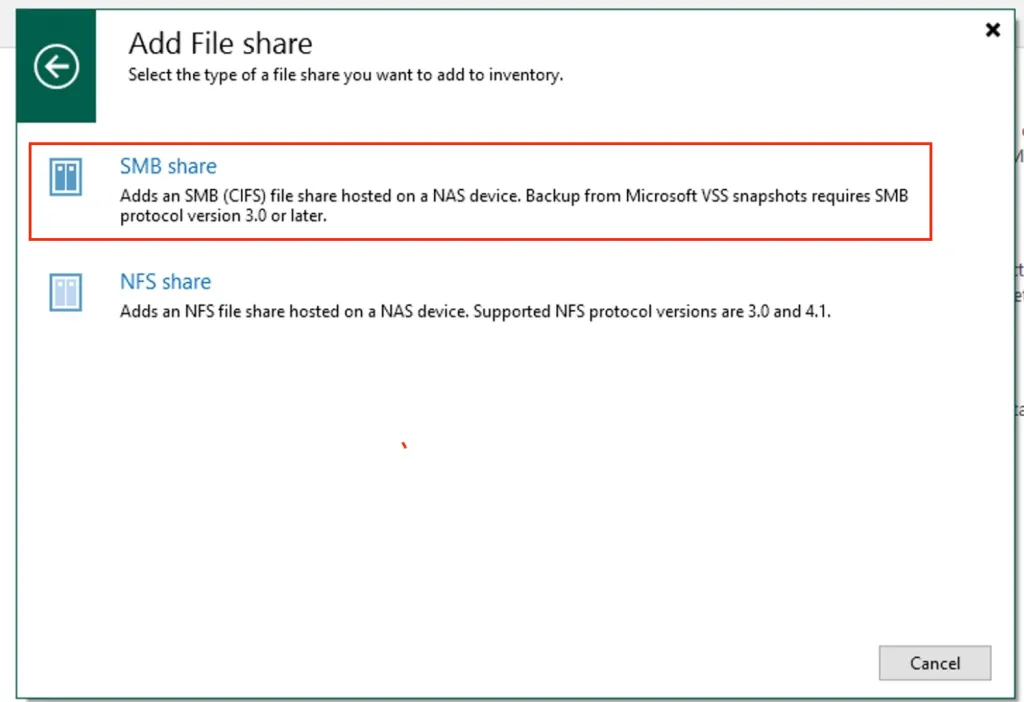
Select SMB Share
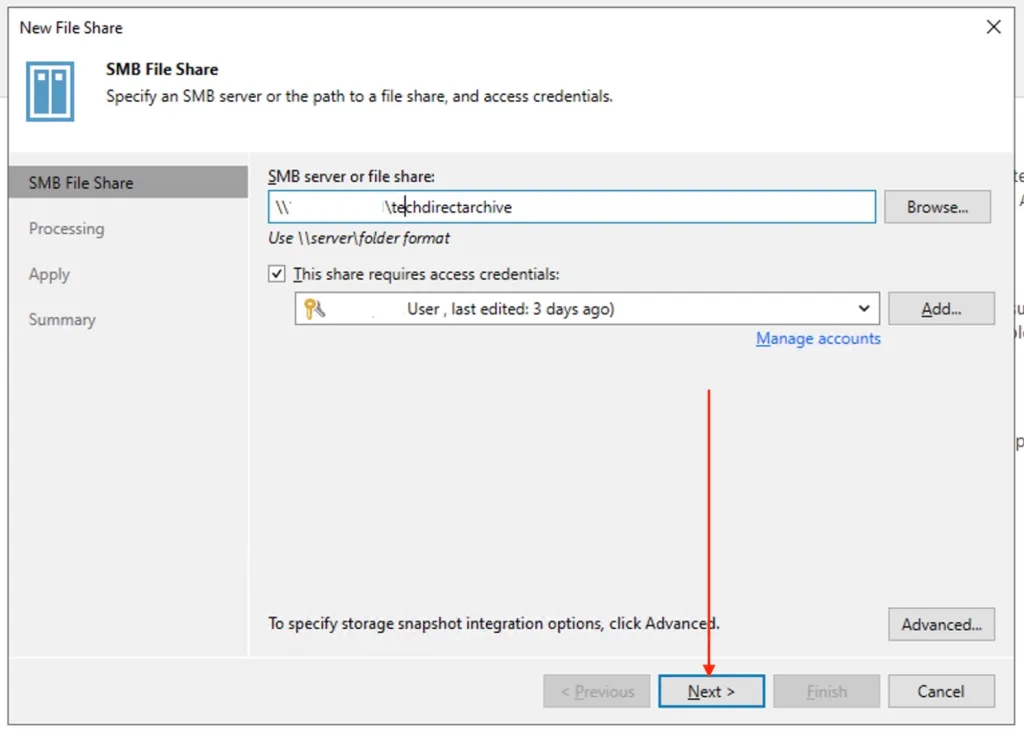
Please specify the path to the SMB File Share
Select the Cache Repo and click Next
A cache repository is a storage location where Veeam Backup & Replication keeps temporary metadata it uses to reduce the load on the data source during the backup procedure. The cache repository keeps track of all objects that have changed between each backup session
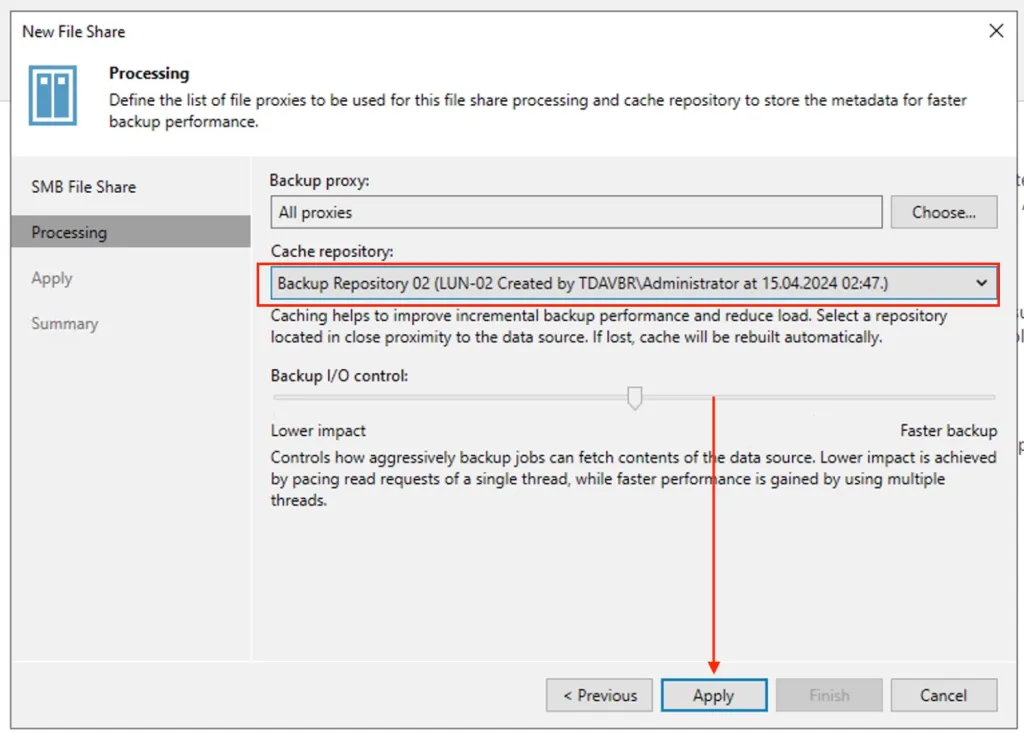
Wait for the operation to apply and click next
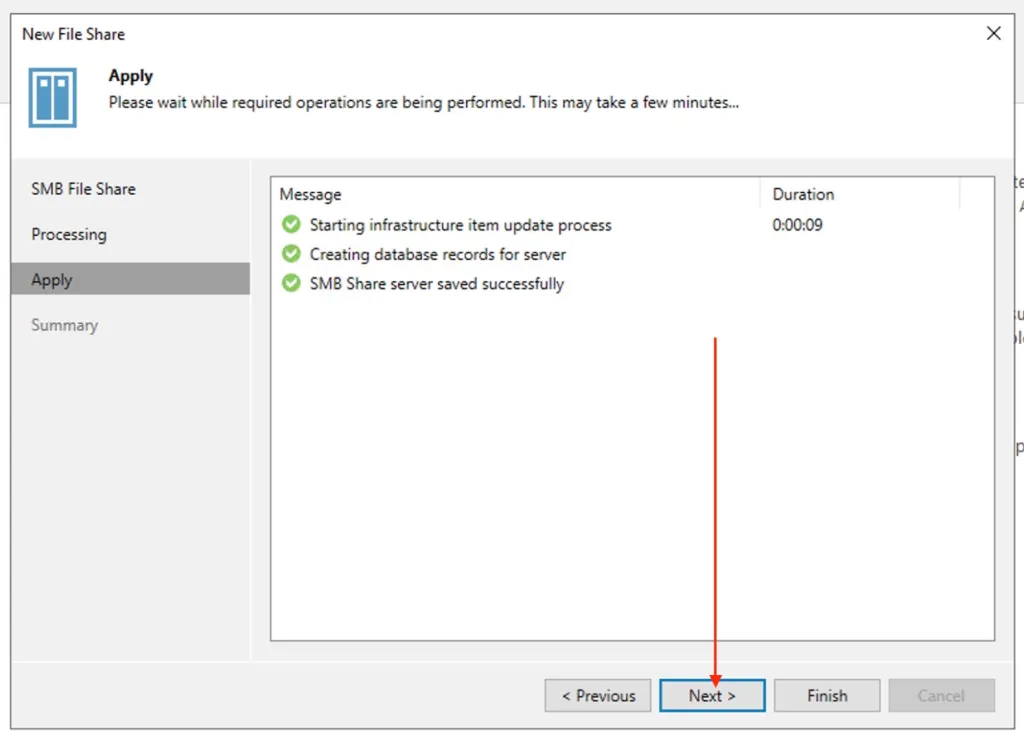
Click Finish to complete the File Share

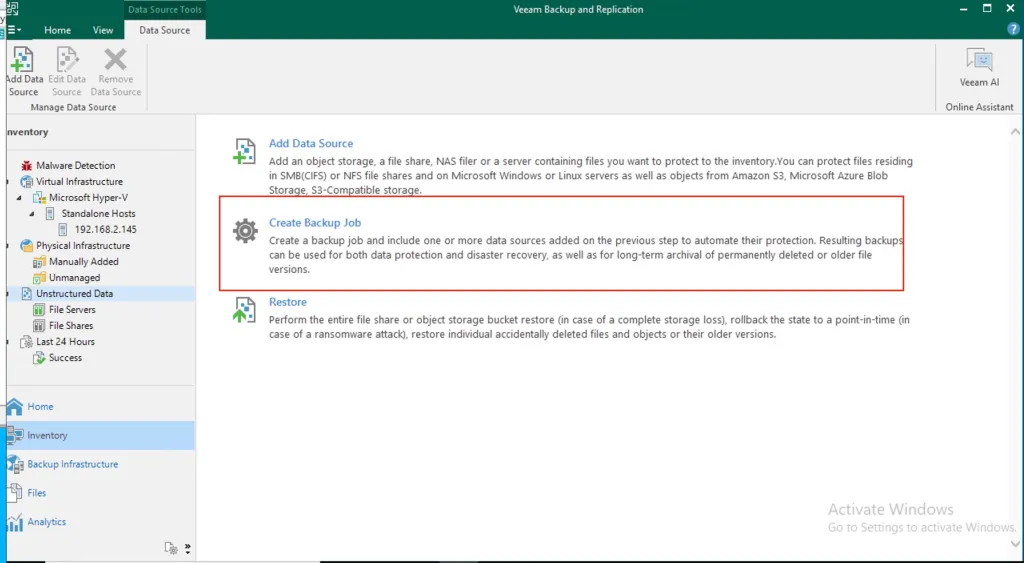
Create a New SMB File Backup Job
You can also create a backup job for a file share from here. To do this, click on the Unstructured data, and in the work area, select “Create Backup Job”.
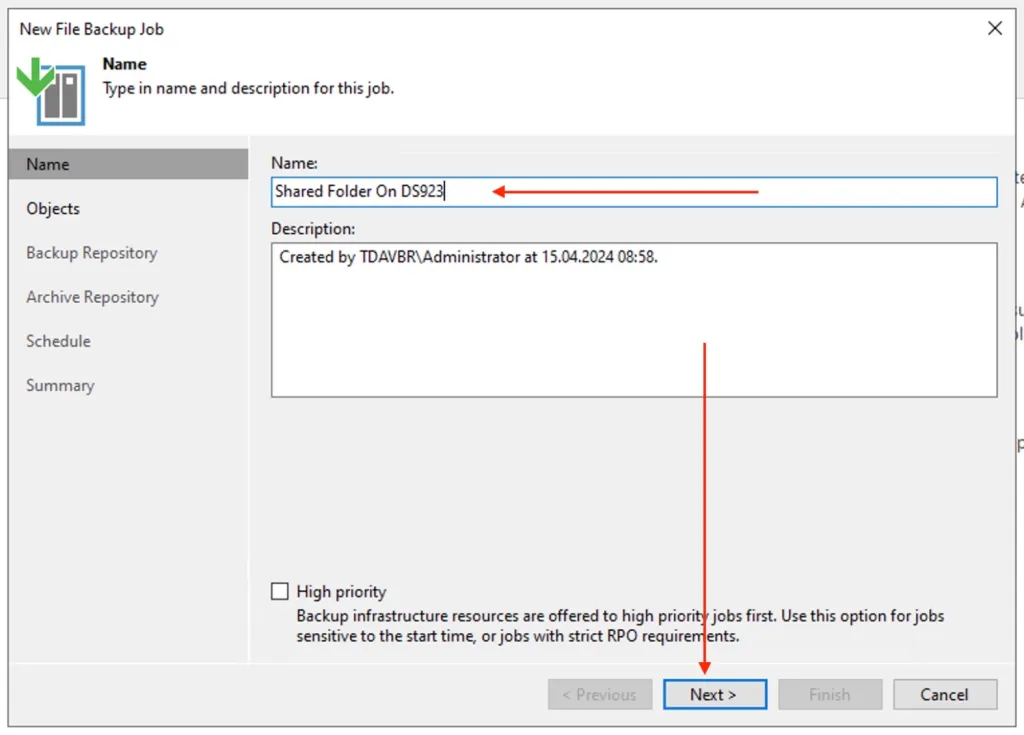
Enter the name and description for the File Share Backup job and Click Next

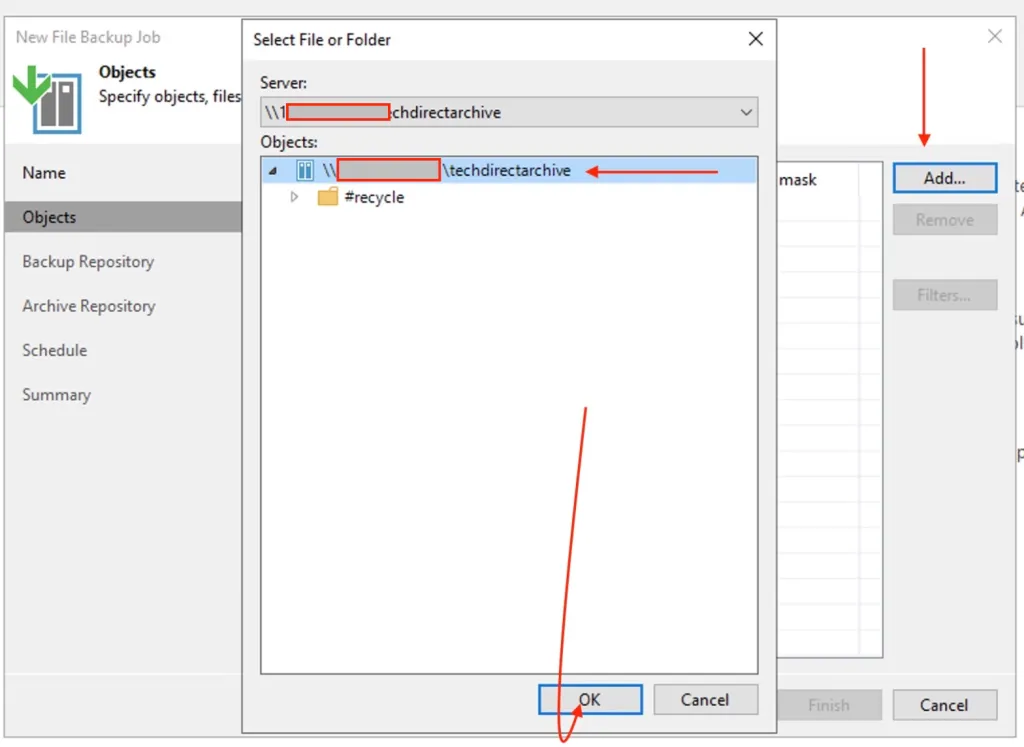
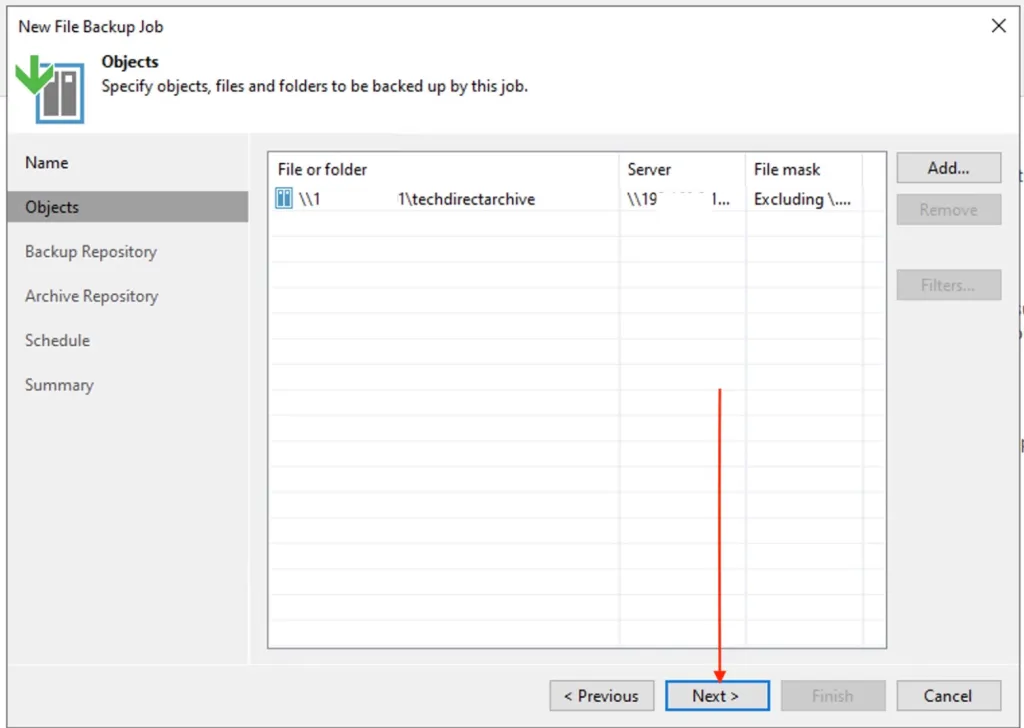
Add File or Folder to backup and click Ok.
Click Next to proceed
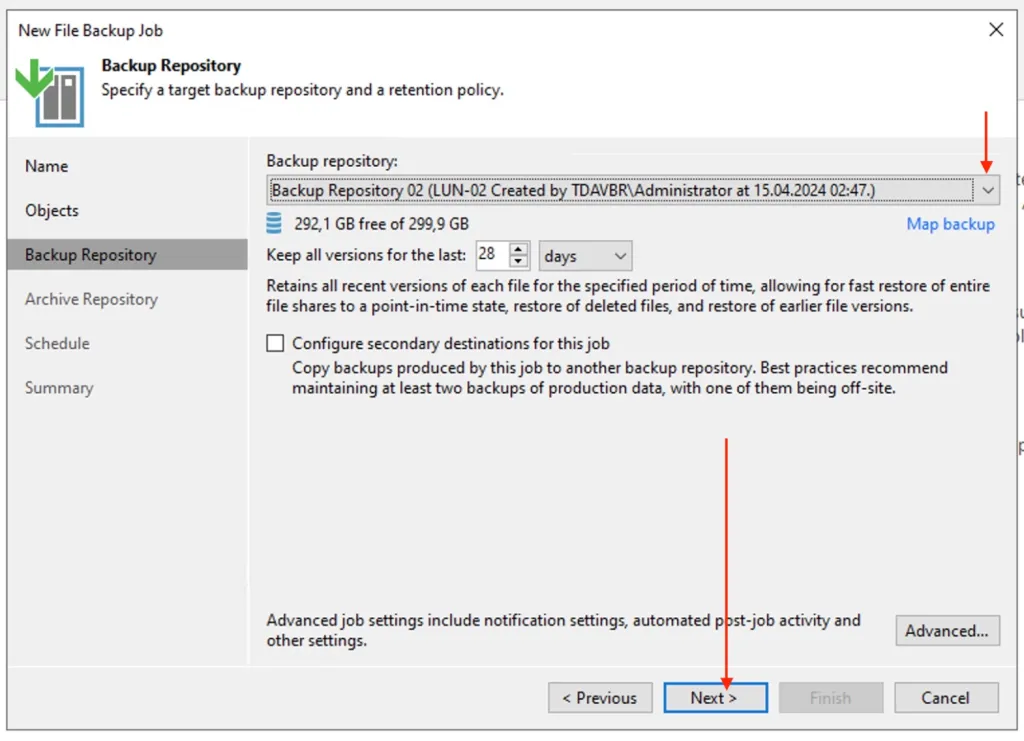
Specify the Backup Repository and click Next
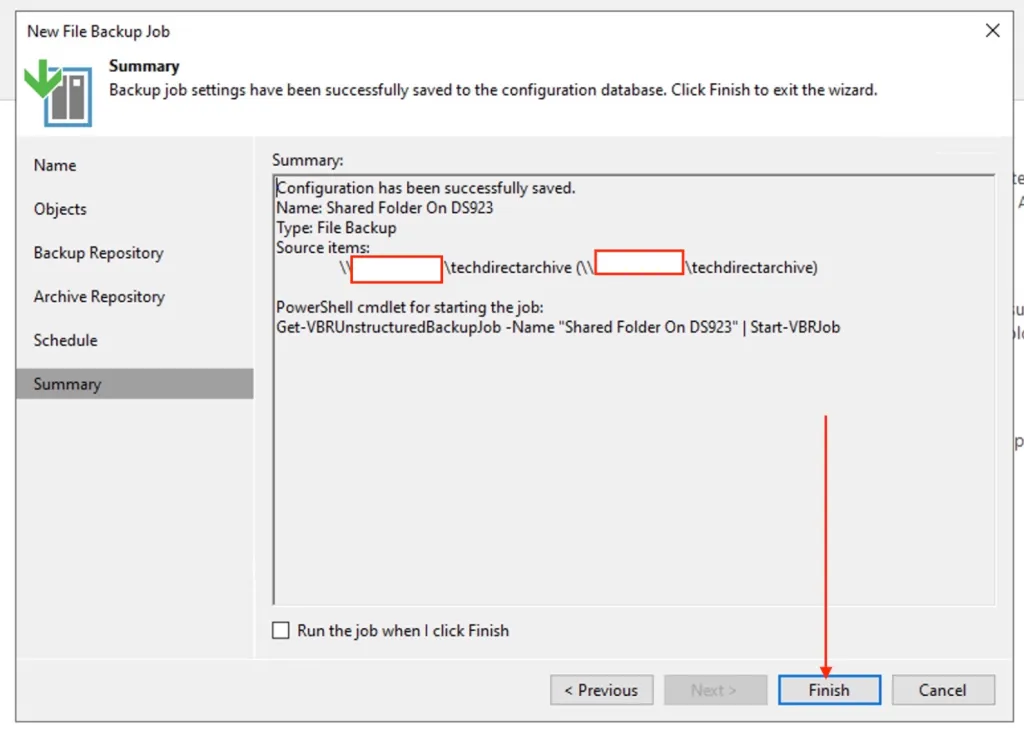
I am not interested in other settings at this moment. Follow through the prompts and Finish the backup job creation.
Start SMB File Backup job
To start the file share backup job. Navigate to the “Home view” and navigate to the backup and select the job of interest to you.
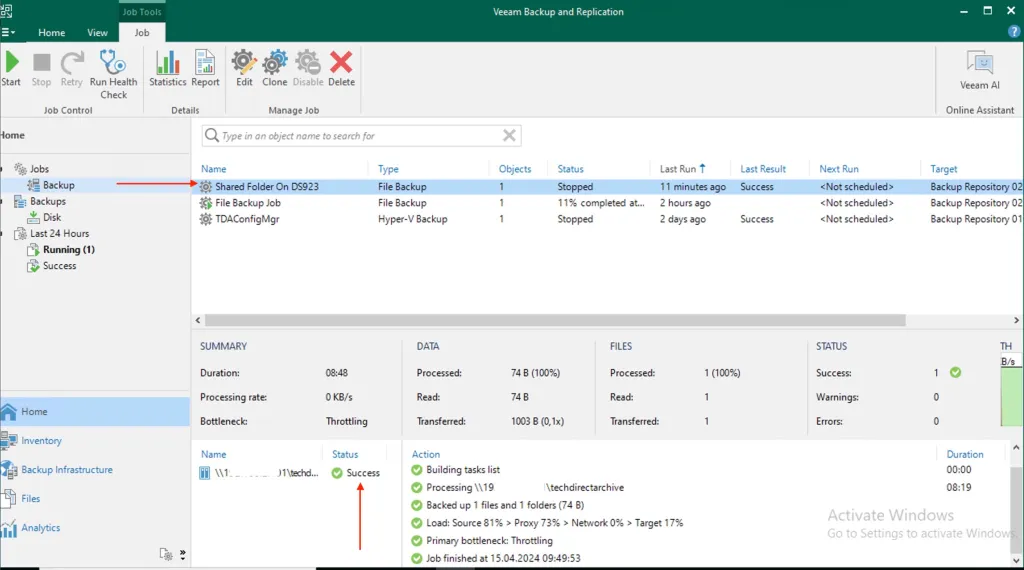
As you can see the job has completed successfully.

Restore SMB File Share
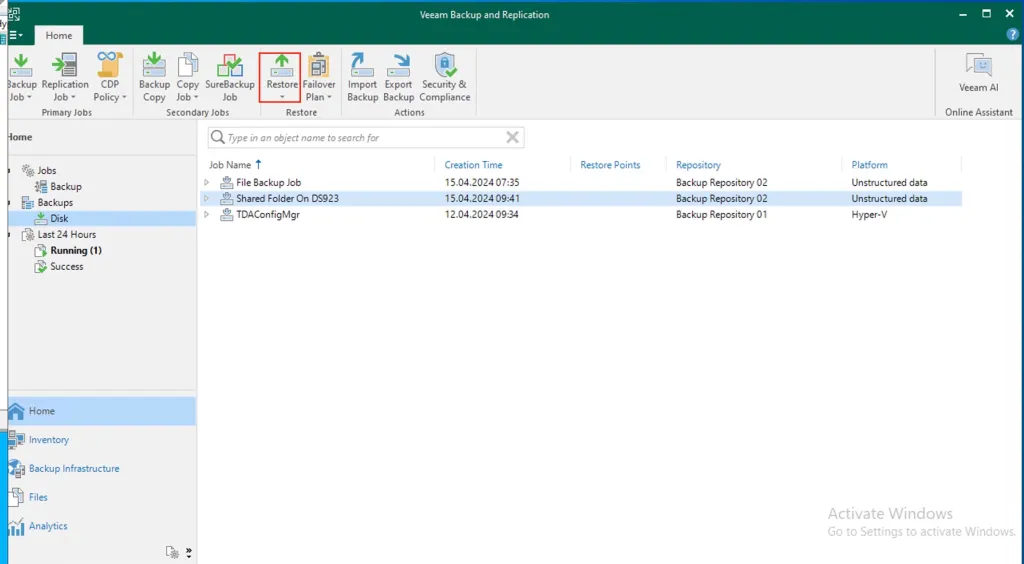
To perform file share restore. From the “Home view”, under backup, select “Disk”
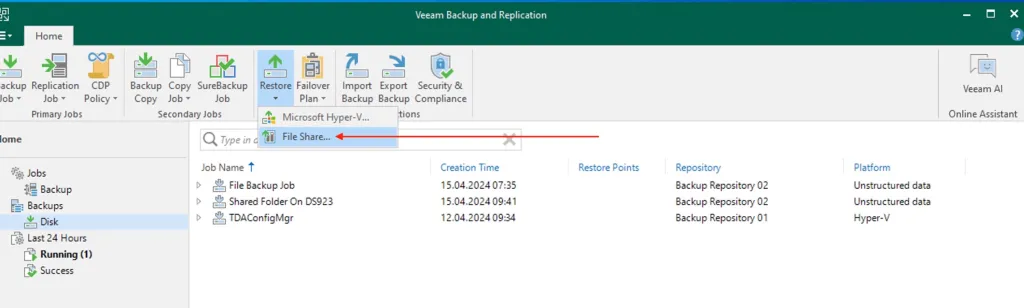
Click “File Share”
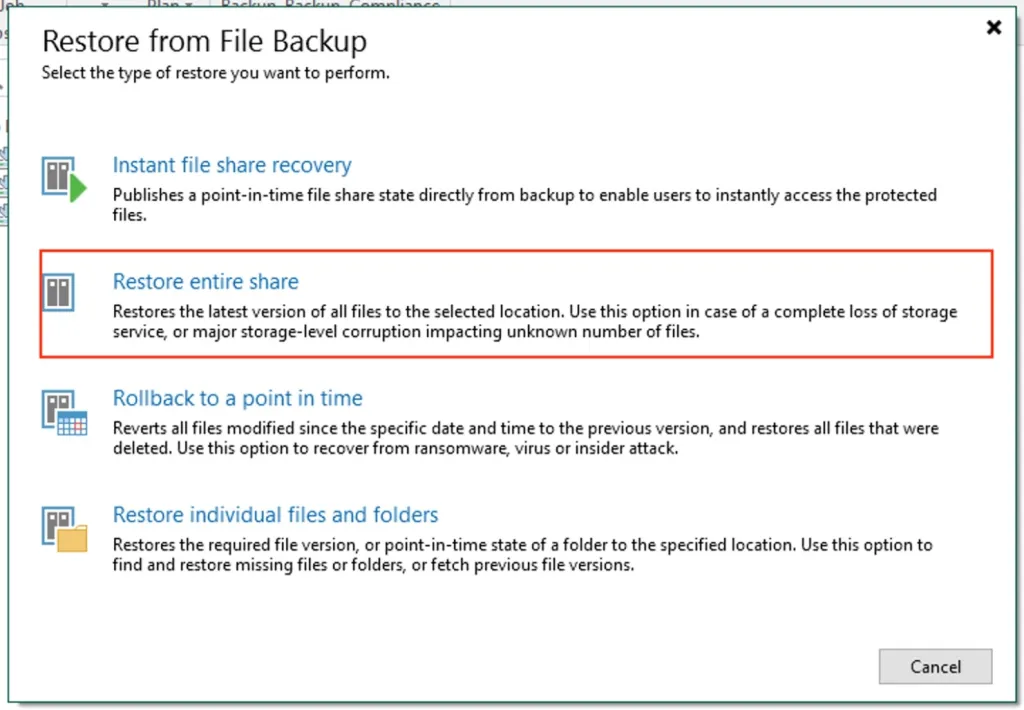
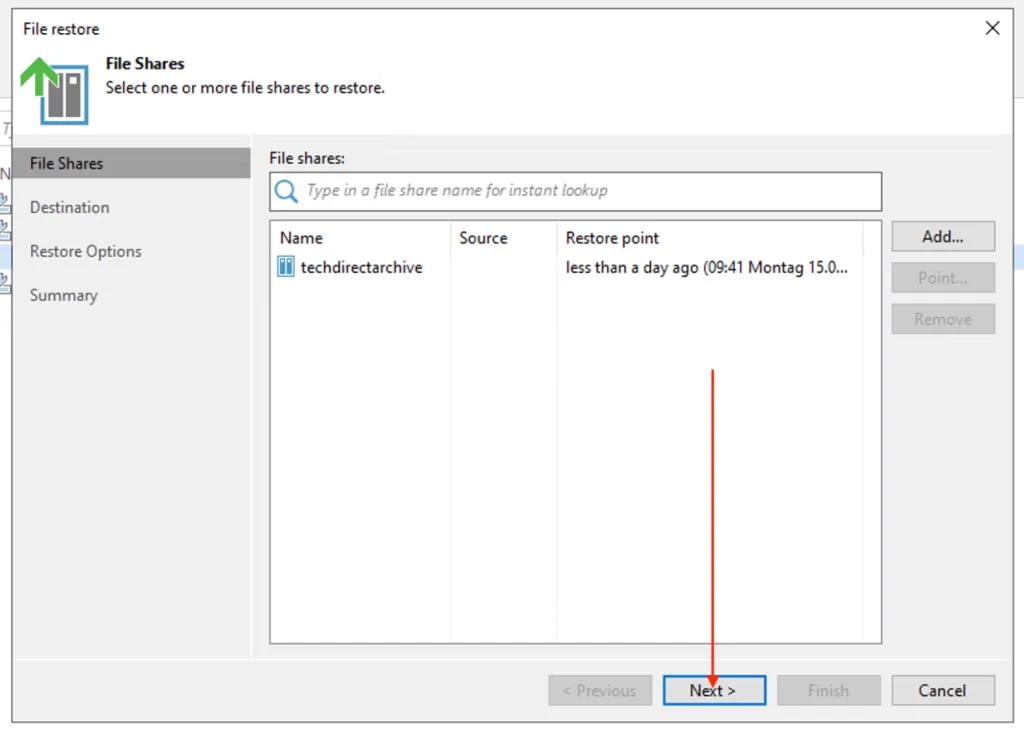
I am interested in selecting “and restoring the “entire Restore Entire Share”.
In the wizard press Add and select the share(s) that require restore. Click Next
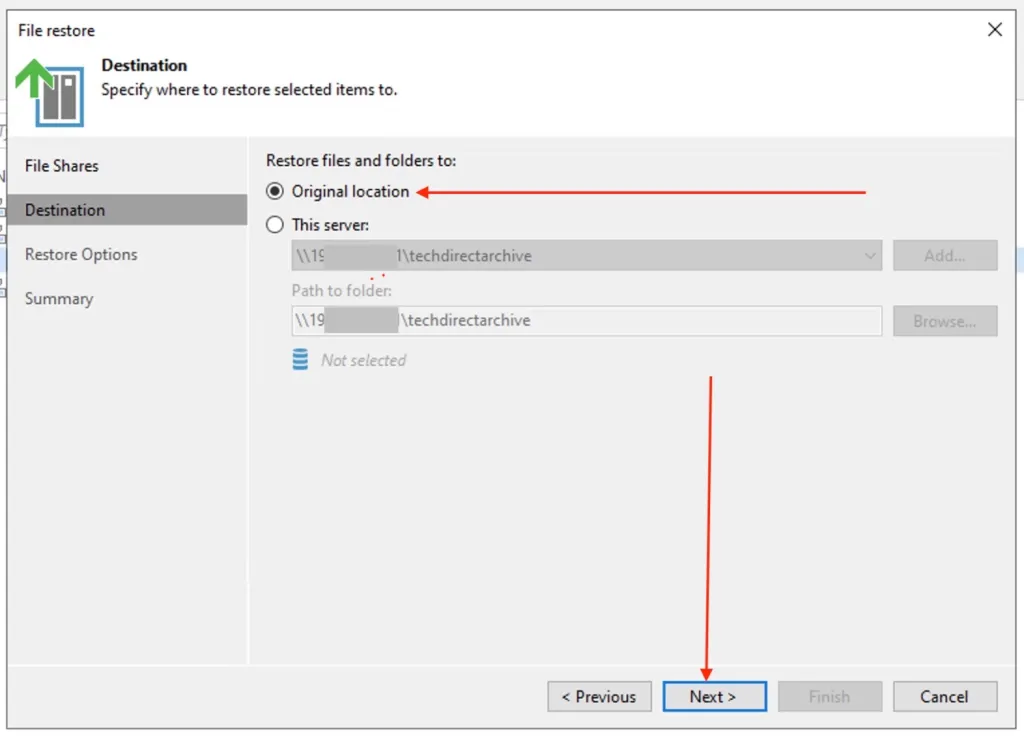
In the Destination step select either Original Location or This server to specify a new server and path and click next.
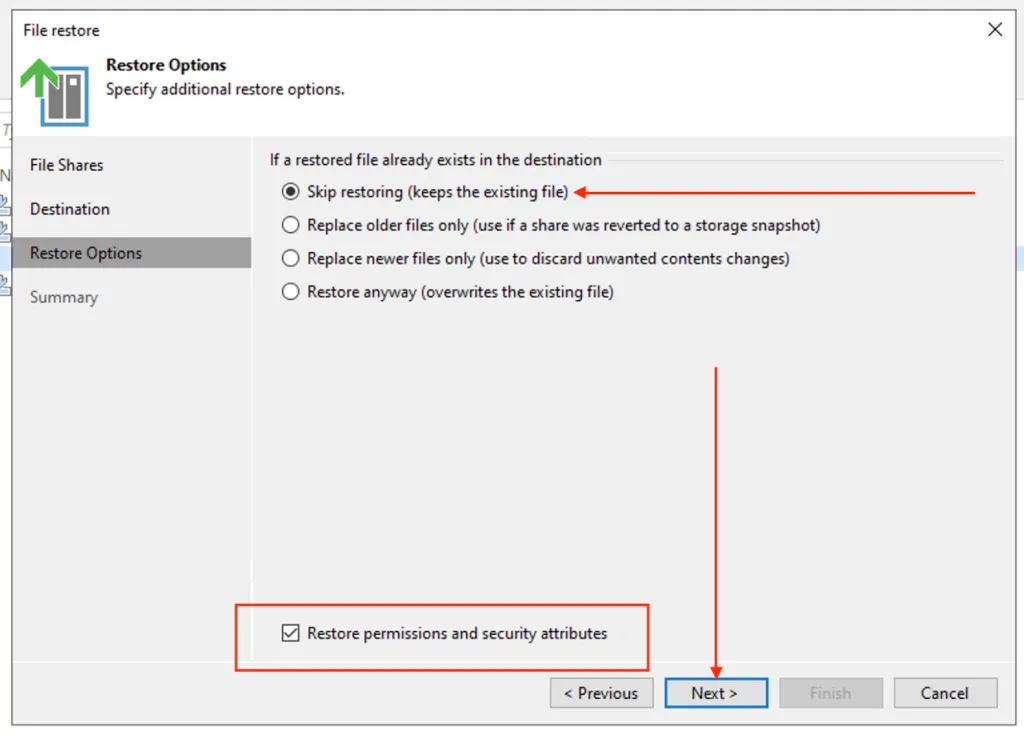
Select your desired restore options and click next. Also, check the button to restore permissions and security attributes and click next.
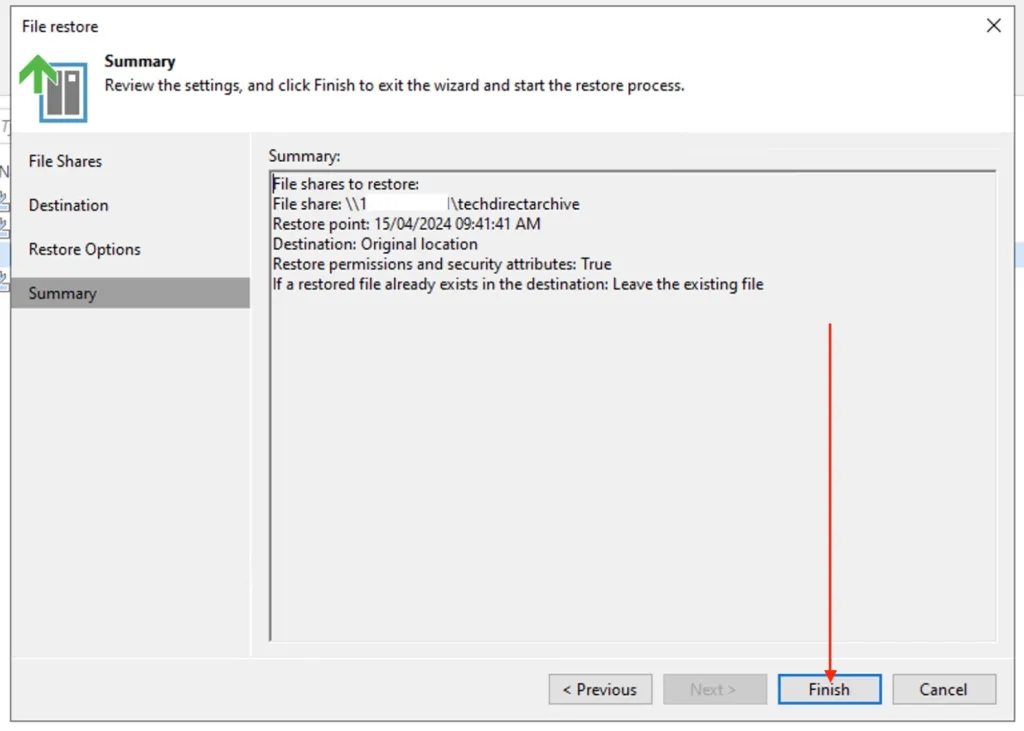
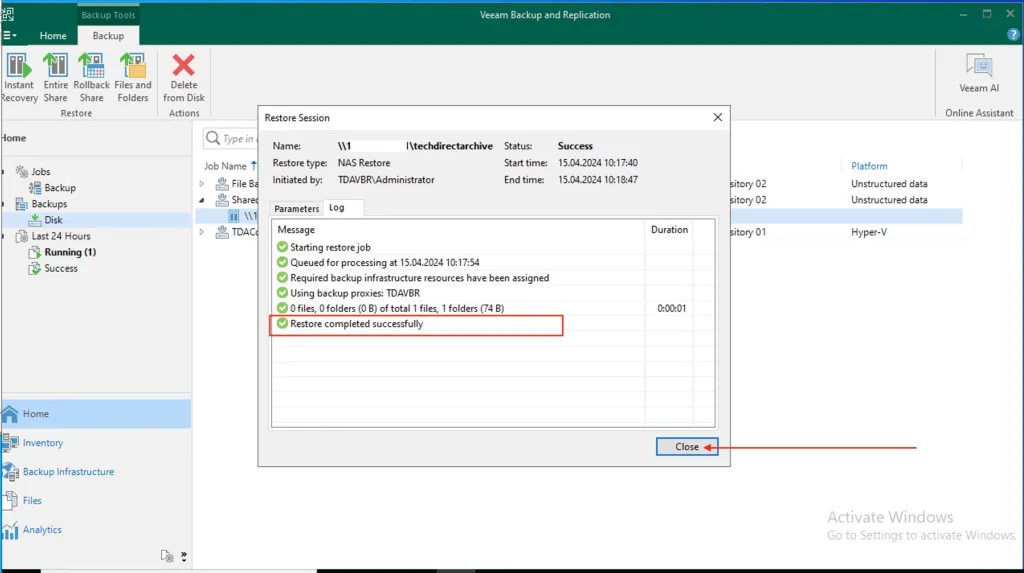
Click Finish to complete the file restore process.
As you can see below, the folder restoration has been completed successfully.
So what are you waiting for, why not purchase a DS923+ NAS today and leverage Veeam to backup your mission critical data????


