

Service providers can configure the VSPC with SSO SAML authentication. I recently tested this in combination with EntraID for a customer and thought I'd share the process in the form of this step by step guide.
You can configure SAML for you as a service provider but also for each customer with their own identity provider.
In this guide, I configure for the company "Test Company" an SAML EntraID IDP.
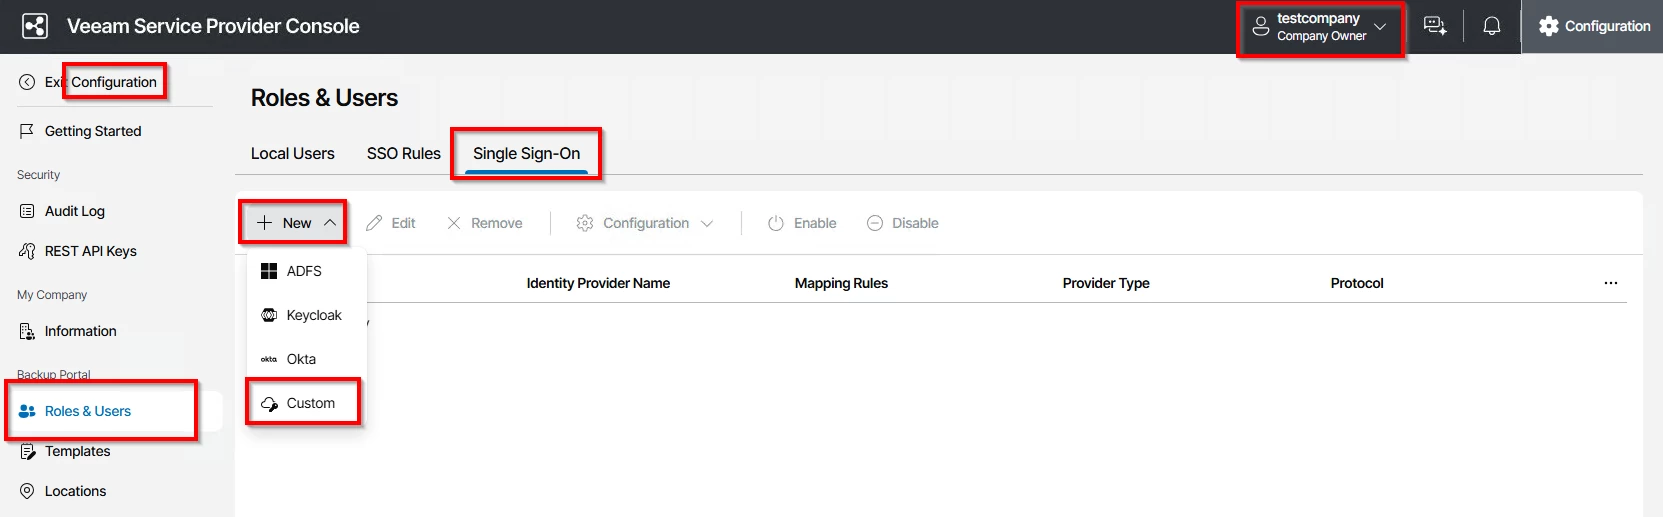
First, log in as the Test Company owner account and add a new Single Sign-On provider:
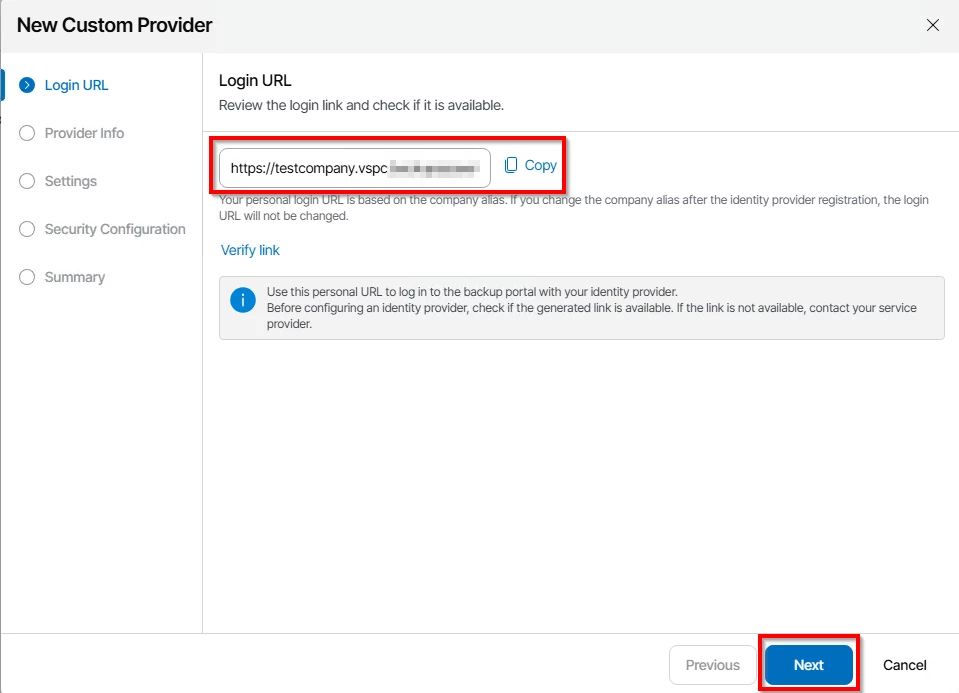
You need for each customer a different URL, in this example I use "https://testcompany.vspc.my.company:1280"
Now in the provider info, you only need to set Display name and Client ID, the rest comes later.
For Display Name, I choose "TestCompany SAML EntraID"
And for Client ID, I set "TestCompany_SAML_EntraID"
Next, click on "Create SP entity ID link…" and "Create Assertion consumer link…"
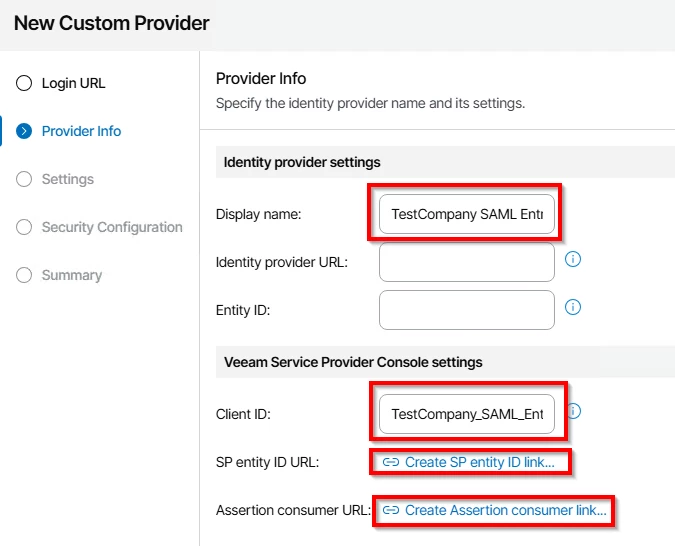
We need those two links in EntraID later.
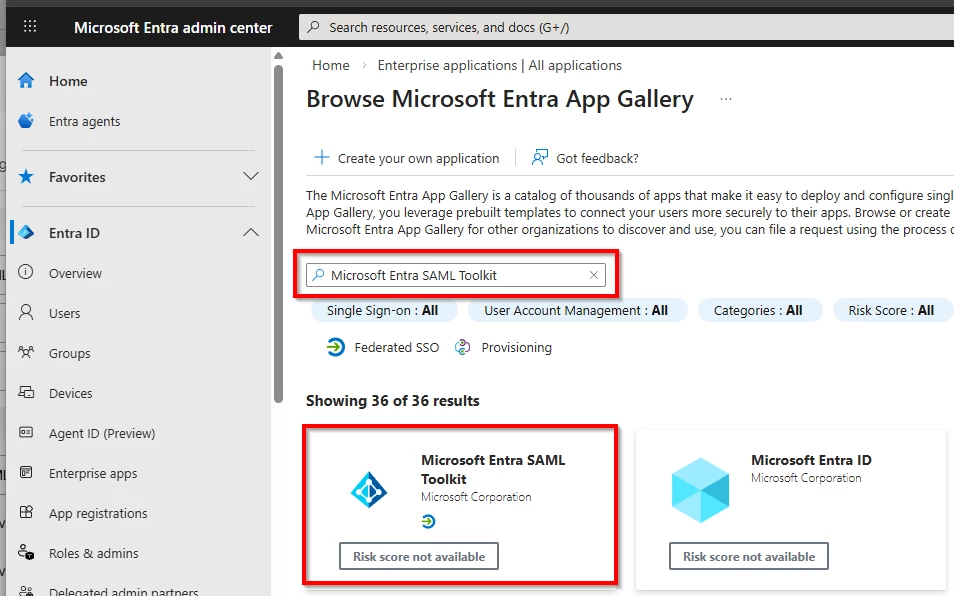
Now go to EntraID and create a new Enterprise Application.
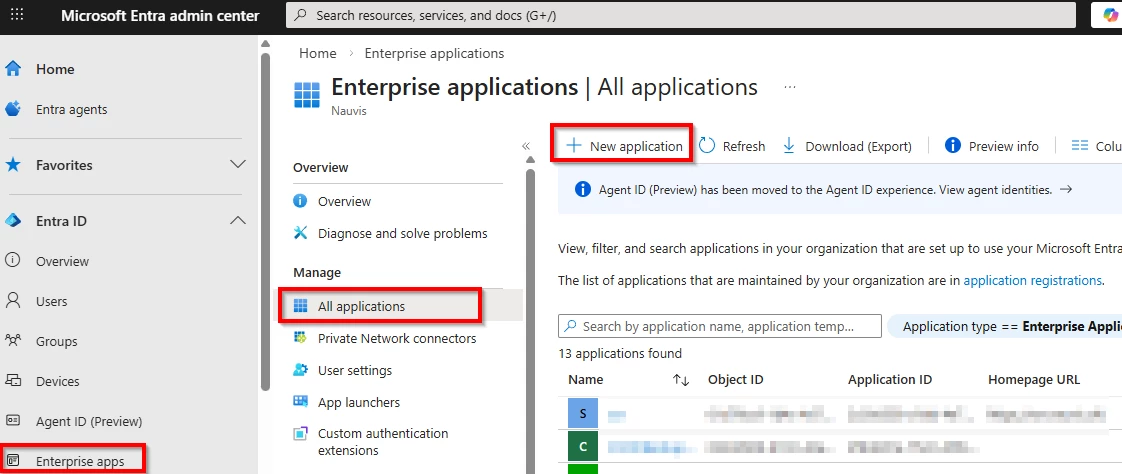
Search for "Microsoft Entra SAML Toolkit"
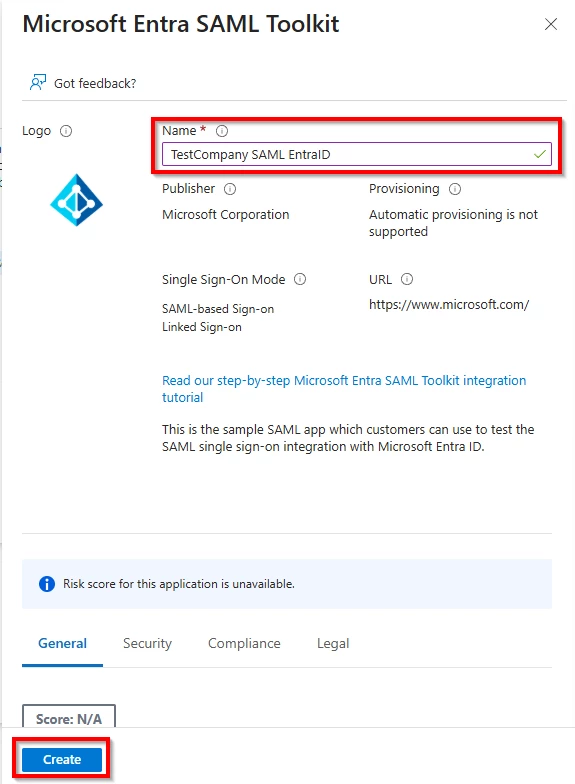
Specify a name and click “create”
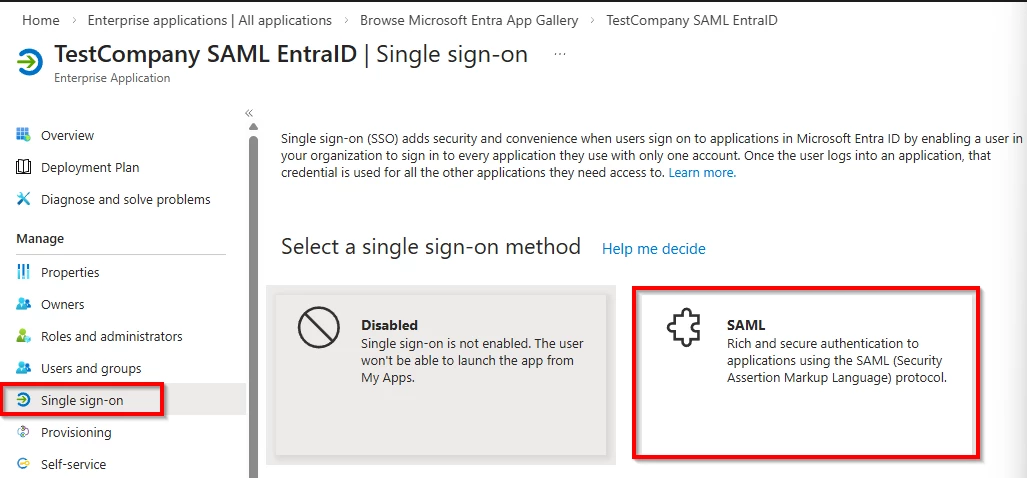
Next, we need to configure SAML authentication.
For this, click on Single sign-on and specify SAML as your signle sign-on method
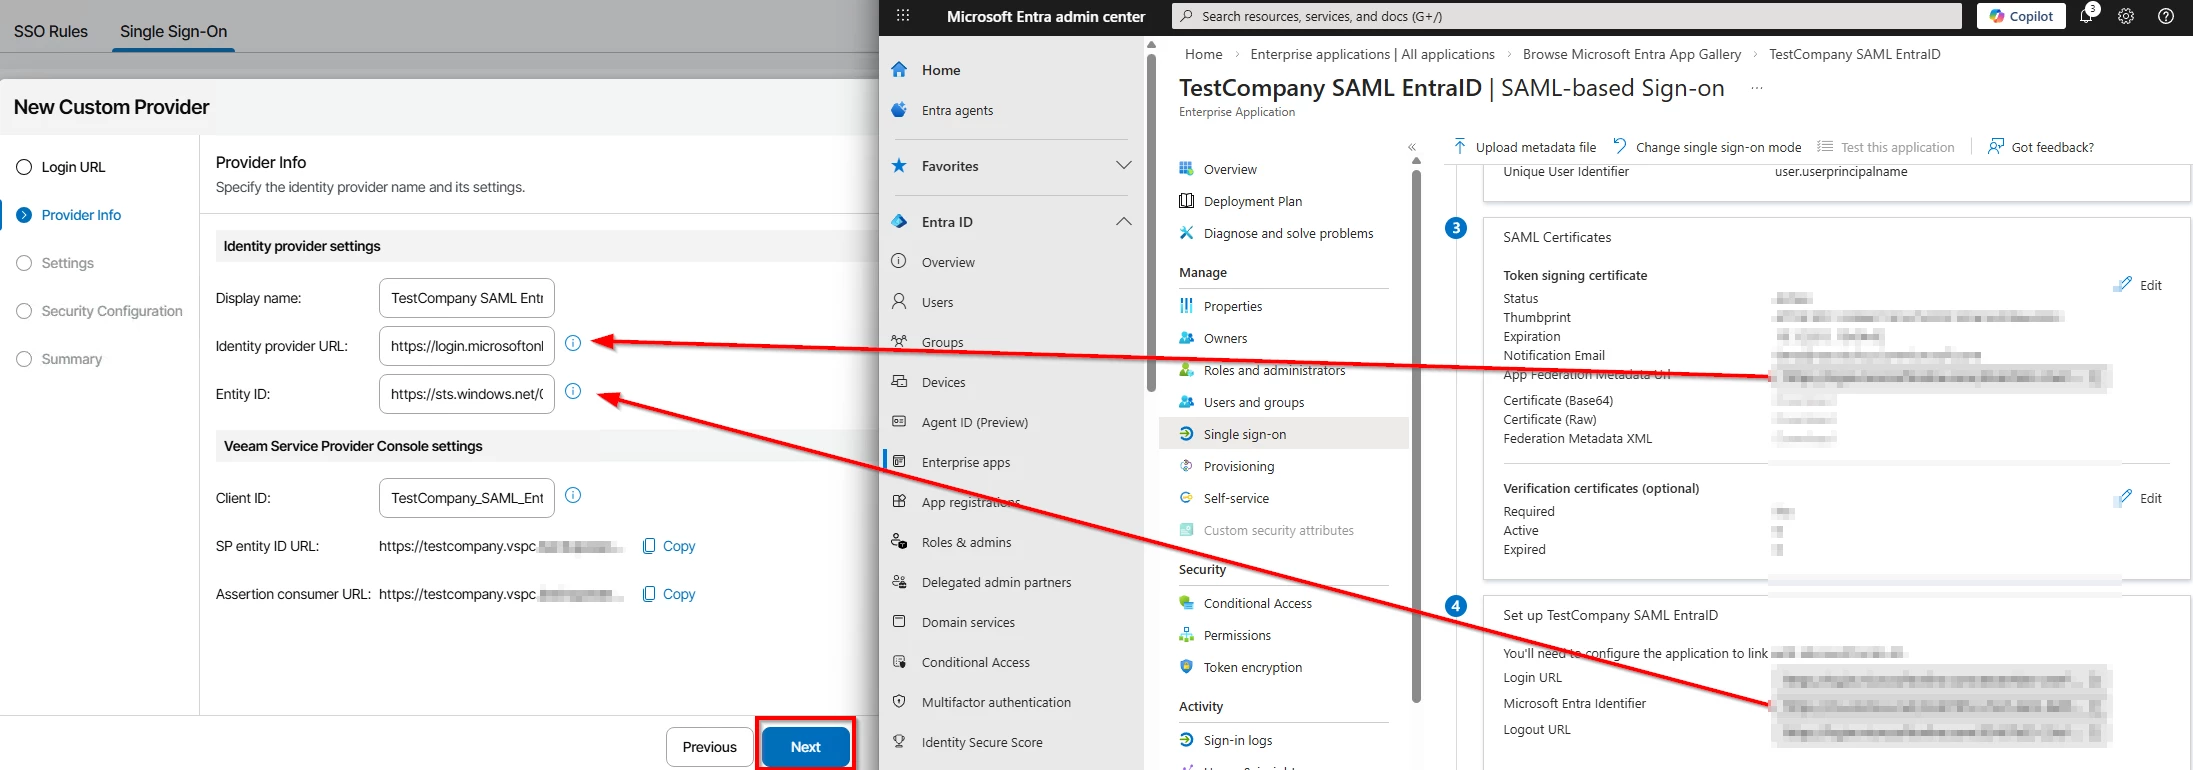
Now we need to set the Identity provider URL and Entity ID in back in the VSPC
Insert into "Identity provider URL", the URL that's found on Entra called "App Federation Metadata Url"
And insert into the "Entitity ID", the url thats found on Entra called "Microsoft Entra Identifier"
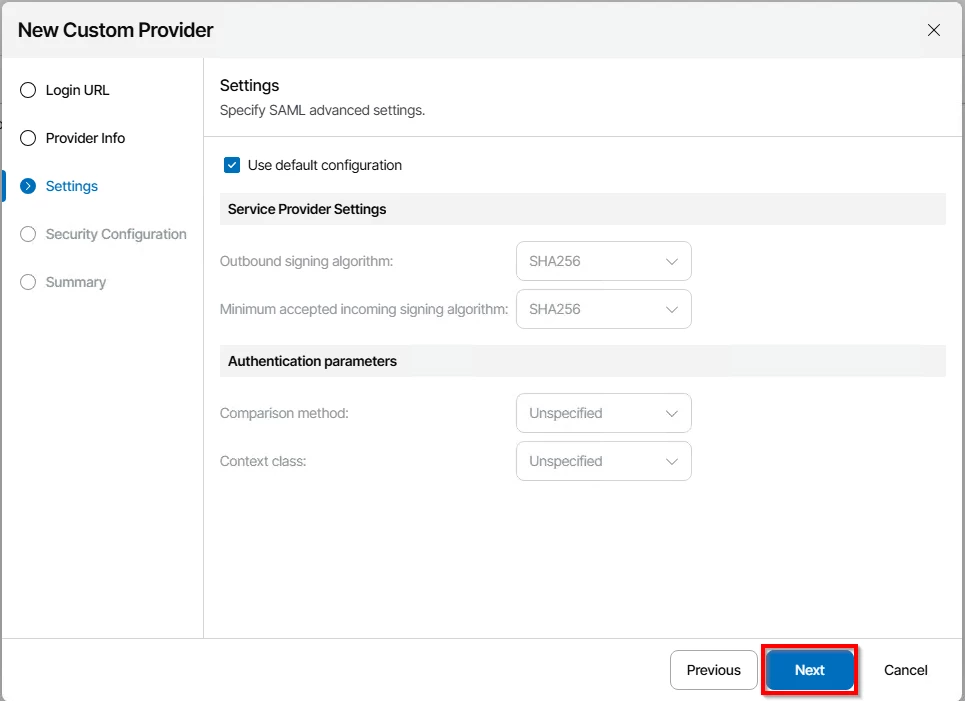
In VSPC, click next, you can leave the settings page on default
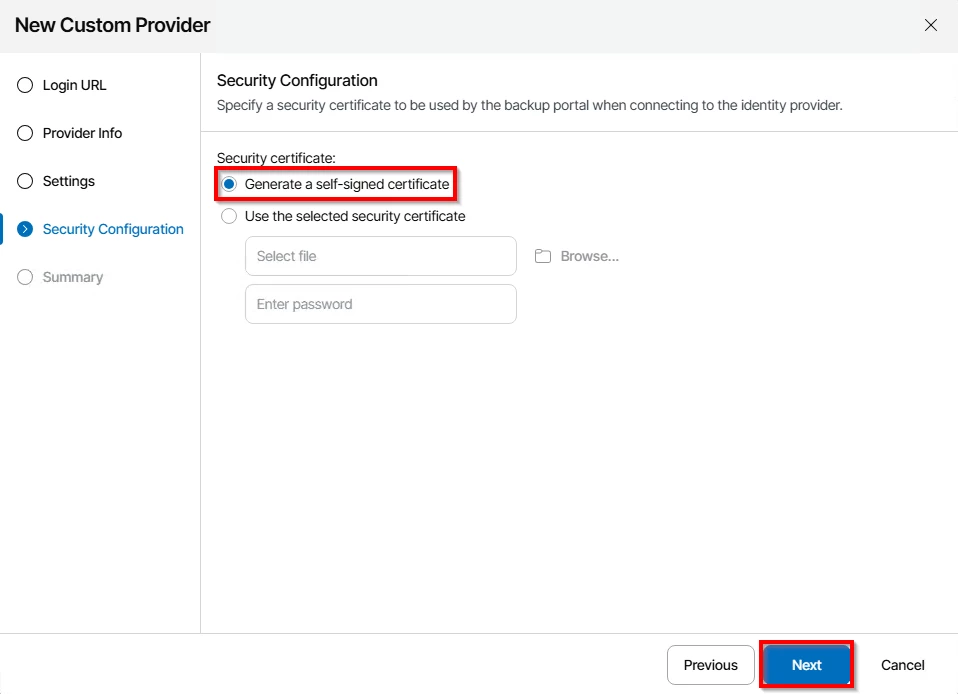
You can either use an existing certificate or generate a new self-signed certificate. I do use a self-signed certificate for this use case.
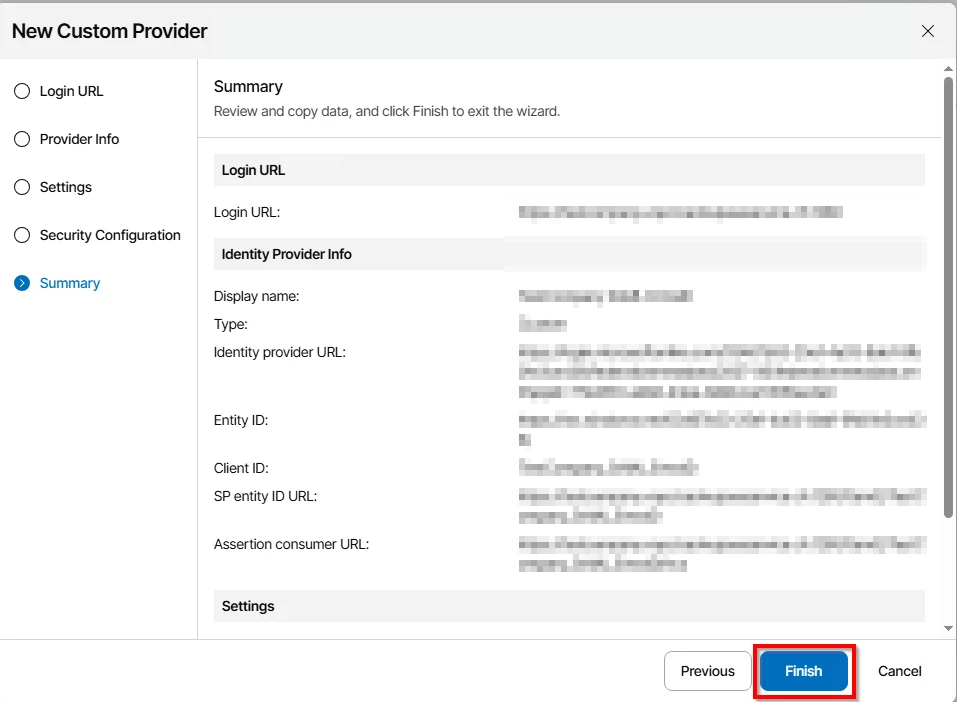
Check the summary and click finish
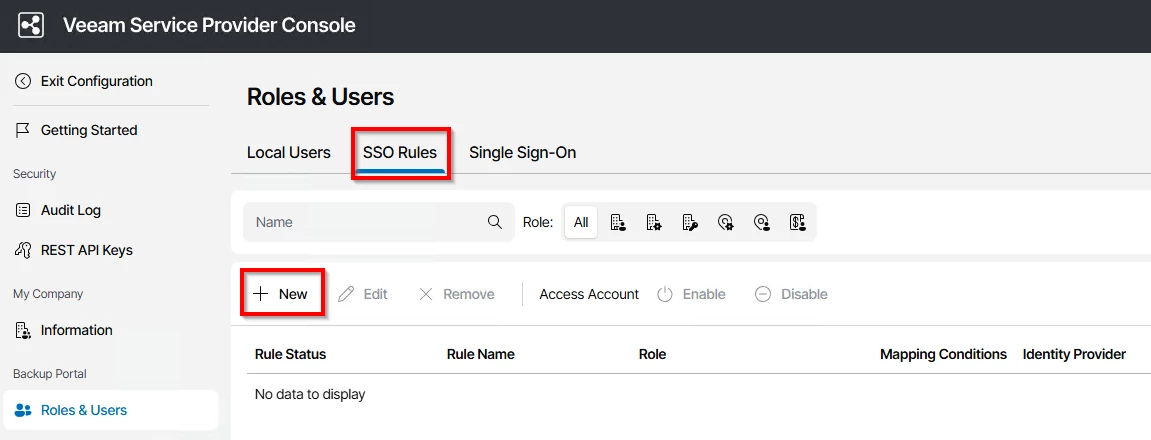
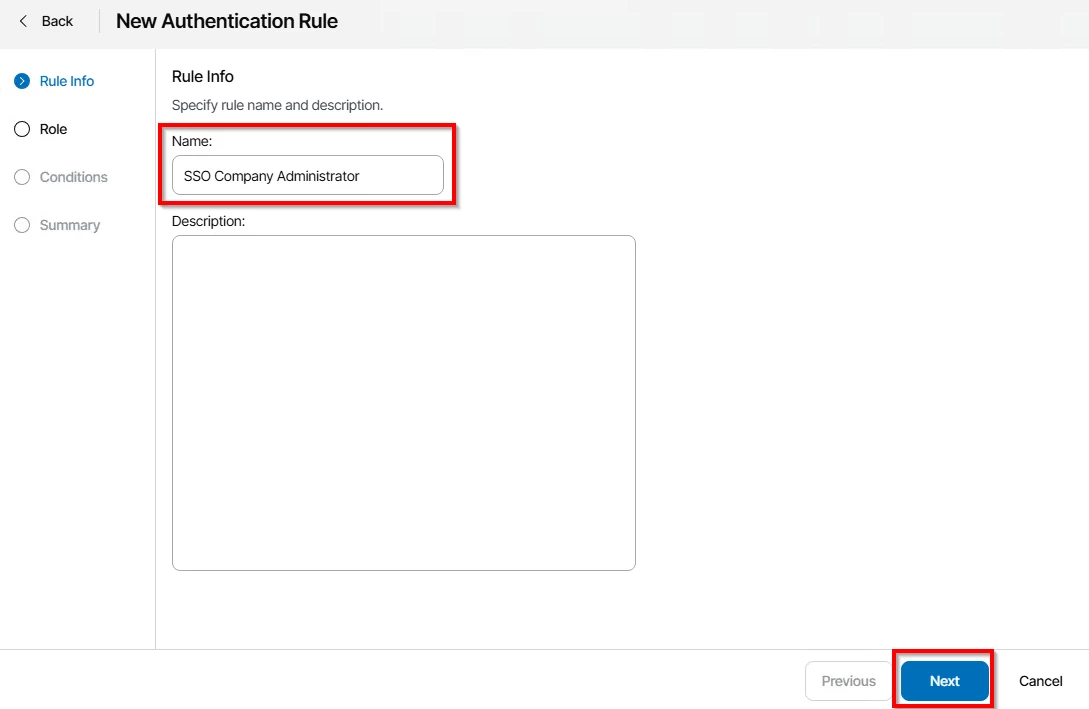
To finish the configuration on VSPC, we first need to add a SSO rule
Choose a name and click next
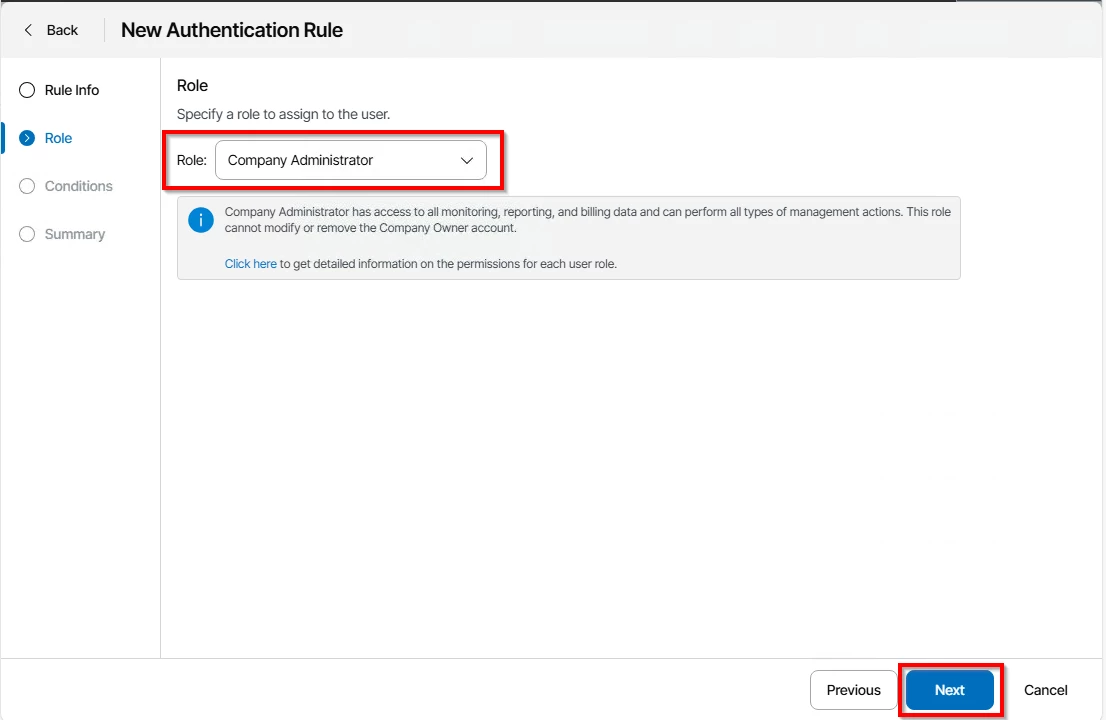
Choose the role you want to assign to your customers, I choose Company Administrator
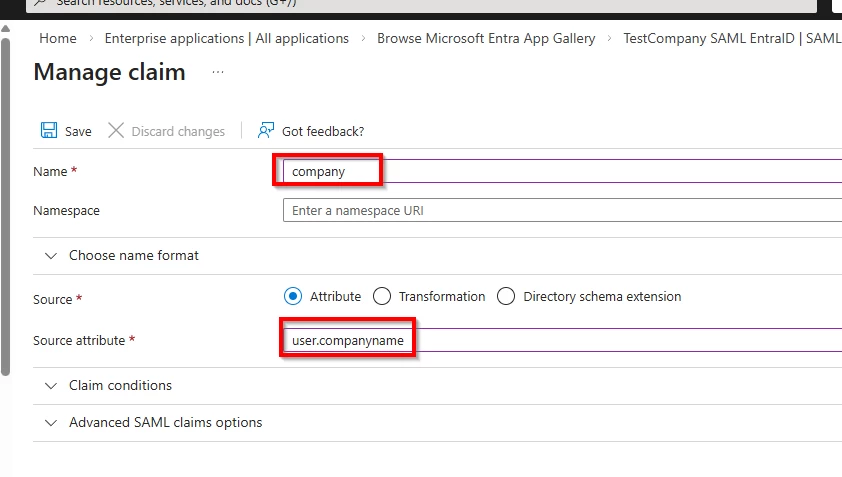
Next, in the claims, we specify the company claim name
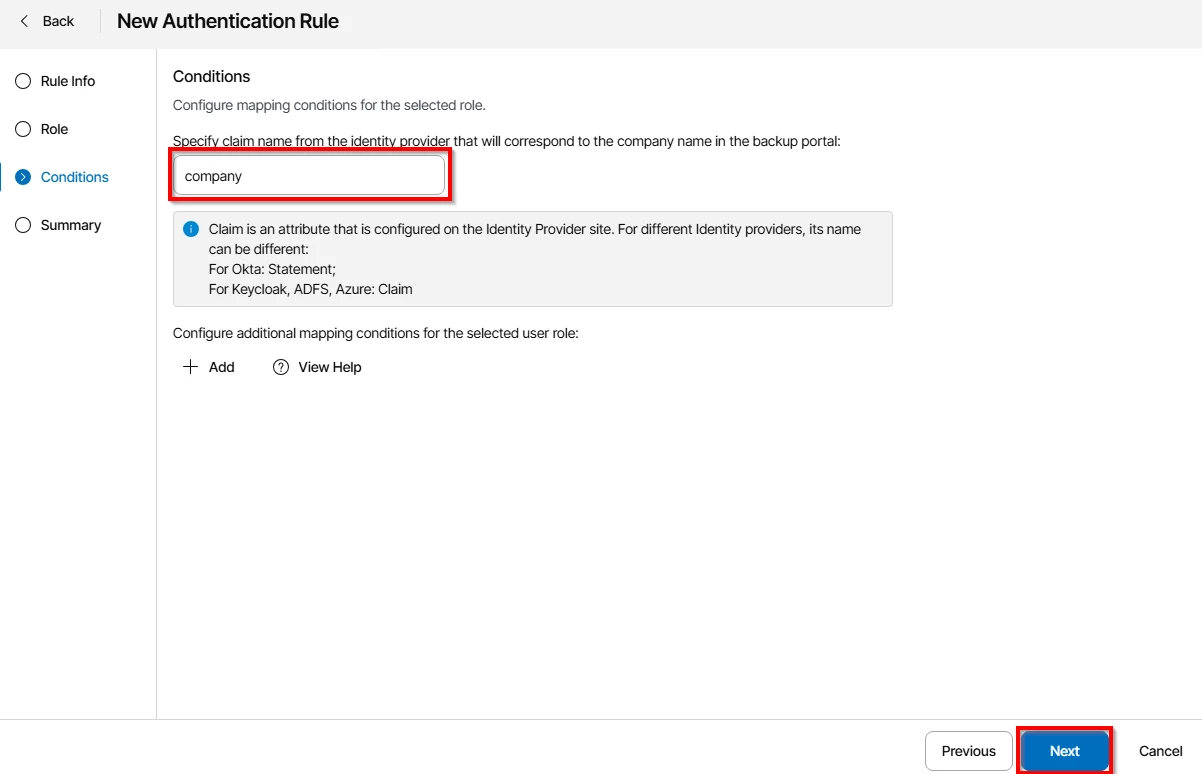
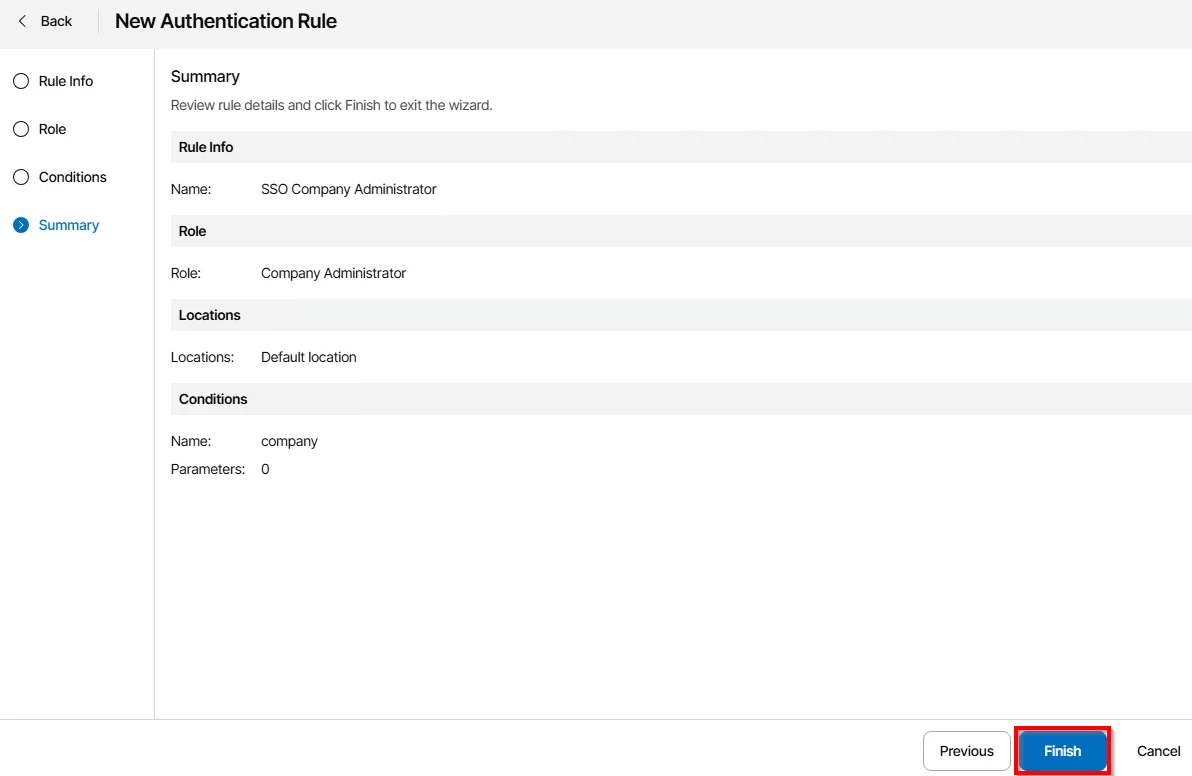
And finish
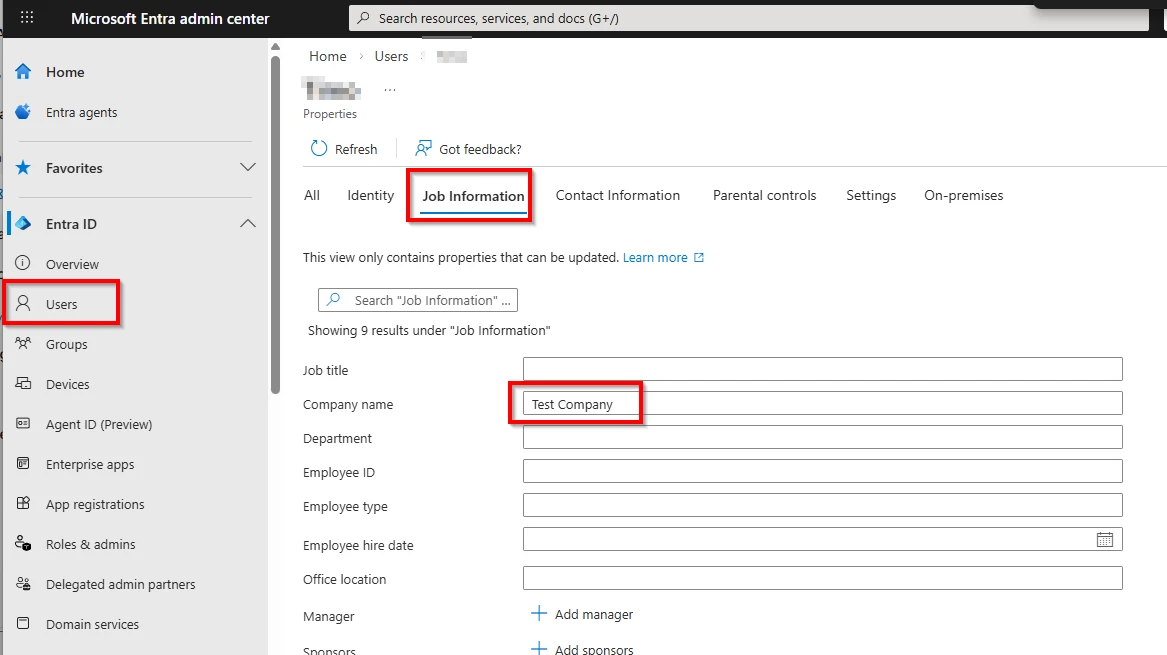
Of course, the users that want to access VSPC must have configured the company attribute on EntraID.
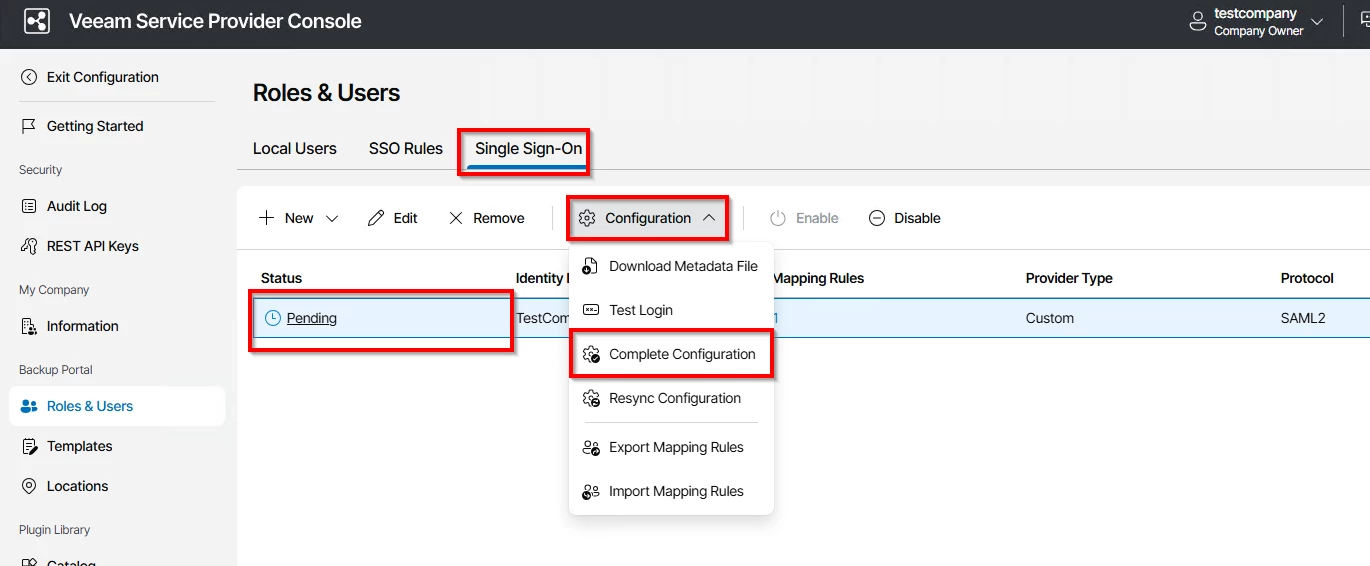
After that, go back to Single Sign-On and finish the configuration there.
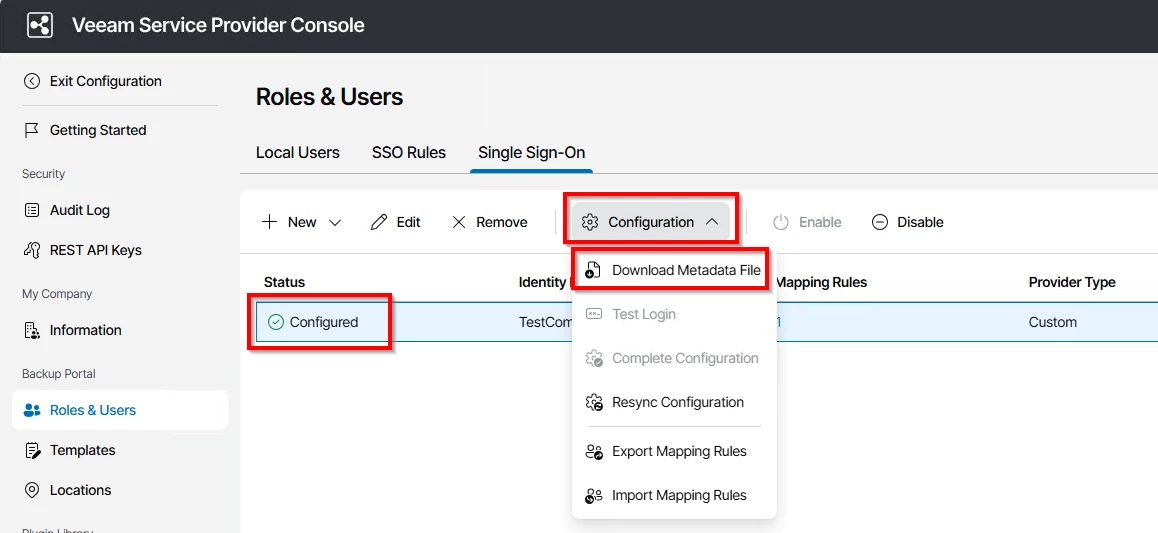
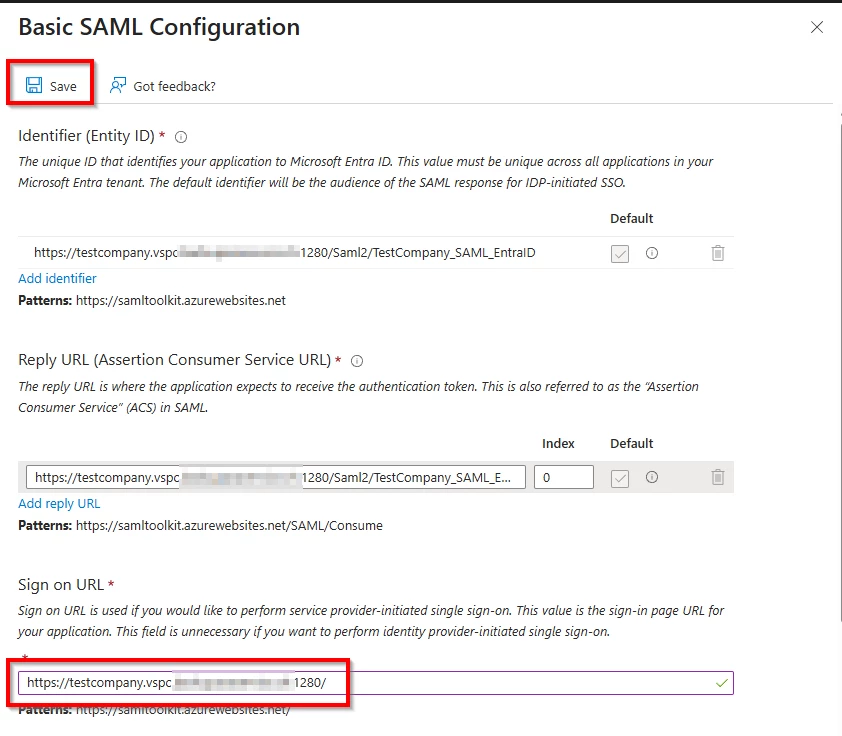
Now you can download the metadata file and import this into your EntraID Enterprise Application
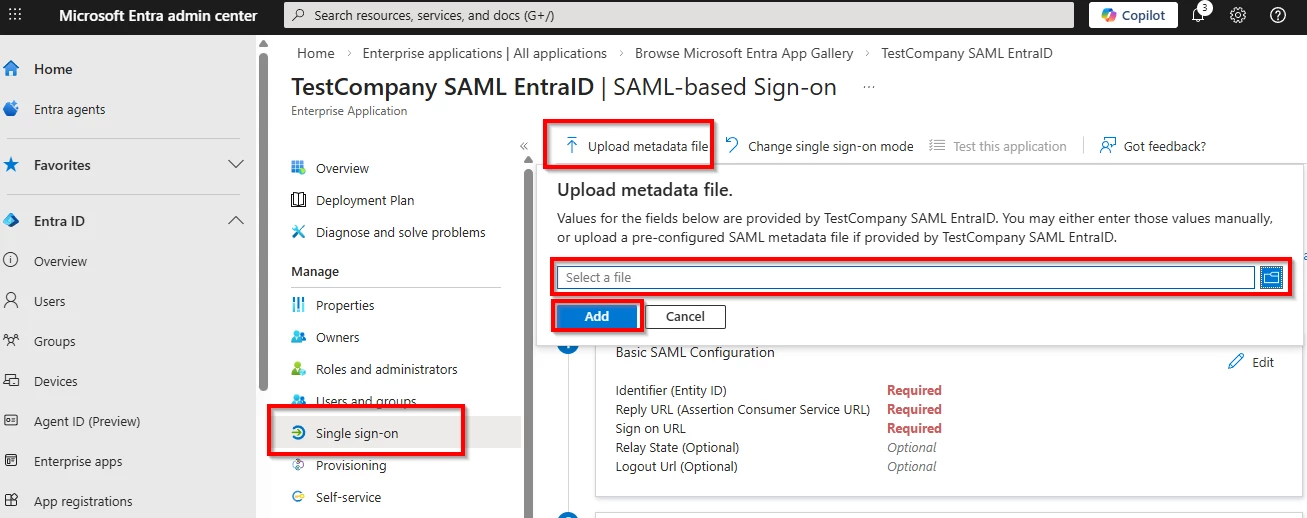
Everything should be pre-filled, just enter your sign-in-url and click save
Also, we need to edit our claims so we can use the created company claim.
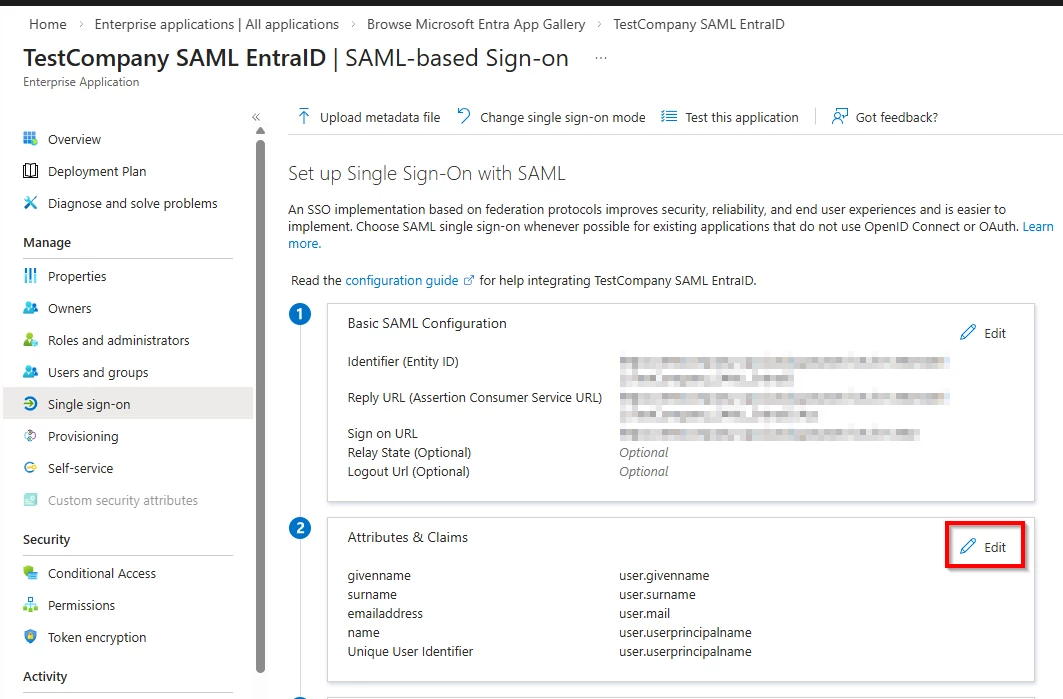
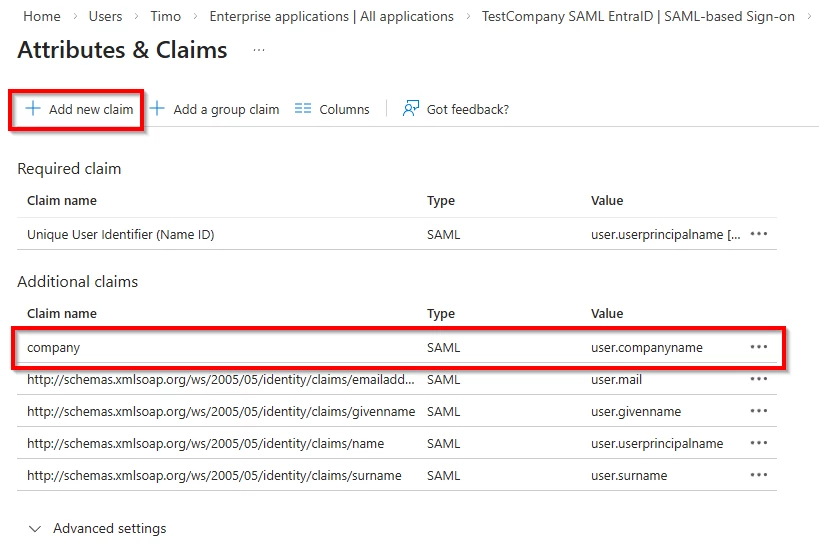
Click on "Add a new claim"
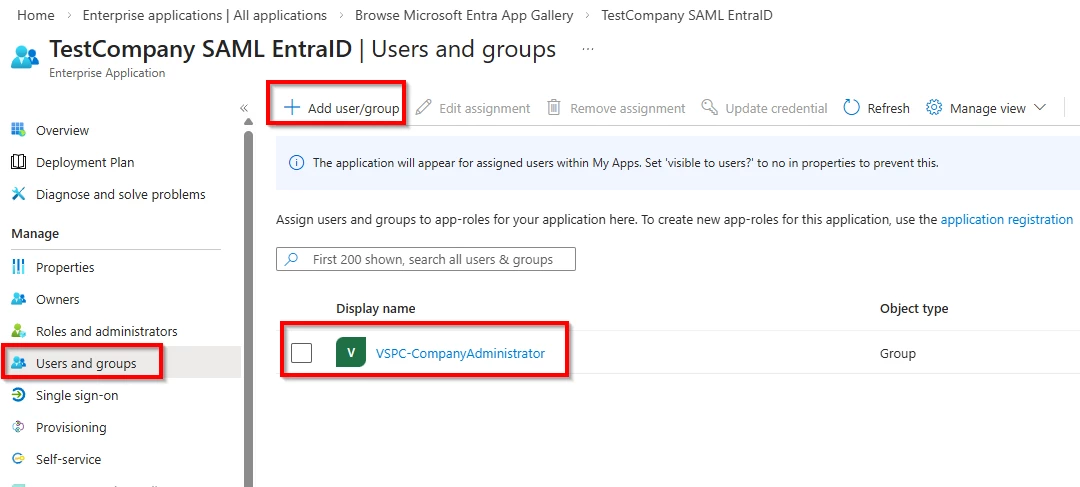
Last, we also need to grant our group access to this Enterprise Application
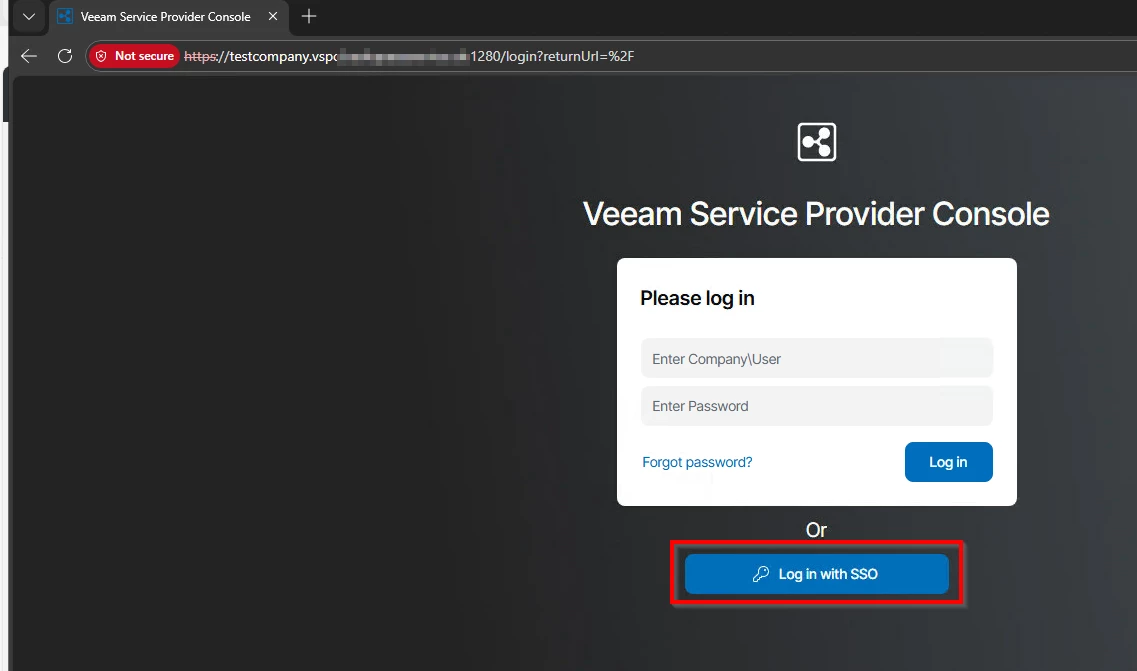
Now, go to your VSPC URL (from this company) and click on "Log in with SSO"
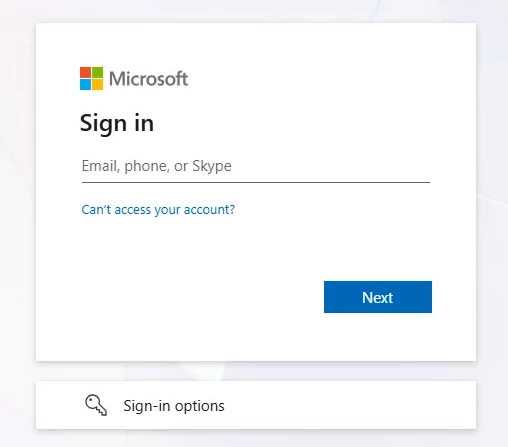
You will be redirected to your EntraID log in page, log in with your credentials and you should get redirected back to VSPC and automatically signed in.

If you get an error: The signature verified correctly with the key contained in the signature, but that key is not trusted.
Just try and resync the configuration:

