

Big News compliance Junkies have taken over NKGG’s and JuniorJoe’s company!!
NKGG’s and JuniorJoe’s company was grabbed in a hostile takeover. A group of venture compliance junkies are now at the helm. The firm is now call Drdisasters.com. They specialize in taking DR testing to the limit so that it conforms completely with a compliance junkie’s dream, that is, Drdisasters.com will test your DR Plan by creating real life DR situations for your company. The next time an auditor asks, “how sure are you that the DR plan will work?” you can answer well we burned down our server room and implemented our DR plan and it worked wonderfully!!
Now more than ever NKGG had to finalize his Kasten authorization setup. Come audit time the compliance gang would surely drill him on every aspect and he needed full control. Time to ditch the external authentication service and create his own.
After some research he decided on using keycloak and the bitnami helm chart: https://bitnami.com/stack/keycloak/helm
He added the helm chart using the following command:
helm repo add bitnami https://charts.bitnami.com/bitnamiHe found one permission issue related to the postgres database. Helm charts will allow you to manipulate the installations by using a values.yaml file, more information on this can be found on the helm site: https://helm.sh/docs/chart_template_guide/values_files/
NKGG created a values.yaml file with the following content:
postgresql:

  volumePermissions:

    enabled: true
He then deployed the helm chart with the following command:
helm install -f values.yaml keycloak bitnami/keycloak
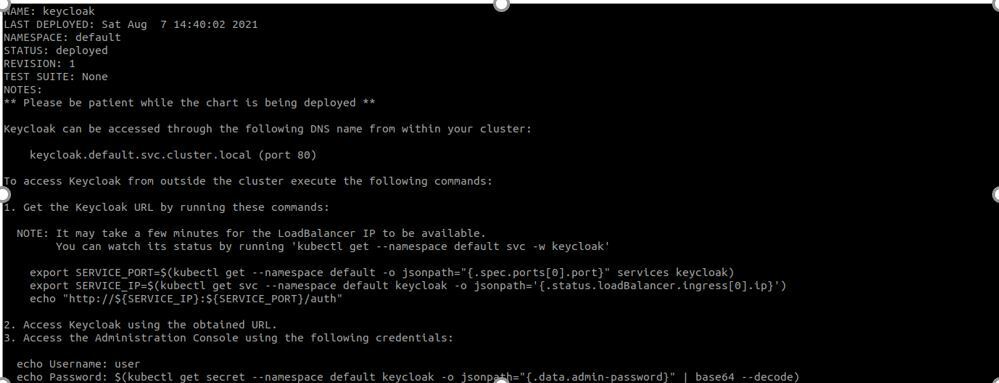
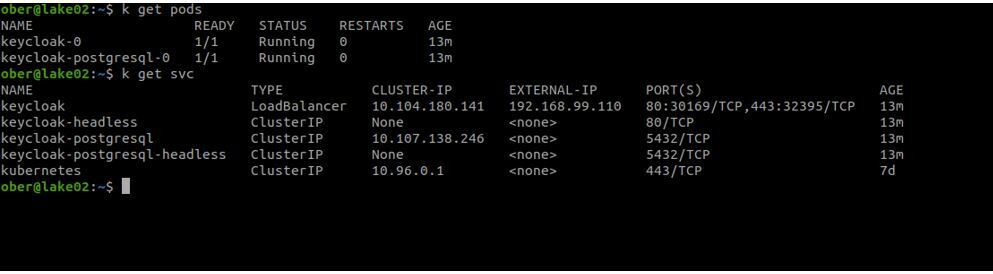
After a short wait two pods and a number of services should appear. The Keycloak service has picked up an IP from the metallb loadbalancer and can be accessed on port 80
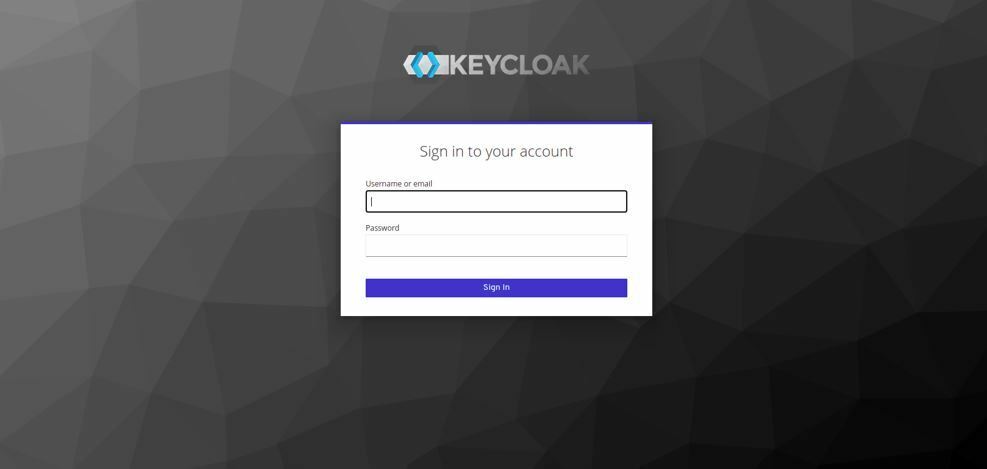
So NKGG headed over to https://192.168.99.110

and entered the Administration console:
For the login credentials he referred back to the output on the console after the helm install completed:

It claimed the user was user and that we needed to input the following command below to get the password
echo Password: $(kubectl get secret --namespace default keycloak -o jsonpath="{.data.admin-password}" | base64 –decode)
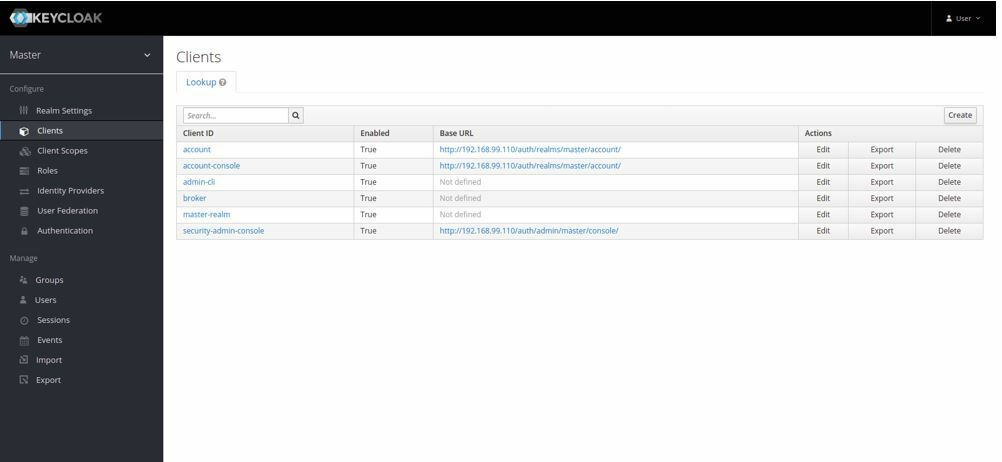
He applied the credentials and was in:

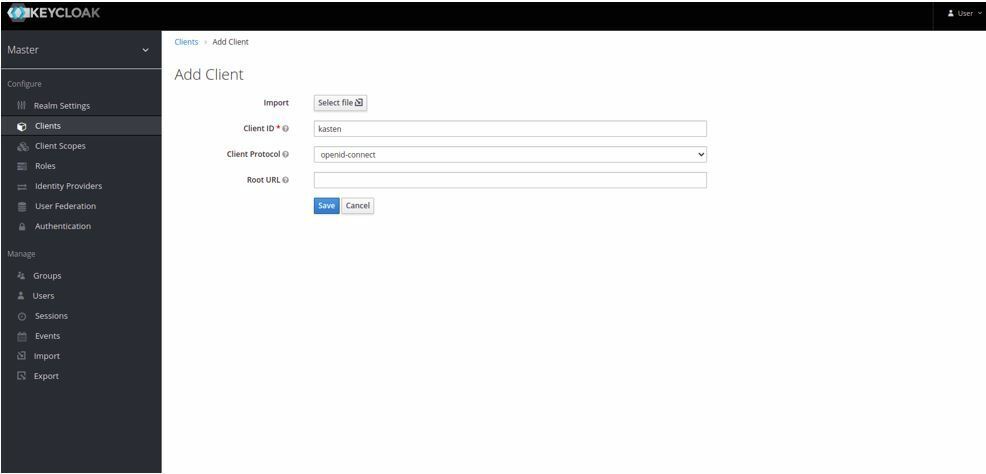
For his initial test install NKGG wanted to keep things simple and decided not to create a separate realm and leave everything on the master. It was time to create a client.
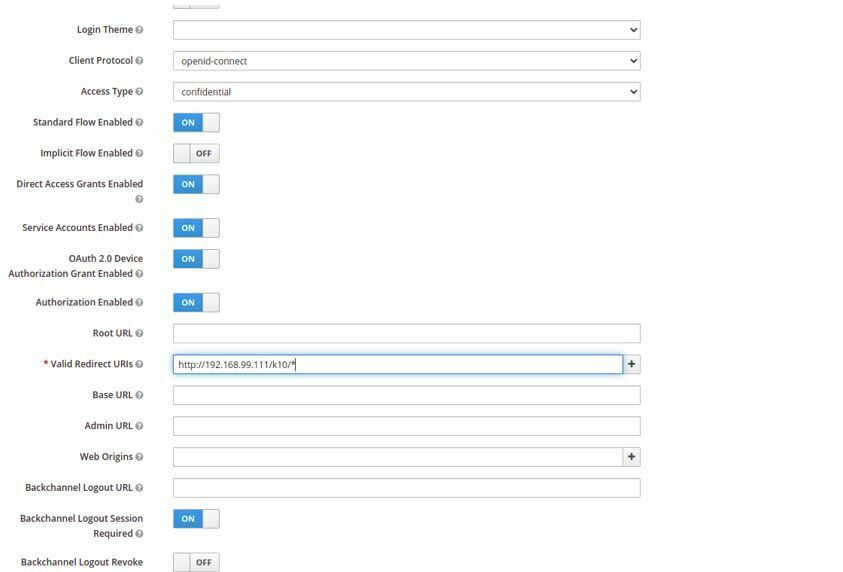
Next, he needed to add the redirect uri and change the access type to confidential and add authorization:
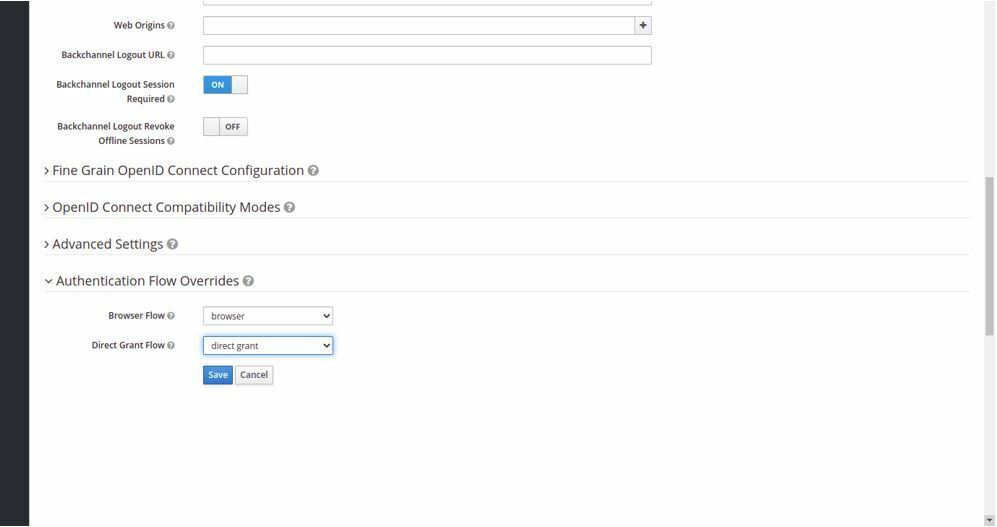
In Authorization Flow Overrides the following changes were necessary Browser flow: browser and Direct Grant Flow: Direct Grant
Now it was time to add users, first juniorjoe then his own nkgg:
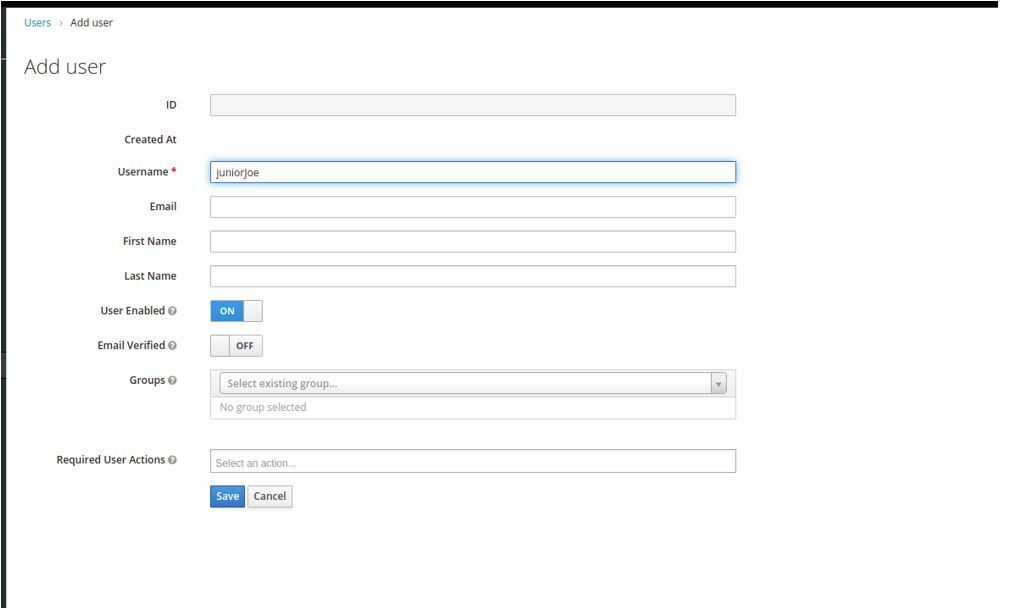
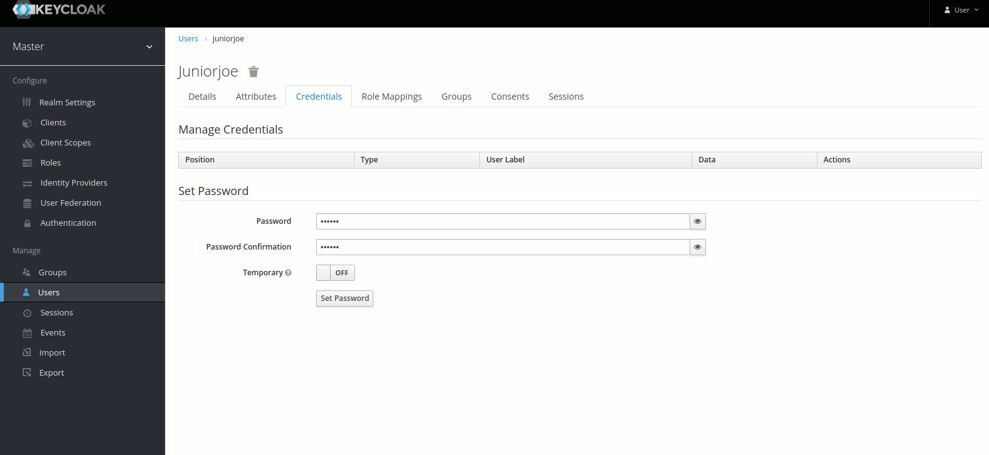
He made sure to turn off temp password and set a password:
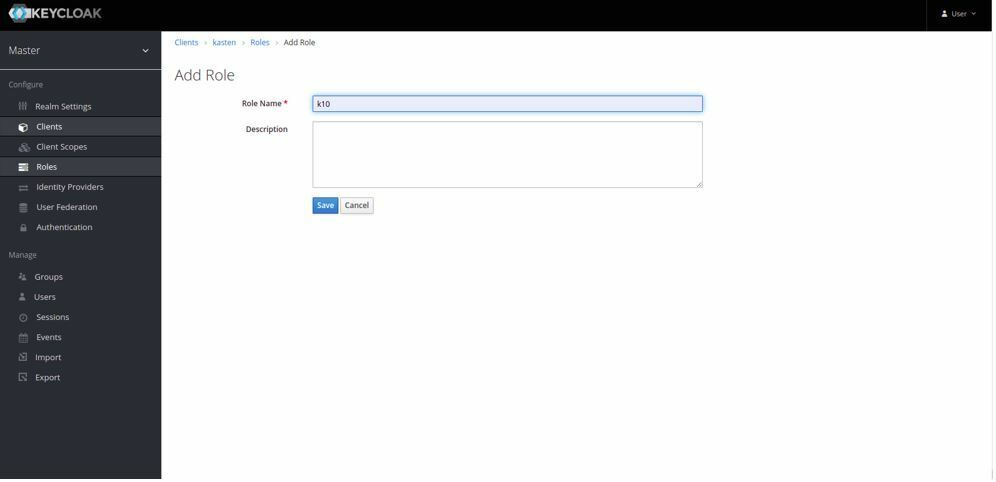
Back in the Kasten client he added a role and called it K10:
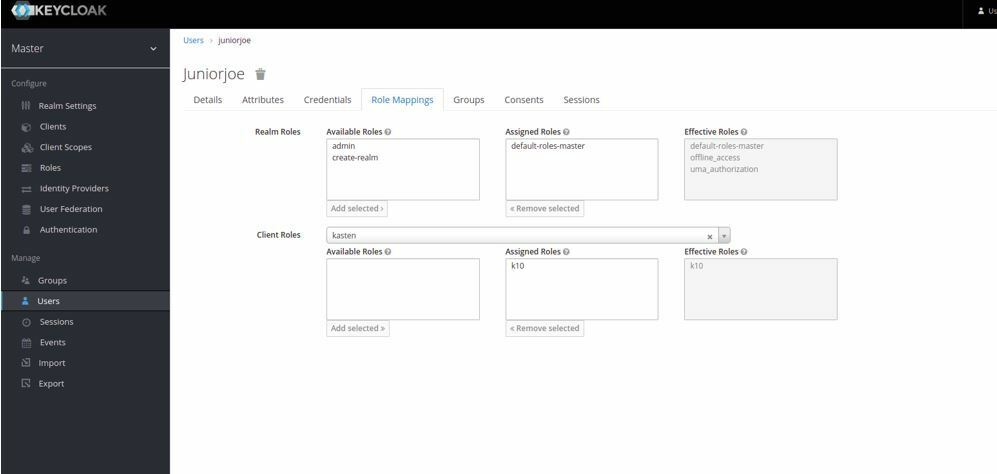
You need to map the role to a user. In this manner Keycloak connects the user to the application that you want authorization for.
The next step is to grab the client secret. Just like with Auth0 this will be needed when NKGG installs the Kasten helm chart.
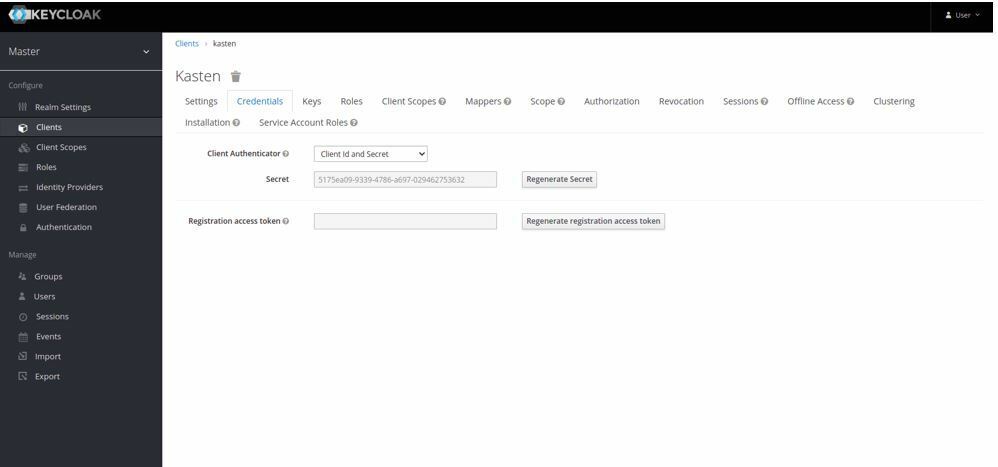
NKGG had now changed the values that he had used for this AUTH0 Kasten helm chart install replacing the auth.oidcAuth.providerURL with his local keycloak IP and adding /auth/realms/master, auth.oidcAuthclientID to the client ID he created in Keycloak “kasten” and auth.oidcAuth.clientSecret with the autogenerated client secret in Keycloak. The other values will be the same as before when leveraging the external AUTH0 service.
helm install k10 kasten/k10 --namespace=kasten-io --set global.persistence.storageClass=csi-hostpath-sc --set prometheus.server.persistentVolume.enabled=false --set externalGateway.create=true --set auth.oidcAuth.enabled=true --set auth.oidcAuth.providerURL=http://192.168.99.110/auth/realms/master --set auth.oidcAuth.redirectURL=http://192.168.99.111 --set auth.oidcAuth.prompt="login" --set auth.oidcAuth.clientID=kasten --set auth.oidcAuth.clientSecret=5175ea09-9339-4786-a697-029462753632 --set auth.oidcAuth.scopes="profile email" --set auth.oidcAuth.usernameClaim="email"Kasten was now up and running, NKGG checked the services:
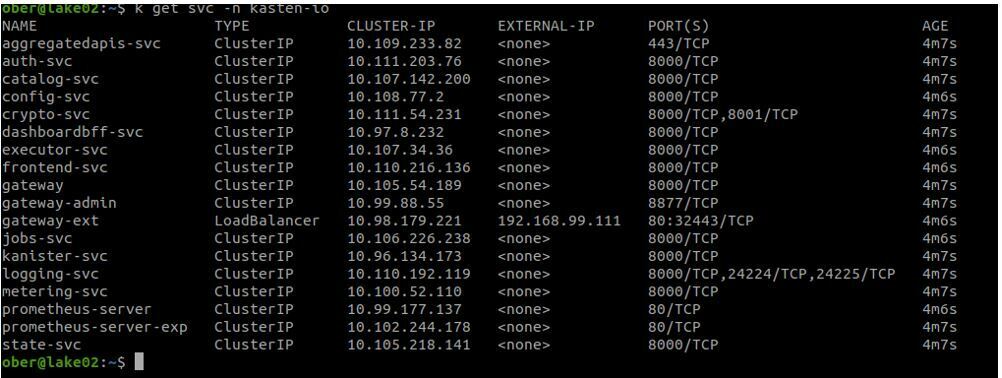
It was now time for NKGG to test his setup and after entering the http://192.168.99.111/k10/ he was redirected to the Keycloak login page:
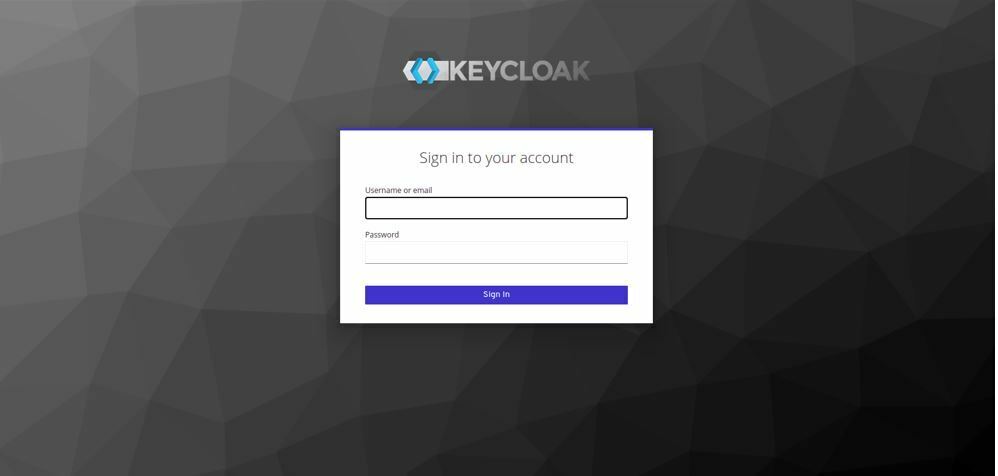
He entered his username and password and keycloak approved his authorization and redirected him back to Kasten armed with his token:
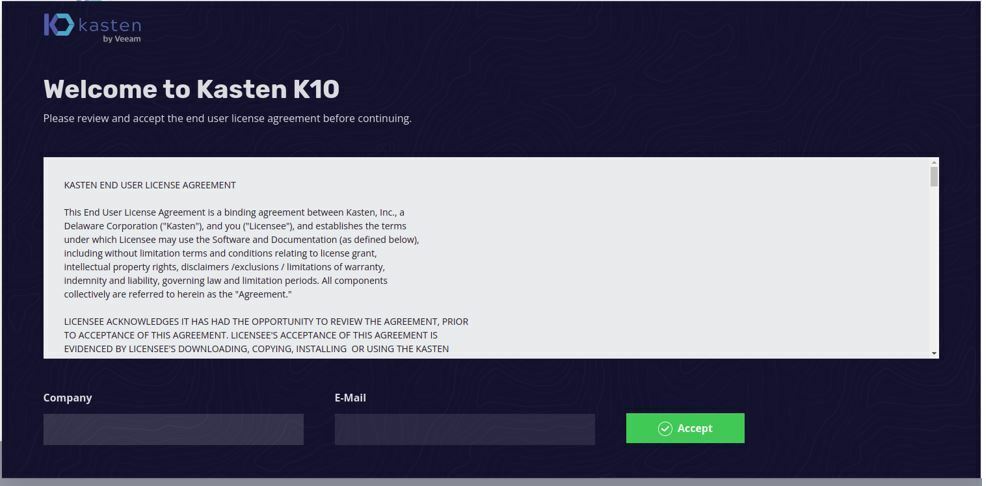
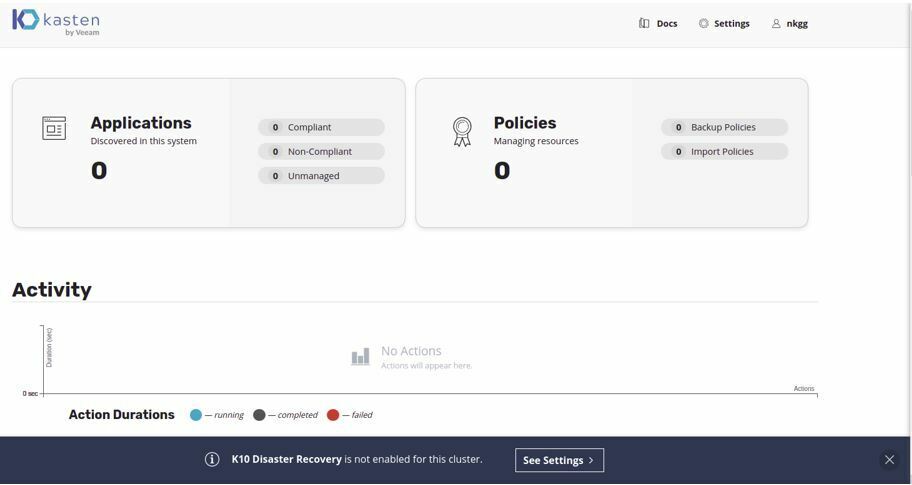
Just as before with his AUTH0 setup he still had no real permissions in the application:
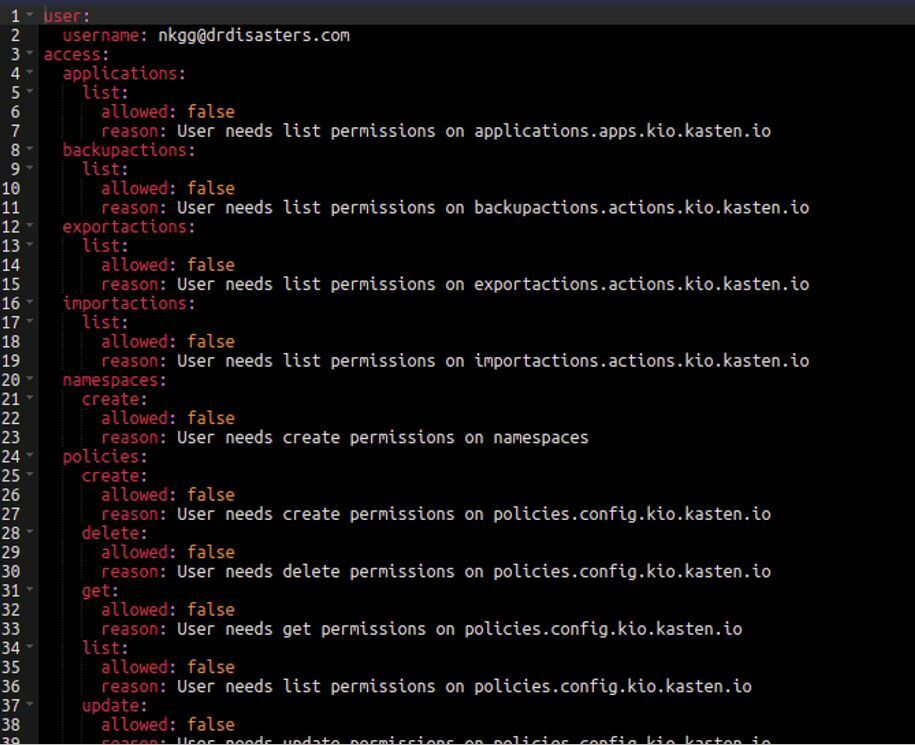
It was time to call on his old friend RBAC!!!
kubectl create rolebinding nkggnsadminrole --role=k10-ns-admin --namespace=kasten-io --user=nkgg@drdisasters.com

kubectl create clusterrolebinding nkggk10adminclusterrole --clusterrole=k10-admin --user=nkgg@drdisasters.com
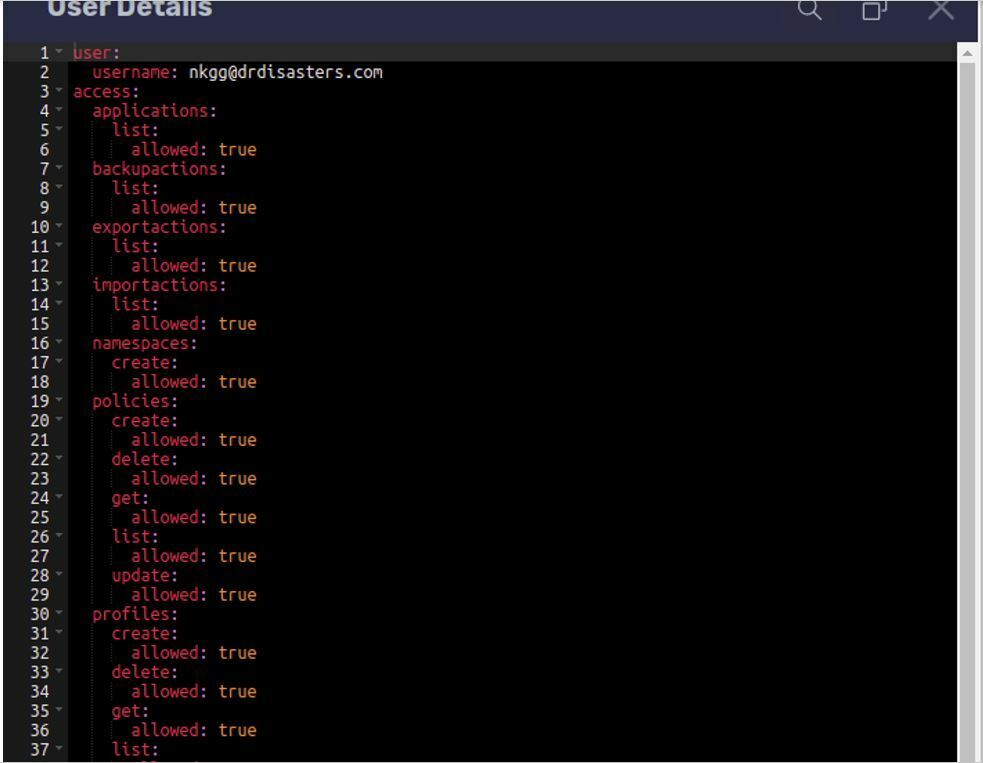
Now NKGG will create the same limited access for Junior Joe as he did before when he was leveraging the external Auth0 service.
The setup above is only an introduction. Keycloak and OIDC authentication are topics that run much deeper and I would recommend the documentation on the keycloak site for further reference and study: https://www.keycloak.org/documentation


