See here how it works in a step by step guide.
- To start in Instant SQL Recovery wizard, select your server and choose Restore application items.
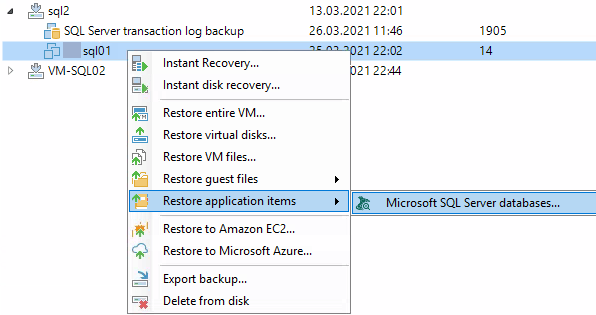
Here you choose if you want to restore to the latest available restore point, or select a listed one. At the end of wizard press Browse. Veeam Explorer for Microsoft SQL Server starts.
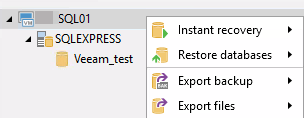
- Choose the database you want instantly recovered and select to do so. You have these options to choose from:
- Latest restore point.
- Point-in-time state.
- Recover to another server.
- This you can used to recover DB using a different name while original DB is still in place.
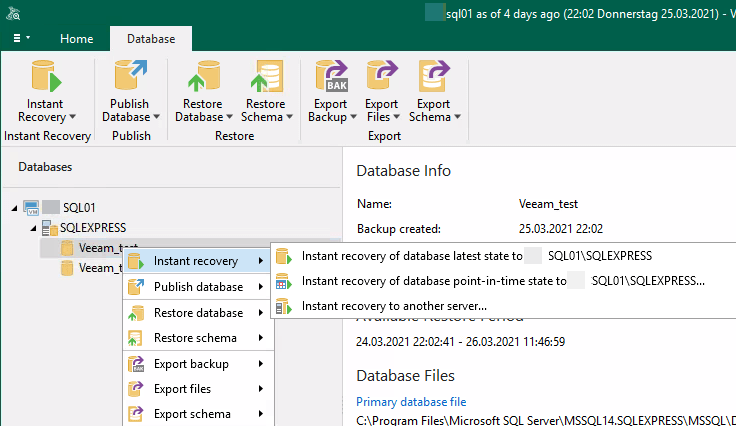
In this demo, I selected point-in-time state to show additional options.
- Select point-in-time state you want recover to.
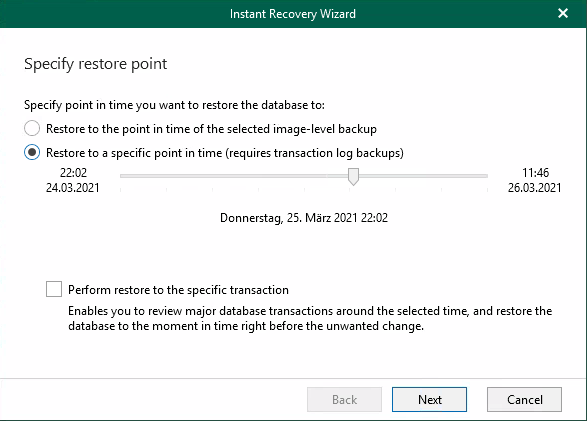
Notice:
- First option recovers to date and time, recovery point was created.
- Second option lets you choose the exact date and time to restore to. As noted, transaction log backup is required here.
- Checking option to restore to a specific transaction, lets you choose a marked transaction. For this, database will be mounted before to show the list of such transactions.
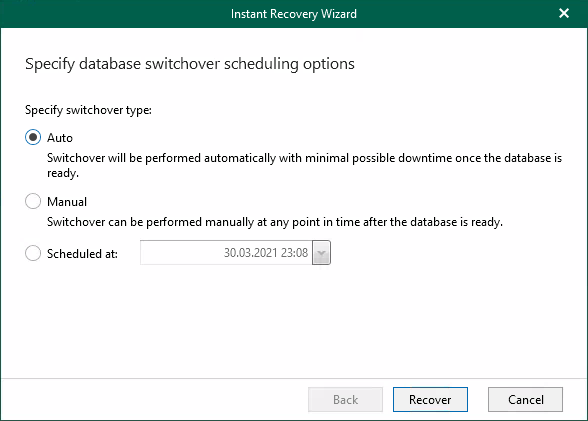
- Select switchover scheduling option. Switchover is when the temporary mount-points for reads and writes (see next point) switches to the final destination folders. This action is not completely online, therefore it is important to know when this happens. In this demo, I selected Manual to show what happens then.
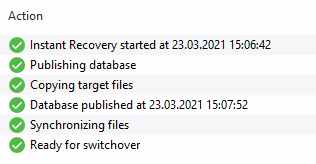
- Now the Instant Recovery process starts! Basically what happens here is:
- DB gets published from backup. This DB is spread across three locations:
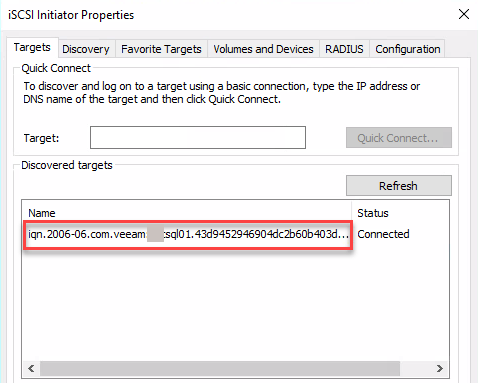
- For Reads: Backup repository. This is done by using iSCSI Initiator on SQL Server OS level.
- For Writes: Instant Recovery write cache on Mount server.
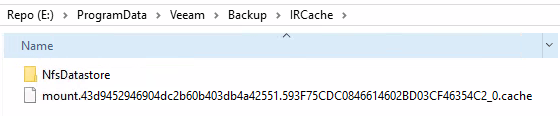
- Last but not least: destination folder.
- For Reads: Backup repository. This is done by using iSCSI Initiator on SQL Server OS level.
- DB files are copied to target folder.
- Write cache is periodically synchronized to target folder files.
- DB gets published from backup. This DB is spread across three locations:
- Switchover. With this step temporary mount points – as described above – are consolidated to the target folder. Switchover occurs when it has been defined in Step 4.
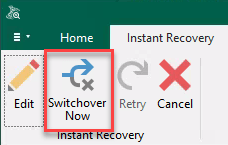
Notice: This choice can be changed while DB is published. To do so, click Edit.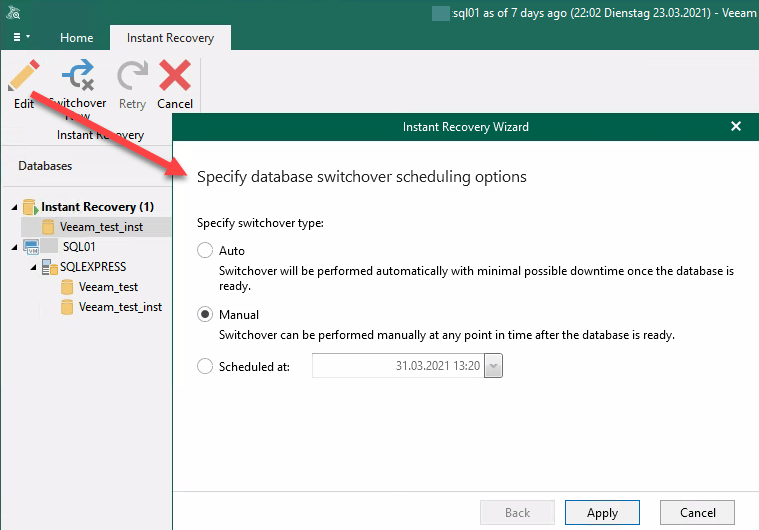
So depending of your choice:
- DB switched already over after first synchronization.
- You have to wait for scheduled switchover.
- Trigger manual switchover.
Basically, this is what happens during switchover:
- DB publishing stops.
- Final synchronization from cache to target DB.
- Cleanup DBs, mount points, …
- Start recovered DB.

Note
It is also possible to recovery multiple databases simultaneously. All you need to do is to right-click the instant name or the whole SQL Server to start the process. This can be used when the whole server has gone. Limitation here is that you cannot select marked transactions.